MY CORLISS
ENGINE BUILD
Part 25 by Vince Cutajar

MY CORLISS
ENGINE BUILD
Part 25 by Vince Cutajar
Next I made the air inlet attachment from brass.

Finally, the process I hate most, painting.
Cleaned the base and lightly sanded it. Masked off some parts I decided not to paint and plugged the various holes with match sticks and paper.

I then gave it an aluminium primer coat.
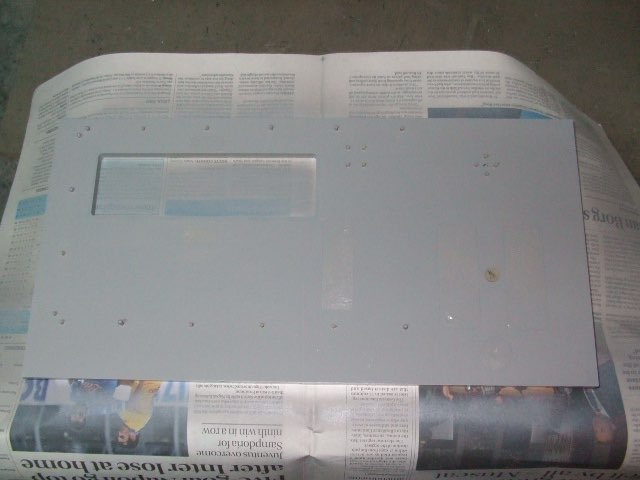
After the primer dried, I applied a cream coloured base coat.

Left it to dry for 48 hours and then removed all the match sticks and tape covering the holes. I left the masking tape for the feet of the engine and also the air inlet.

Masked all the base again.

Patiently drew all the lines with a pencil. Next step is to cut out thin lines over the pencil lines. I think this going to be the most critical part.

The width of the lines was eyeballed. It took a while to finish as I took a lot of coffee breaks. At least I did not make any boo-boos like cutting in the wrong place.

A close-up of the completed cut lines.

Sprayed it all in a white colour.

Started the delicate process of removing the tape.

Managed to remove all the tape without incident. It turned out okay.

And a close-up showing the flywheel well bolted up.

Also finished up the plumbing in the base


Modelengineeringwebsite.com
the only free and the only weekly magazine for model engineers.
Editor: David Carpenter

