IN FROM THE STYX
No 2 (or 22)
By Journeyman

IN FROM THE STYX
No 2 (or 22)
By Journeyman


Since the end of March, things have moved forward somewhat erratically. I decided that I wanted to make something simple, and since I was having difficulty with the drawings and constructional series for Anthony Mount’s McConie’s Oscillating Engine the decision was taken to set it aside and do what every budding model engineer always does and that is to make a simple oscillating engine, something I’ve never done.
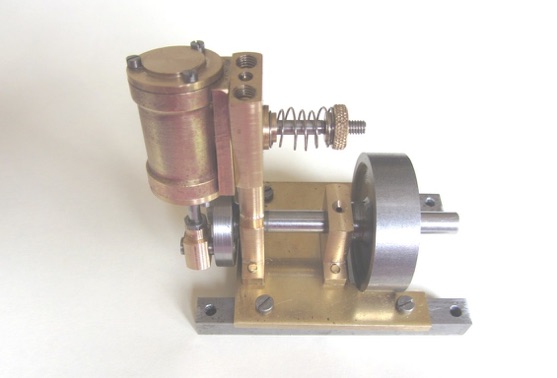
It appealed to me being double acting, was written for beginners and so was fully comprehensive and, of course, comes with ETW’s immaculate drawings. Every part is fabricated from stock materials and, being E.T.W., the design is for an engine of maximum efficiency and power for its size.
Because I have a DRO on my milling machine I used that for setting out all the holes rather than marking out by hand which saved some time and guaranteed accuracy. The port faces were finished using super fine emery cloth with lubricant on my granite surface plate. Apart from a single very light pass through the crankshaft bearings with a reamer, every part fitted well and it turns over on light lung power very easily.
One benefit of this job was that as I worked I made better order of the workshop, as during the post-removal unpacking process things had been put in the first available space which wasn’t necessarily the most convenient for working, so I ended up with a finished job and a more ordered workshop.
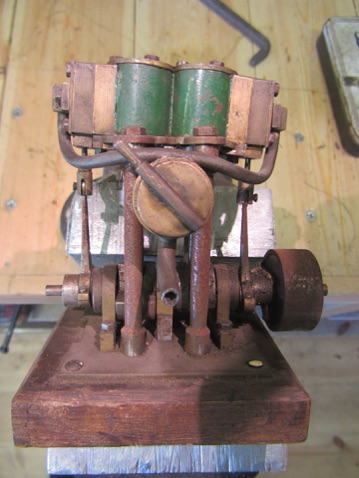
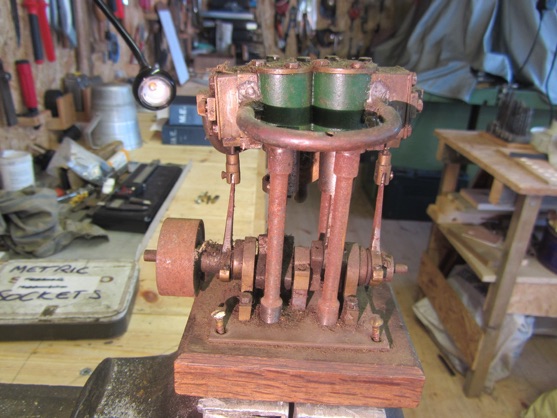
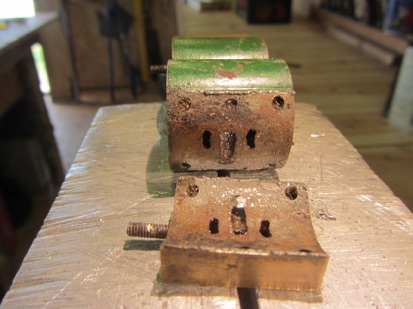
The first task was to take a series of photos to record all the parts in their correct positions, and to ensure that everything went back where it belonged during the reassembly. I then proceeded to dismantle it and establish a left and right layout on the bench, again so that all parts went back to their original positions. It became evident quite early in the process that this was an engine that had probably been built without drawings and without the use of a milling machine, but that a lot of quite careful bench work had gone into its construction.
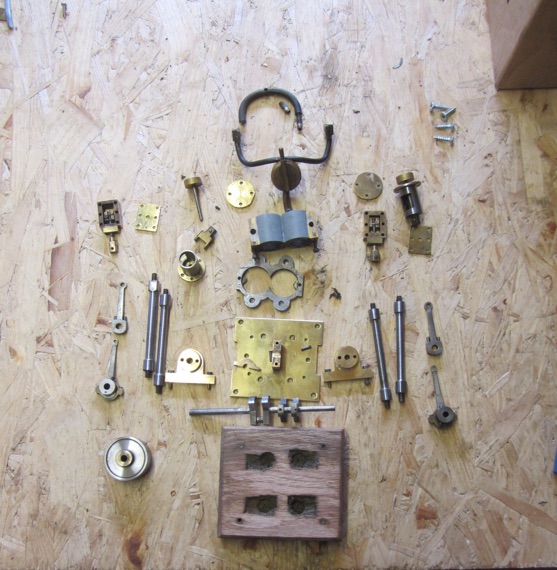
Next job was to repair the crankshaft. It is of the built-up type of construction with all the shafts and crank webs silver soldered together This necessitated holding the two halves in alignment for resoldering which was done by mounting them onto two old v-blocks and held firmly by two bar clamps with centre screws. I used oxy-propane heat which kept it local to the joint and thus none of the other joints melted before the solder was successfully applied.
I then cleaned up all the parts, polishing the brass and buffing up the brightwork with emery cloth.
3 Sept.
Since cleaning up the engine no progress has been made due to post house removal ‘burn-out’, all very disconcerting not having the energy or inclination to go into the workshop, so I will just have to live through it and get back to work as soon as I feel fit enough to do so.
MEWS IS SPONSORED BY - CHRONOS - PAULTHECAD.CO.UK - ECCENTRIC ENGINEERING - WARCO - BRISTOL EXHIBITION - HARROGATE EXHIBITION - MERIDIENNE EXHIBITIONS - CAMDEN MINIATURE STEAM - TRANSWAVE CONVERTERS - SPITFIRE IN MY WORKSHOP - CHERRY’S MODEL ENGINES -
Editor - David Carpenter