MY CORLISS
ENGINE BUILD
Part seven by Vince Cutajar



MY CORLISS
ENGINE BUILD
Part seven by Vince Cutajar


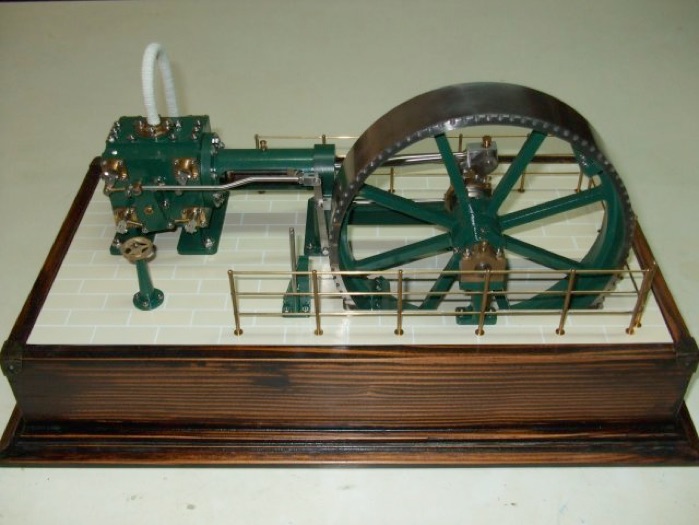
Next the clevis head of the connecting rod. Setup up the dividing head on the mill and clocked it up.
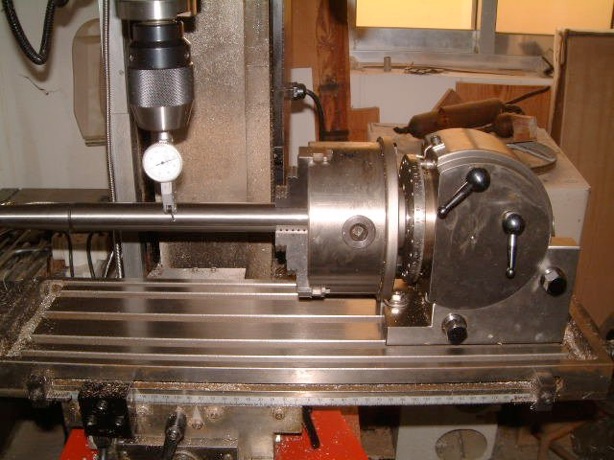
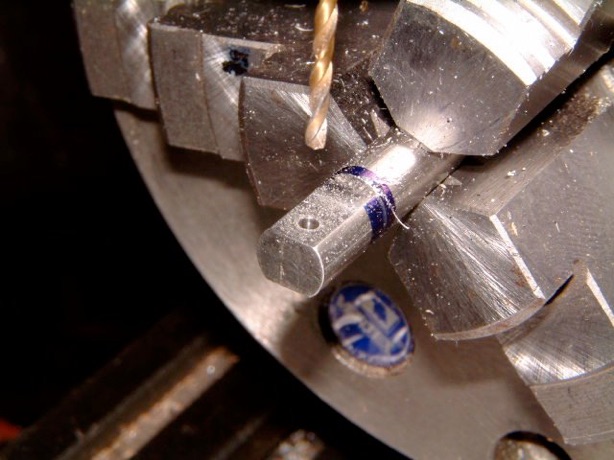
Milled two of the sides and drilled a 2mm hole for the pin.
I made the slot using a slitting saw.
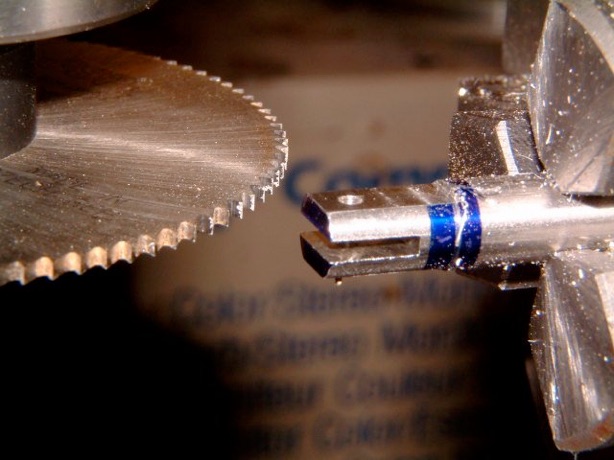
Then milled off the other two sides.
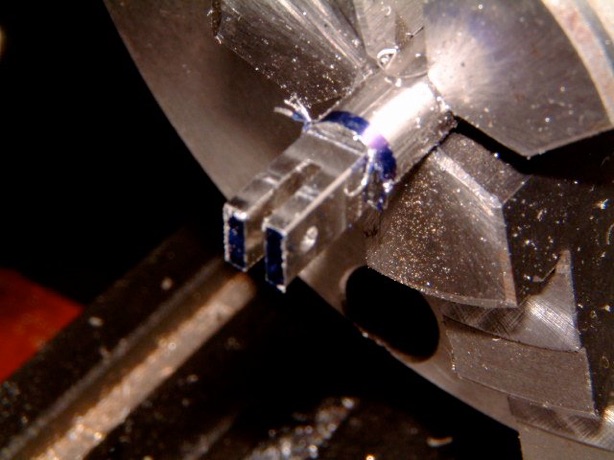
I have a habit, before taking the part out of a chuck, of having a final look at the drawings. Good thing I did it because I noticed that an exact clevis head is required for another rod. So I turned the part around and made another clevis. They still need the ends to be rounded off and then to be separated.
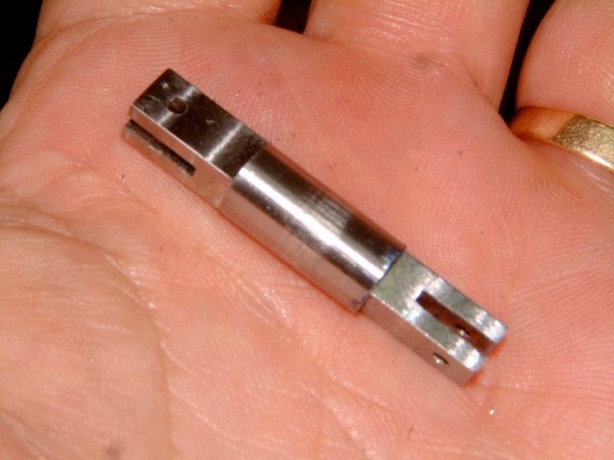
Next was a simple item, namely the lever.
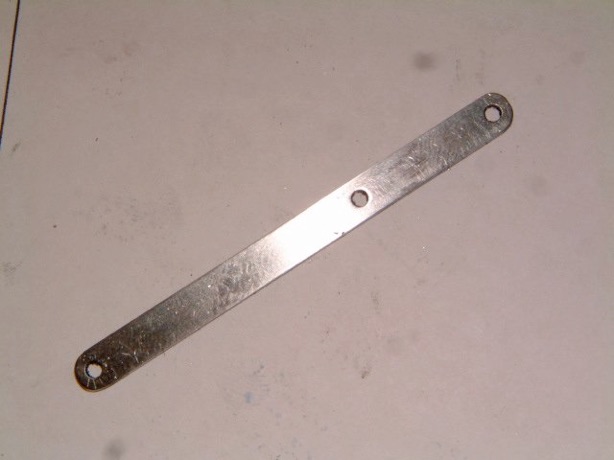
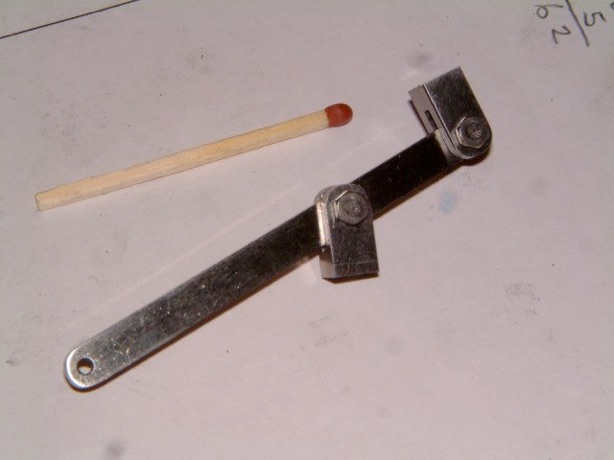
Made from a piece of 3mm stainless 316 flat bar that was available. It is shown with the clevis heads installed with 2mm bolts and nuts.
I managed to get my hands on a sorry looking bit of bright mild steel (60mm x 60mm x 80mm) for 5 euros for the cylinder.
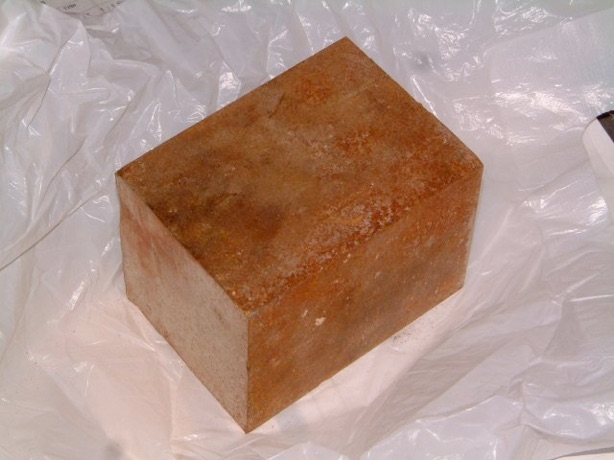
I manually hacksawed off some of the excess length in the bar.
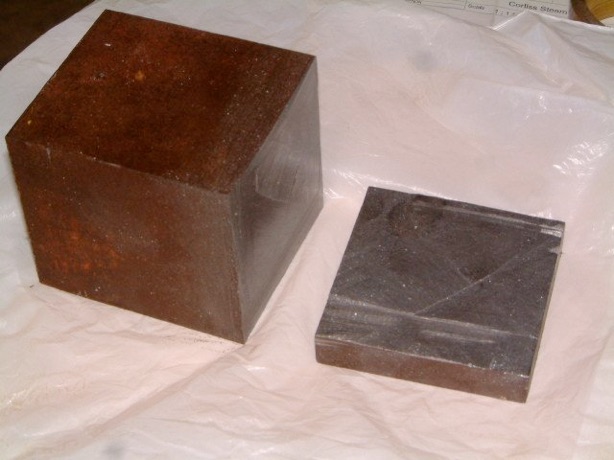
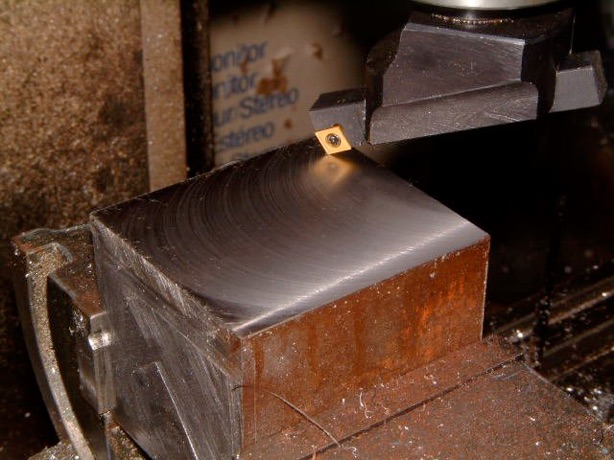
I also started reducing the sides to size. I was at first tempted of doing it in the lathe but then I went for the mill and a fly cutter. I wasn't getting any good cuts using the HSS tool in the fly cutter so I decided to try some of the lathe tools with carbide inserts and finally settled on the one which gave the best cut.
Finished off the front and rear sides on the lathe using the 4 jaw chuck. Left it about 3mm long. Marked the centre of the cylinder and using a dead centre held it in the chuck and the jaws slightly tightened. At least I will be close when indicating the cylinder in the chuck.
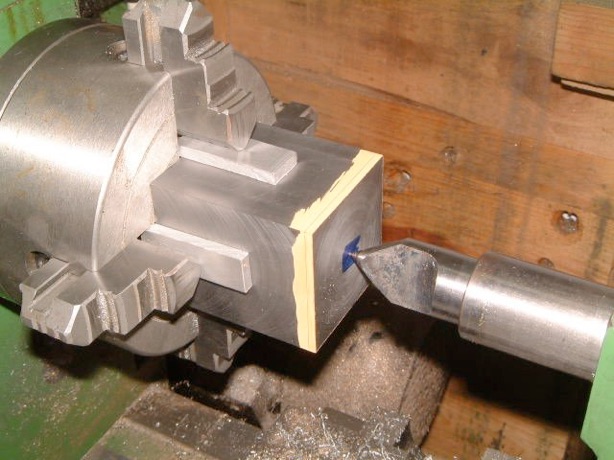
I then proceeded to indicate the piece in the 4 jaw chuck.
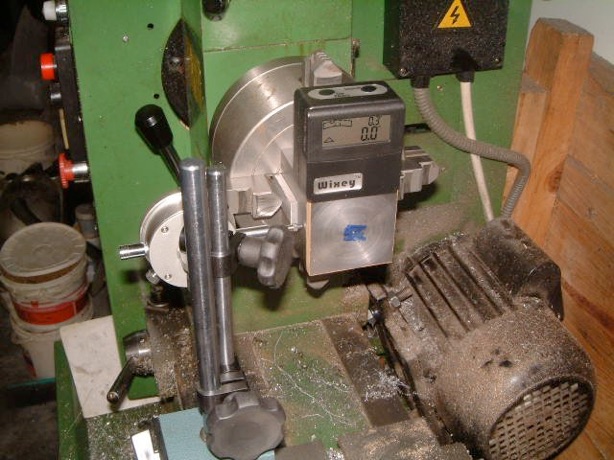
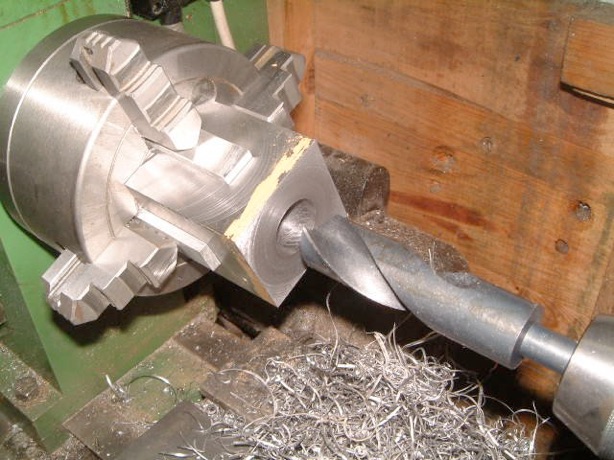
Drilled the hole by step drilling and finished off with a 25mm blacksmith's drill.
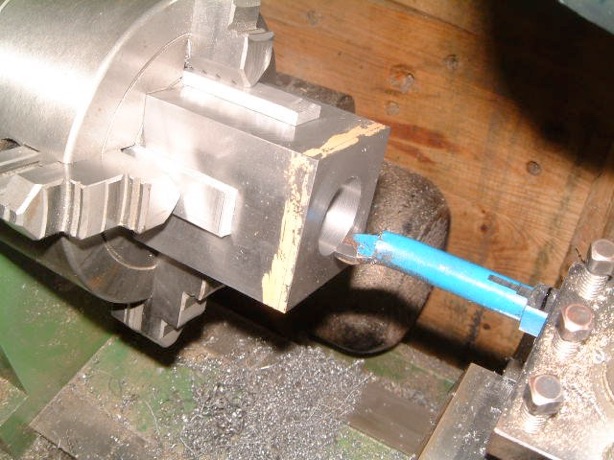
Finished the boring operation for the cylinder and left it 0.1mm oversize so that I can hone it later on. Can't remember what RPM I used. It was giving a decent finish so left it as it was.
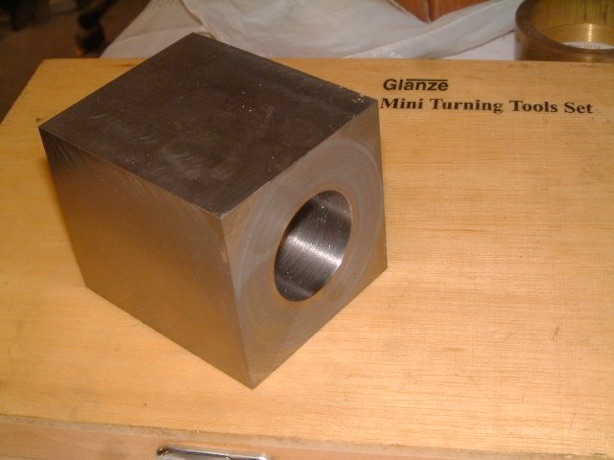
I then proceeded to face off the extra length of the body. This way I am sure that this face is perpendicular to the bore.







Modelengineeringwebsite.com
the only free and the only weekly magazine for model engineers.
Editor: David Carpenter