BUILDING THE GORGON SHIP’S ENGINE
Part 8 by Guenter Kallies


BUILDING THE GORGON SHIP’S ENGINE
Part 8 by Guenter Kallies

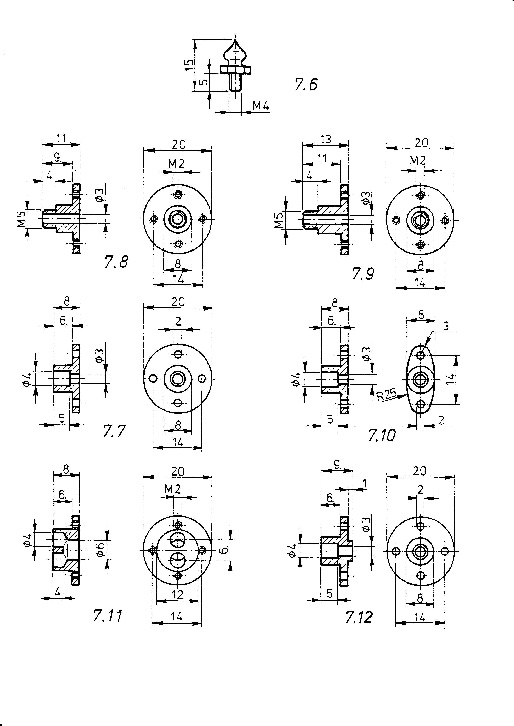
Group No.7: The steam pipes and equipment
Parts list
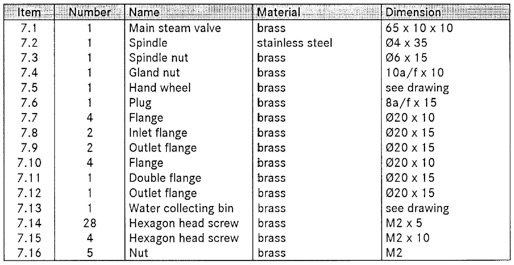
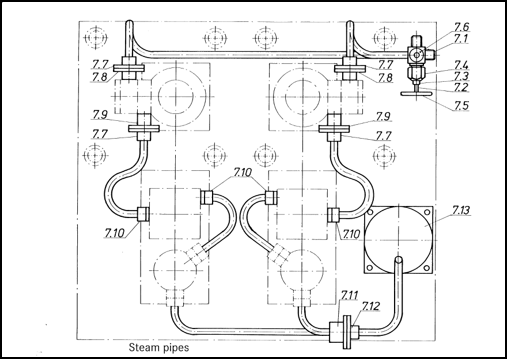
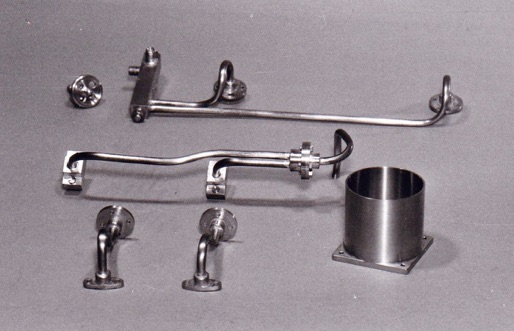
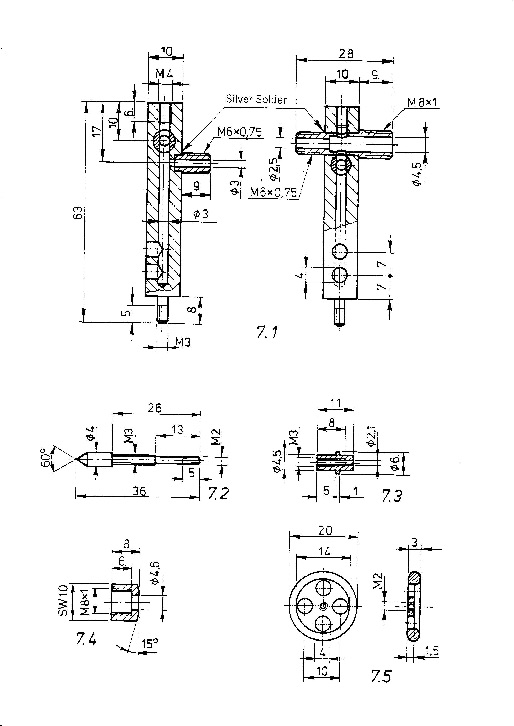
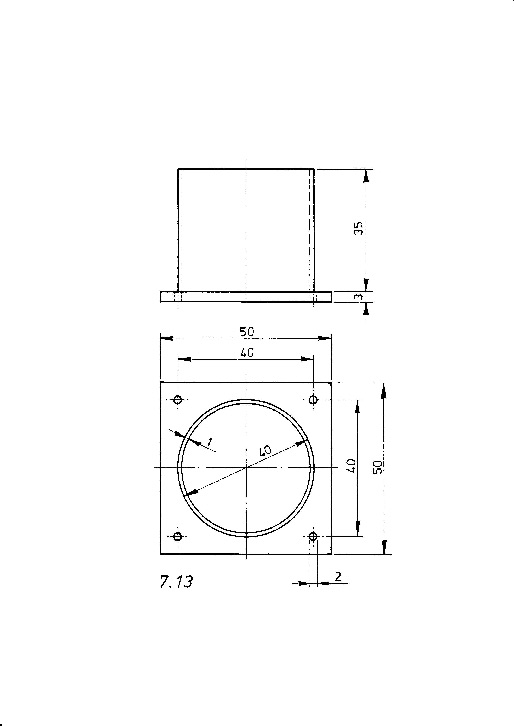
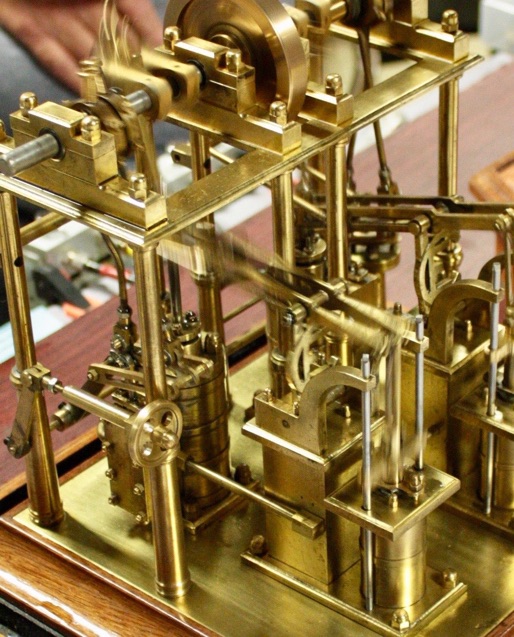
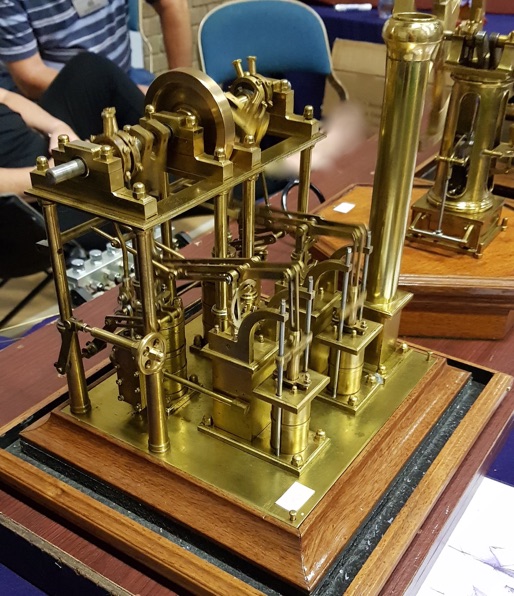
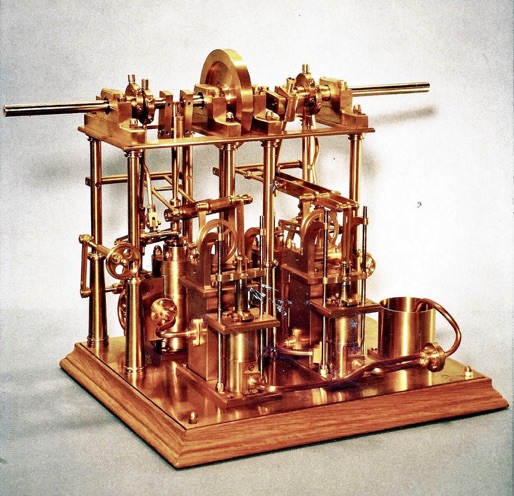
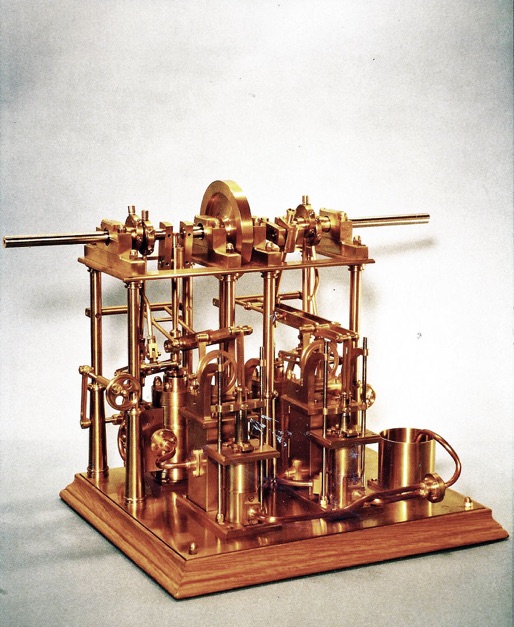
The last part which has to be made is the Water collecting bin (7.13) which is simply made from a length of brass tube and a piece of sheet metal soldered together. All the condensed water will be pumped into this well.
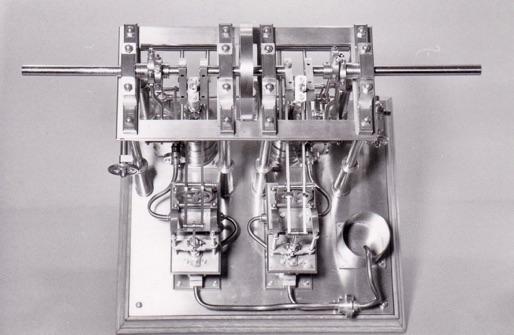
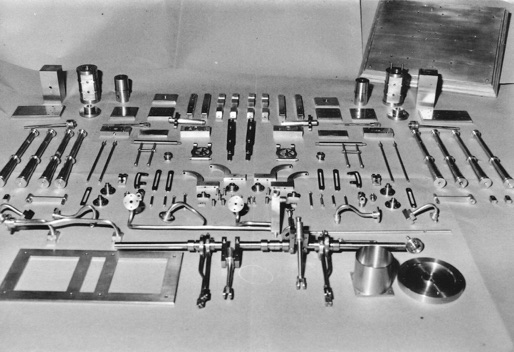
The complete engine should now be totally disassembled again. Every component should be checked for burrs and other sharp edges. It is a good idea to rub all the surfaces of the brass components with a kitchen-cleaner that will give a smooth, silk-like surface. If you wish to protect the surfaces from tarnishing, it is possible to apply a layer of varnish to the brass components as clock enthusiasts do. This is not recommended if you plan to operate the engine very often under steam.
Now, you can start with the final assembly. Step by step all components are fitted together. The steam fittings must be steam tight which can be achieved using a sealing compound. Graphite yarn should be used in the piston-groove as well as in all studded glands.
The adjustment of the valve gear is easily performed. Open the steam chest and observe the motion of the slide valve while the crank shaft is rotated by hand. Check that the inlet ports come totally free one at a time. If necessary, adjust the length of the eccentric strap rod (3.3) of the valve gear or the valve spindle (2.14). Next step is to bring the eccentric sheaves (3.1) in the position where the engine will run properly forward and reverse. This is of course a trial and error exercise and should be done not with steam but with compressed air.
The author has gained many hours of pleasure from this delightful and satisfying model and wishes the same to any model engineer who builds it.

Click on drawings to download - for personal use only.
Part one here Part two Part three Part four Part five Part six Part seven