1909 MERCEDES

AERO ENGINE BUILD

Part 16 by Steve Gosling

...continued


I turned up the breather tube and sweated a piece of gauze across the top by first tinning the end of the tube and then just warming it while pressed onto the gauze.
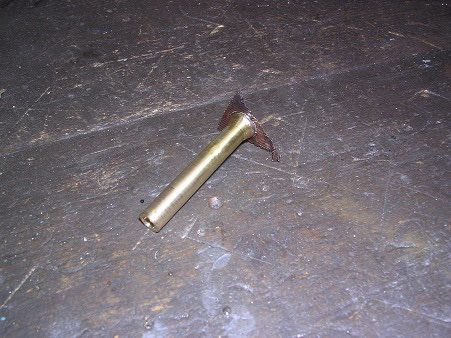
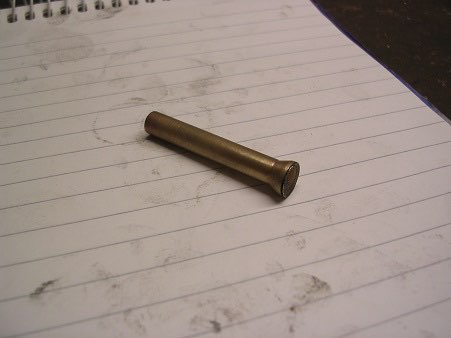
I didn't completely block the gauze with solder and just trimmed the edges. so I was pleased with that result.
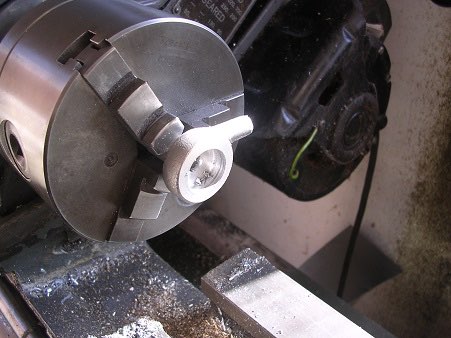
Then the oil filler tube and cap. Another nice little milling exercise followed by a needle file to give it some shape.
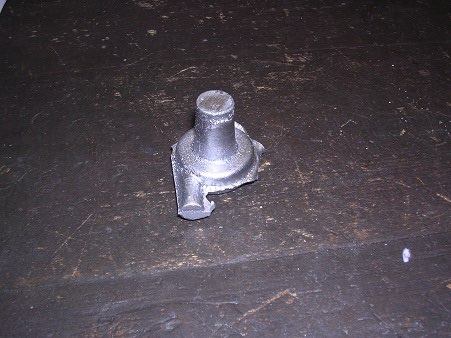
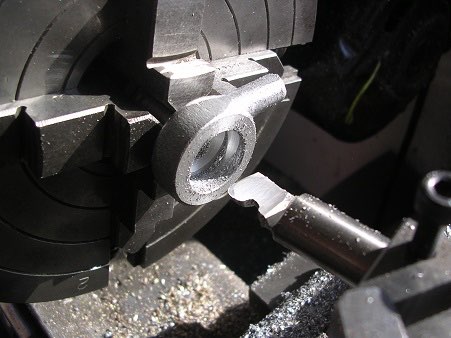
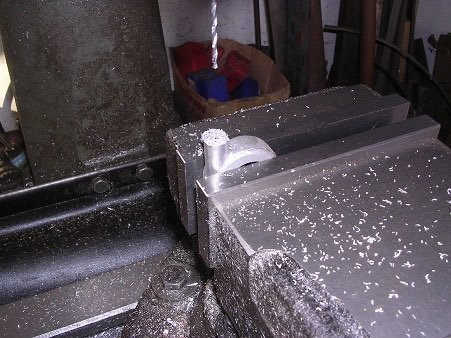
Water pump next. This is a casting with a thoughtfully provided chucking piece.
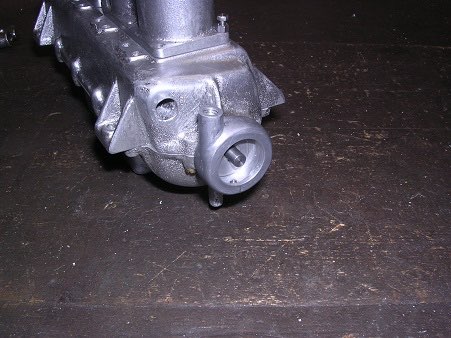
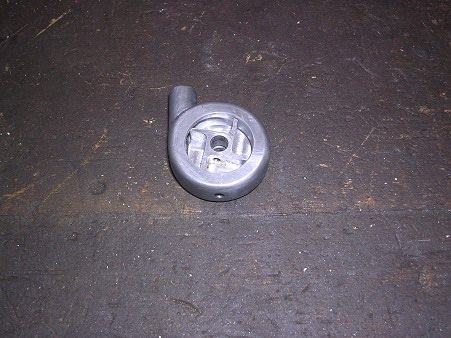
After facing and boring, I mounted it in the four-jaw a bit eccentric and bored the water way such that it got wider towards the pump exit. Not quite a volute but giving the same effect.
In the model, the pump is mounted on the end of the crankshaft.
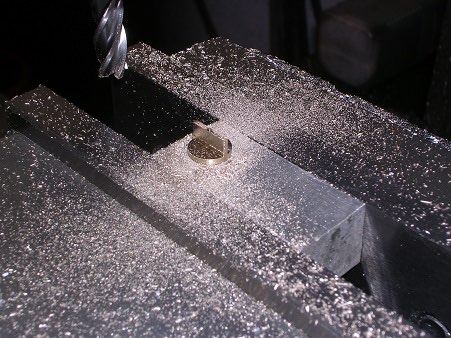
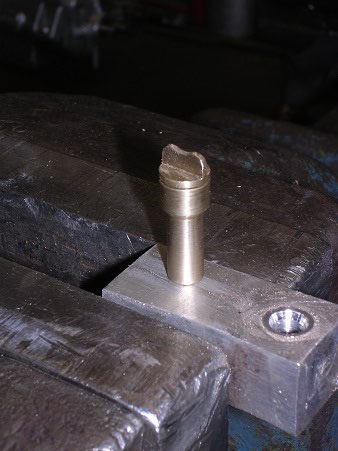
Then the impellor, mounted in the dividing head to have the vanes milled.
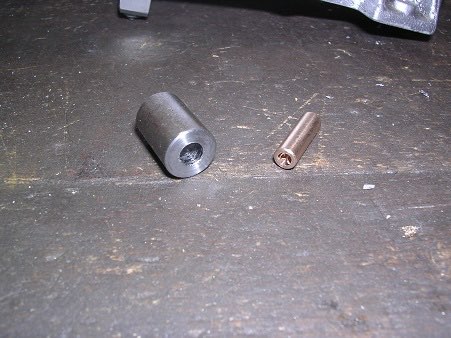
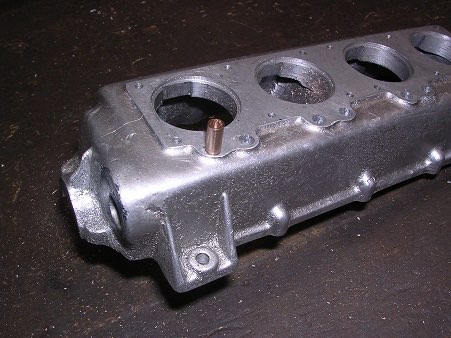
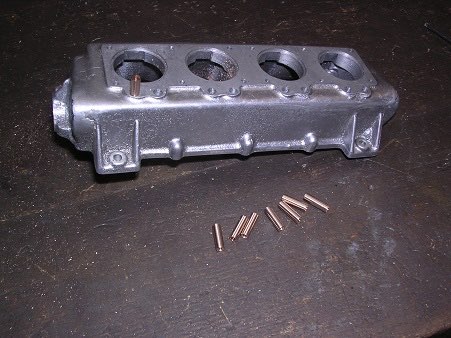
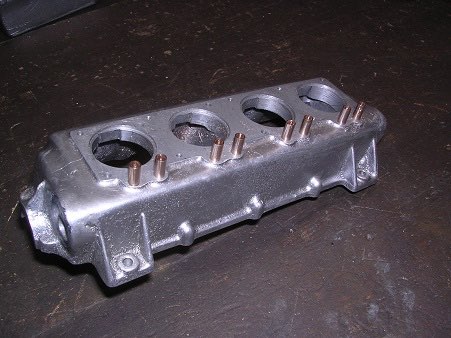
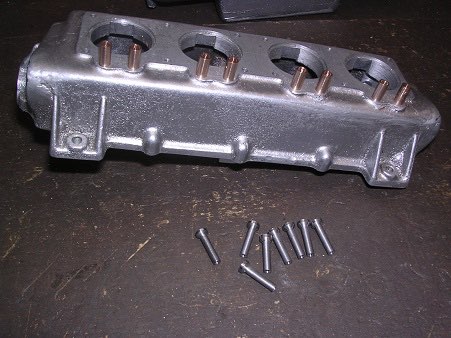
Cam follower bushes next with a press jig to push them into the casing all the same amount.
And the followers, a relaxing turning job.
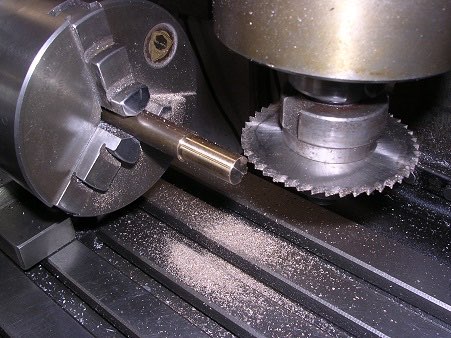
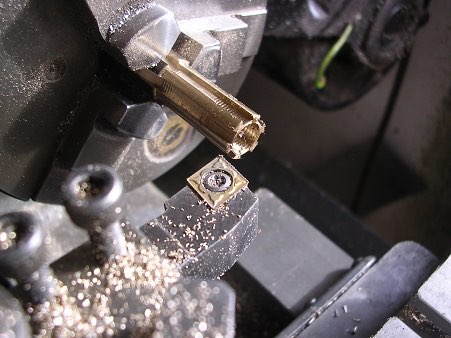
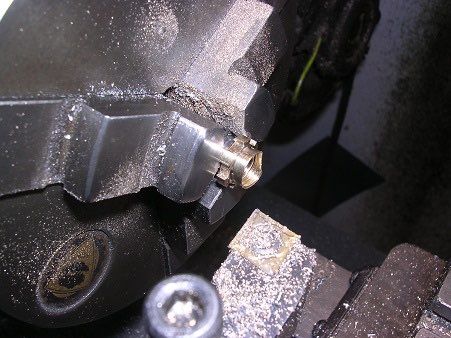
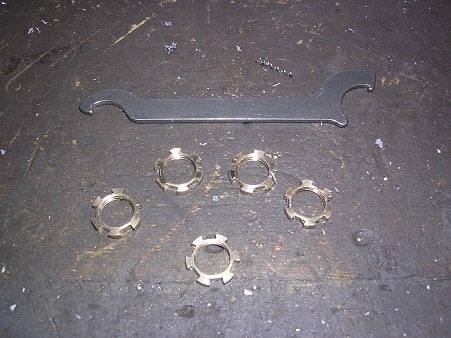
The exhaust pipes are mounted by screwing into the block and securing with a brass collar slotted for a C-spanner.
A perfect fit for my micrometer spanner!


Part 17 here


https://www.sarikhobbies.com/model-engineer-builder/

Modelengineeringwebsite.com

the only free and the only weekly magazine for model engineers. 

Editor: David Carpenter