...Continued from Part two
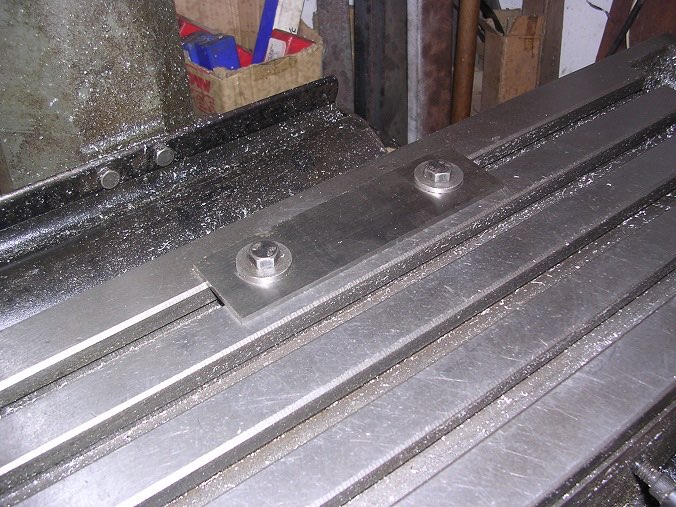
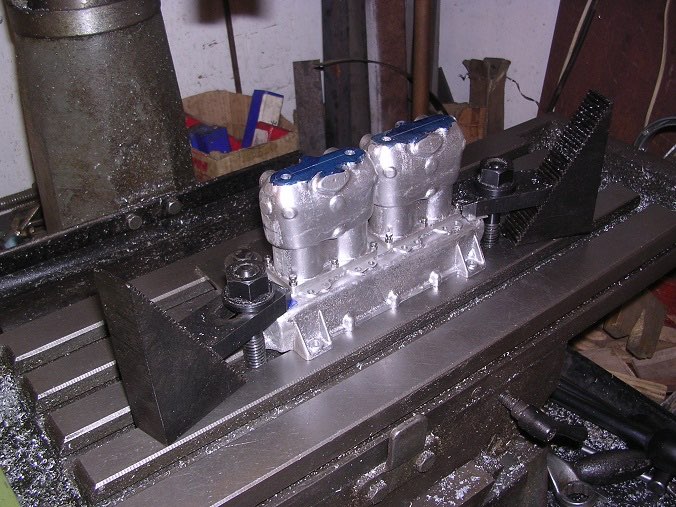
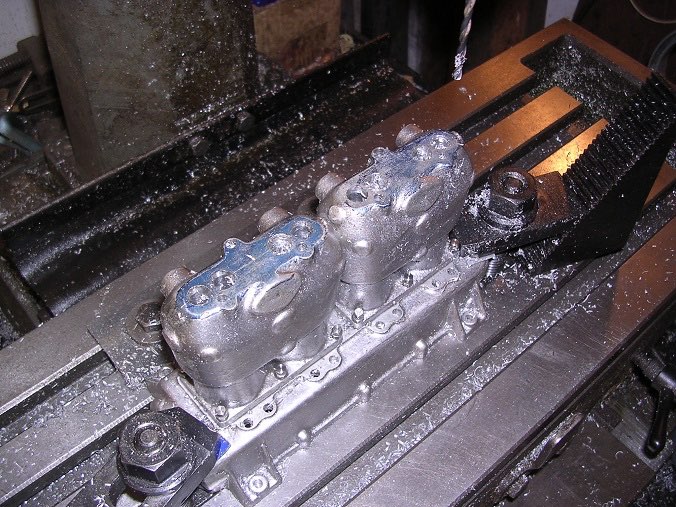
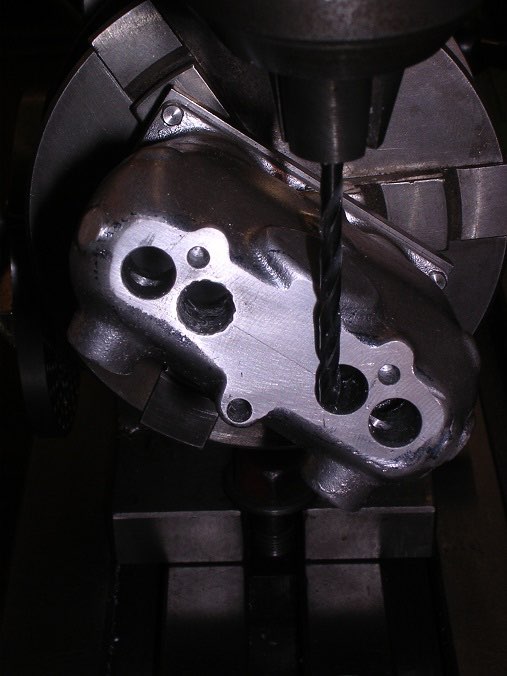
Next job is to start putting some holes in the top so I have clamped a datum to the table to allow for quick setting up and movement should it be necessary.
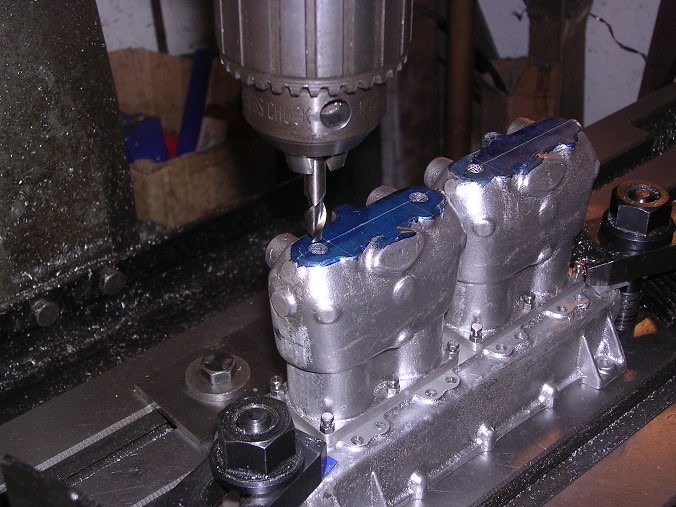
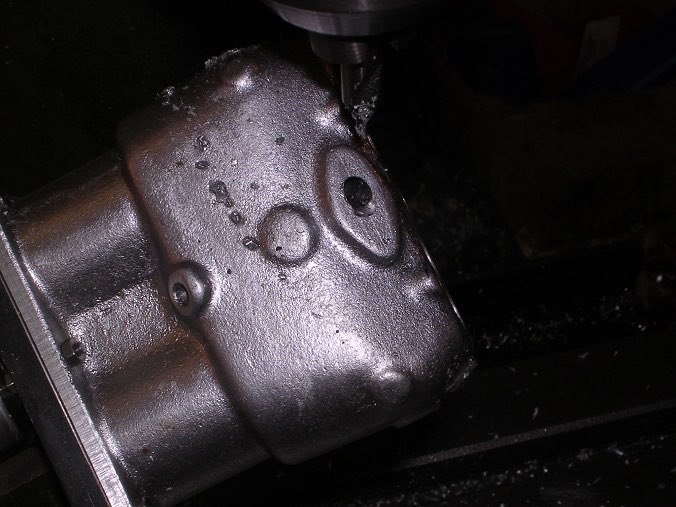
The valve holes are partially cored in so I used a nice new slot drill as a pilot. One of the nicest things I am finding with this job is that I have put away a number of brand new cutters over the years and saved them for 'best'. Well, this is 'best'!
I have also treated myself to some new reamers as I didn't have any metric tools. I was doing something wrong with this one though as it 'picked up' in two of the holes despite my best endeavours to keep the flutes clear.
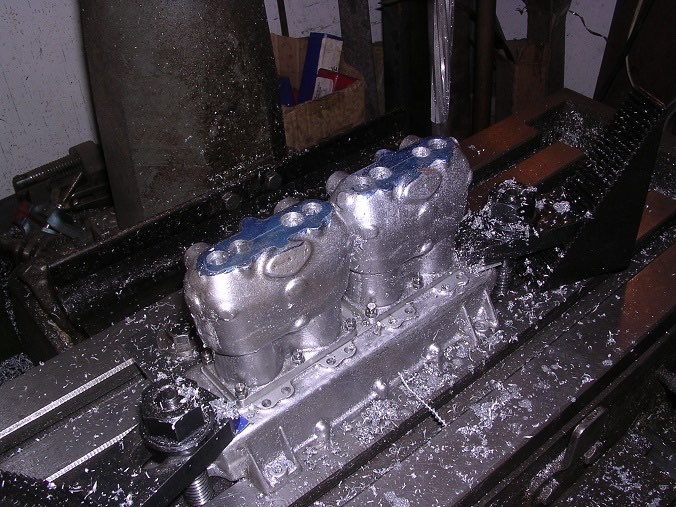
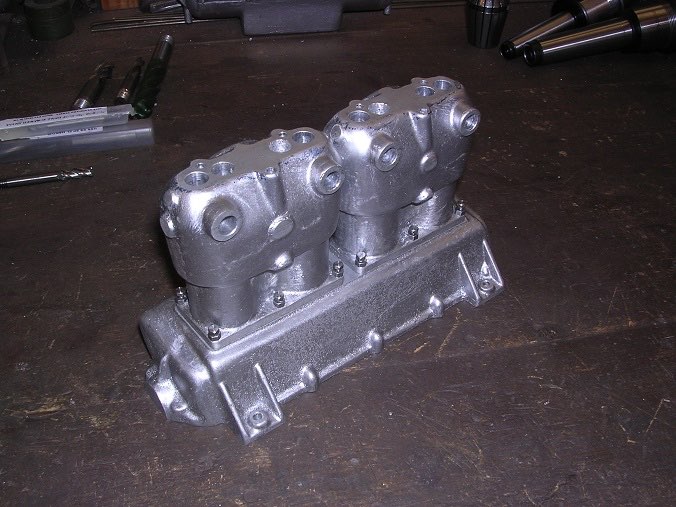
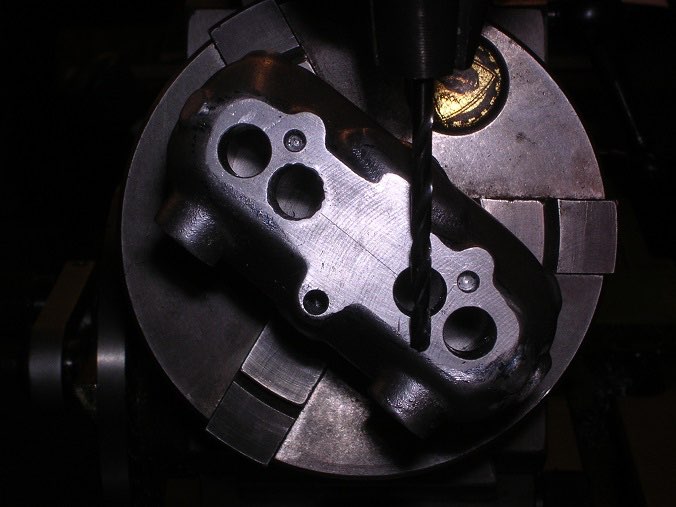
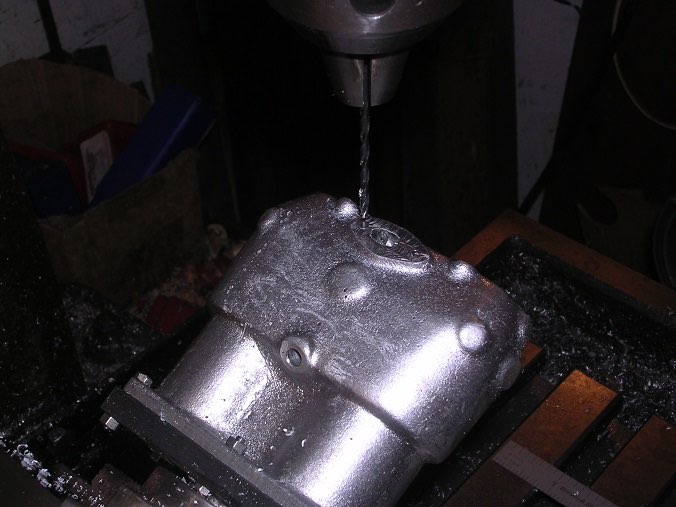
progress with the cylinder blocks. First job was to finish drilling the holes in the top so the coolant holes and the holes for the rocker shaft pillars were completed.
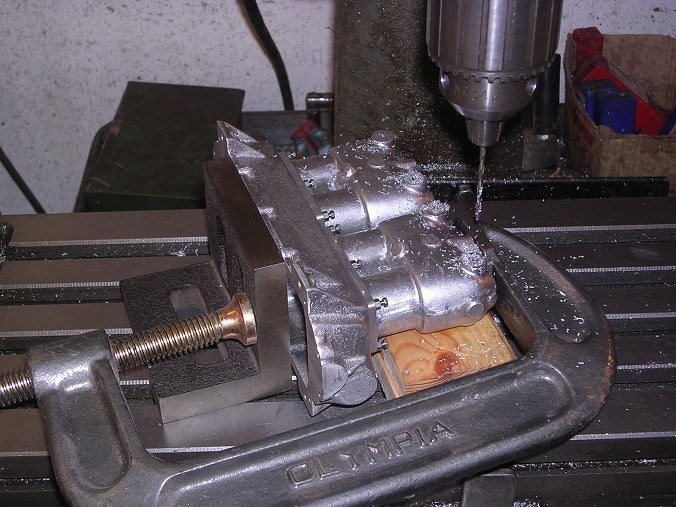
Then it was on to the exhaust ports. These were milled off using the drilling set-up and then marked across with the height gauge to keep them in line. Finally, the block was held square against an angle plate and simply supported with a piece of wood while I put the holes in.
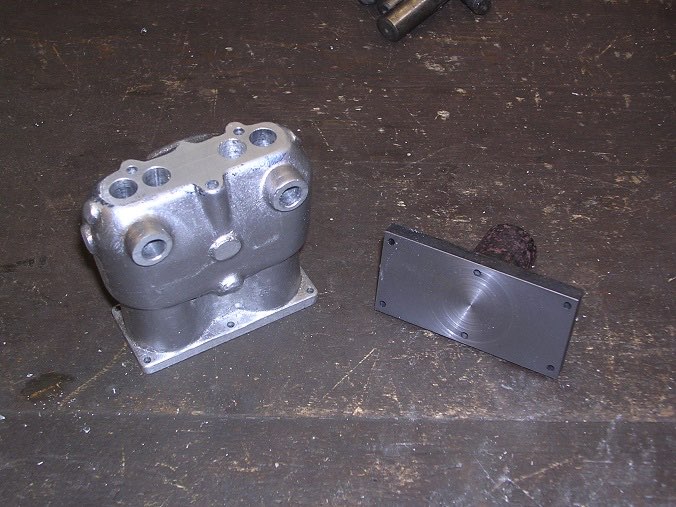
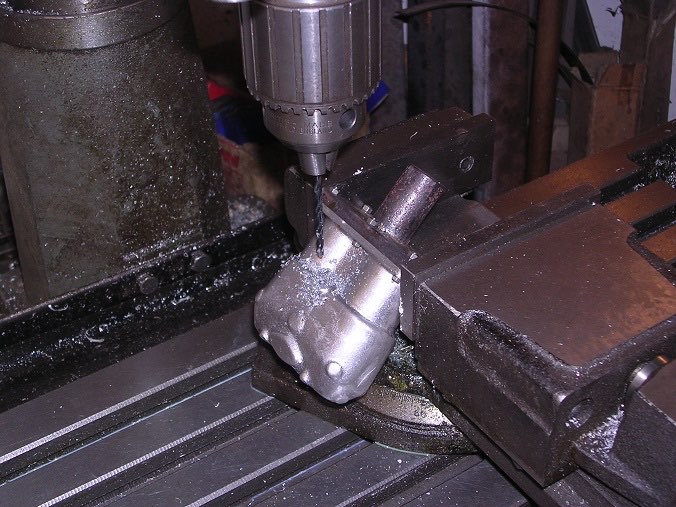
Next the more difficult angled holes. I had been puzzling how to achieve these for a while. Eventually, I decided on a mounting plate with a spigot that I could hold in the dividing head. I made the plate slightly longer than the base of the block so that I could get a good hold of it in the vice.
I faced off the water inlets and drilled them through.
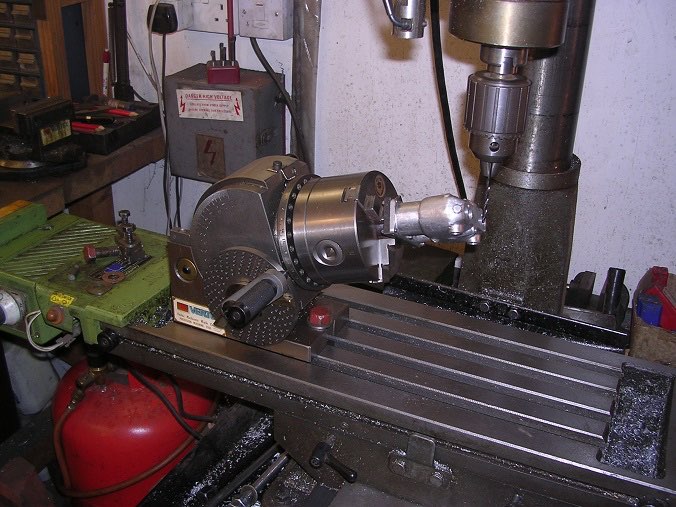
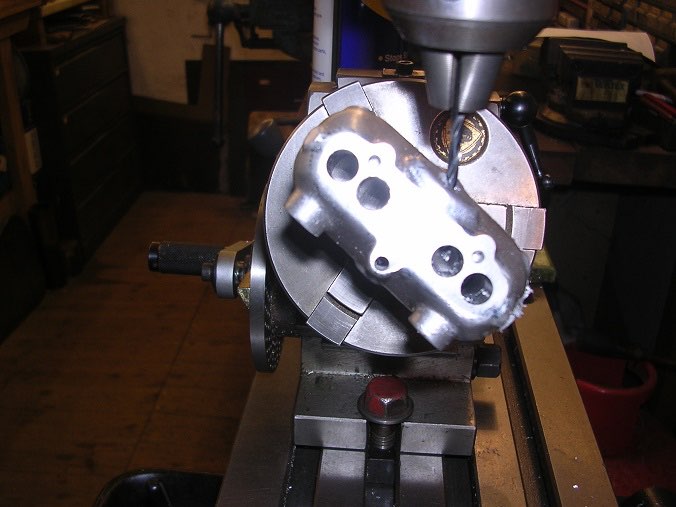
The mixture inlet holes are at a compound angle, defined in the drawings as 18° up and 34° rotated. I set up my dividing head and elevated it by 18° and rotated it.
Unfortunately, the alignment didn't look quite right to me so I needed to think some more on this one. It is essential that the port comes out above the valve seat of course!
The dimensions on the drawings are accurate but are a bit scant in places. There is a note next to these inlet holes which says to check the casting and I feel that the position of these is very susceptible to casting variation. In the end, I have laid it all out on the drawing board at five times full-size after measuring the actual castings and have calculated the angles to suit.
Then it was just a case of using a centre drill and taking my courage in both hands.
Fortunately, it worked satisfactorily although I did seem to be a whisker off-centre. Nothing I can’t live with.
I finally faced the flange (at yet another angle) and drill the holes for the studs.