Time to get the JBWeld and stick the new bits to the cylinder casting. I have a few plastic spatulas that have different corner radii plus some rods with rounded ends to get a basic fillet which saves time filing and sanding hard JBW.
Once set but before tidying up the JB Weld I milled the boss back to the required length and drilled and tapped for four M1.6 studs to retain the flanged pipework.
As I mentioned when dealing with the valve chest I'm not keen on Stuart’s way of guiding the valve rod end in a hole that is a long way from where you can hold a drill bit. So another option was needed. I decided upon a similar guide to that seen on the No1 which is a bracket that makes use of two of the cylinder studs to hold it in place.
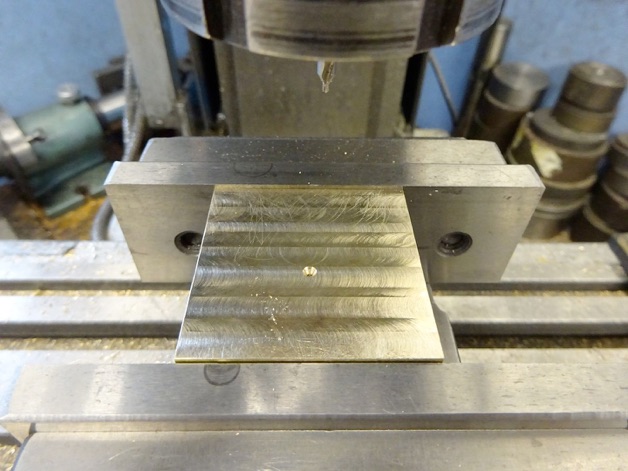
I started by thinning down a short length of T-section brass though two separate bits could be used. Then hauled up the boat anchor that is otherwise known as my long-serving Indian made Soba rotary table and bolted a vice to that. Then another smaller vice to hold the T-section so that a semi-circular notch could be cut on the overhanging end; two mounting holes drilled, and then the rotary table used to cut the two arcs.
After a bit of rough shaping I silver soldered a length of bronze rod to the end. To ensure that the valve rod ran nice and true through the guide I first set up the cylinder complete with valve chest on the mill and located the valve rod hole with a short length of silver steel (drill rod) held in a collet and locked the slides. You can also see the beginnings of the inlet elbow in this photo, just needs the D-section rounding and a flange soldering on.
I then swung the bracket round into position and screwed it on tight. With some packing under the end so that it did not sag it could then be drilled out to take the rod.
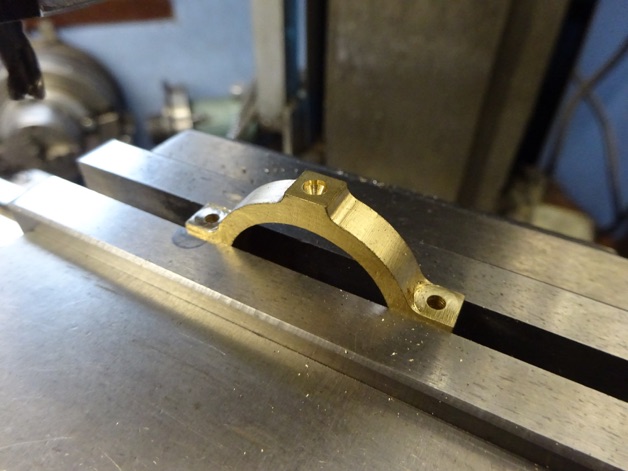
A bit of final shaping and rounding over the ends of the curved bottom were all that remained to do.
The eccentric strap started life as two pieces of brass that were soft soldered together before milling to the desired thickness and adding a centre hole.
This hole was used to get the strap running true in the 4-jaw so it could be bored out and then a grooving cutter used to form the groove that the ridge on the eccentric will run in.
A quick and dirty top hat bush was made to hold the strap while the outside profile was milled; another job for the Rotary table or CNC if you have one. I also cut a recess for the valve rod which helps get a straighter run for the rod thus avoiding the dog leg of the Stuart design.
The last job before unsoldering was to drill and tap the two lugs and centre drill the top to form a small oil pocket.
Part 8 here Part ten here