BUILDING A TIGER TANK

Part 15 by Vince Cutajar

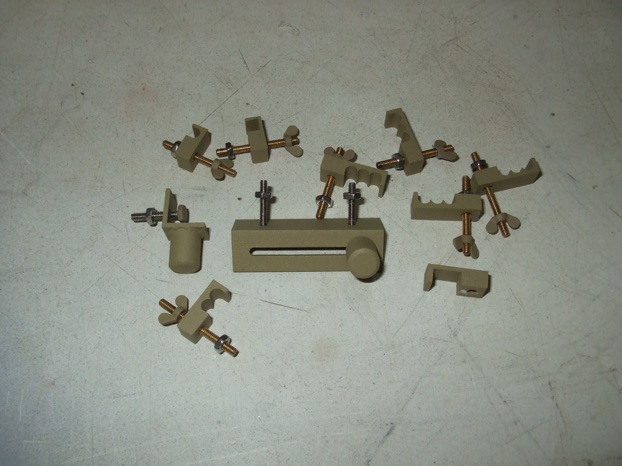
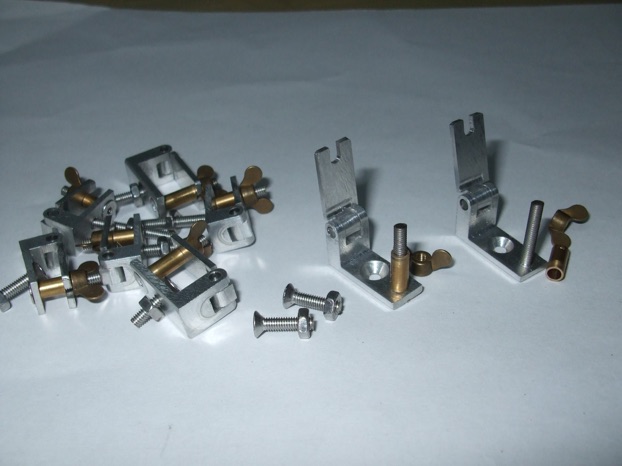
Finished work on the tow rope brackets that go on the engine deck. As I was at it I also did the front tow rope brackets. A little fettling was required to remove the stiffness in opening and closing the brackets. Changed the fly nut bracket hole and made it a slot for ease of operation. Made also a brass sleeve to hide the threaded portion of the screw.
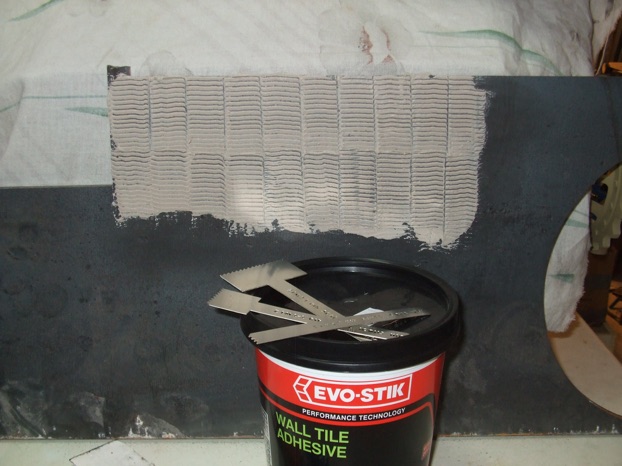
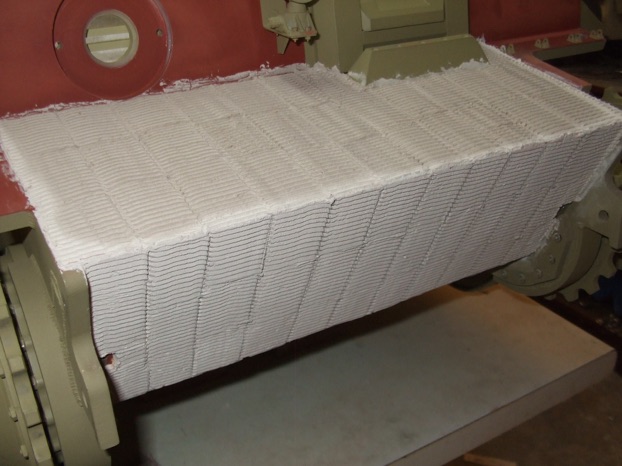
My first attempt at applying zimmerit (the hard anti-magnetic coating applied to German armoured vehicles in World War II). Last time I was at the laser cutters I managed to obtain for free a piece of flat plate which was being scrapped. Lucky me. So using this flat plate as my test bed I proceeded with the zim experiment. I am using pre-mixed wall tile adhesive and just wanted to see how easy or difficult it is to use. I also want to see if it can be easily painted.
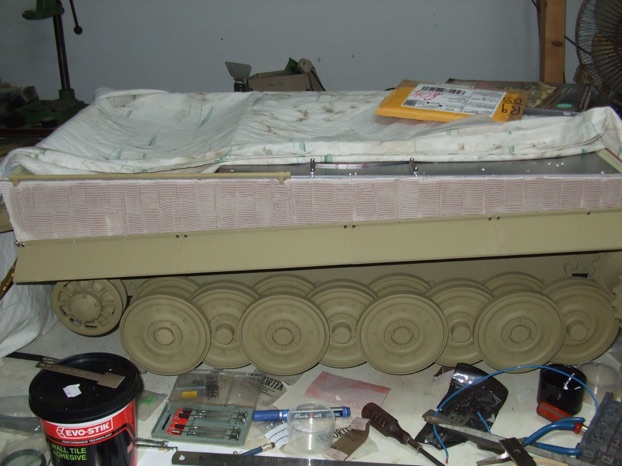
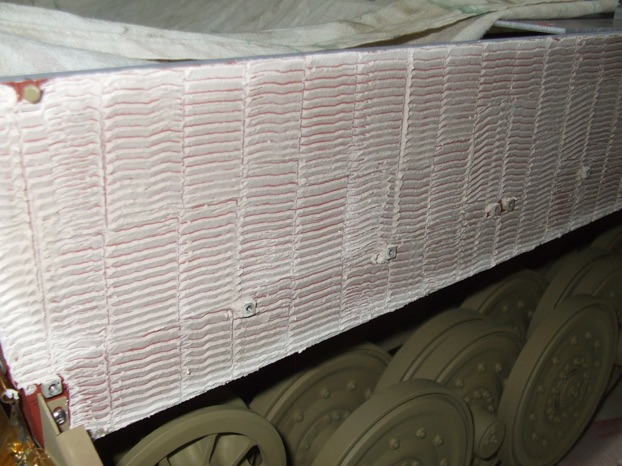
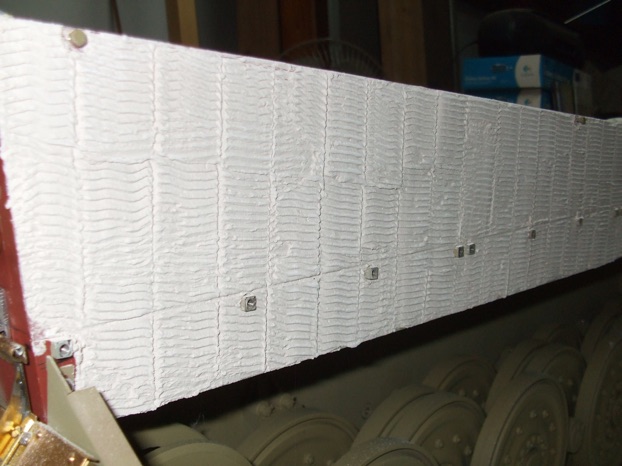
Took the plunge and applied some simulated zimmerit to the tank.
After sleeping on it I removed the zim and re-applied it. I made the layer slightly thicker and also changed the orientation of the zim tool which I think gives a better profile.
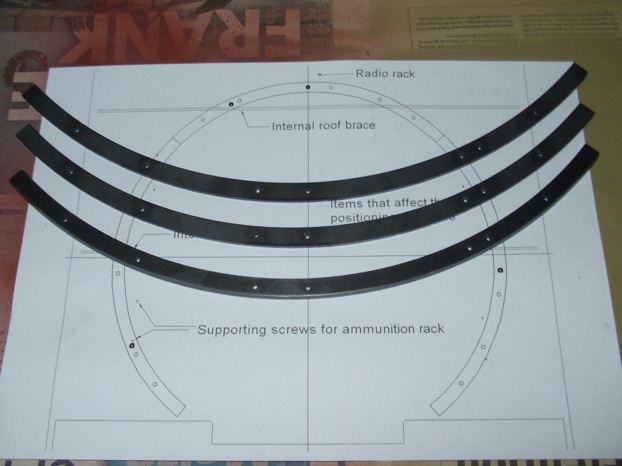
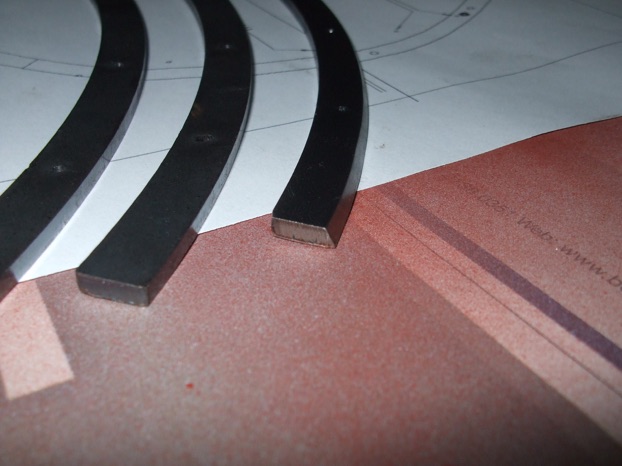
I decided to change the kit turret joint protector (bullet ring) and make one more similar to the real thing which is basically divided into three sections. So using the information from the tiger1 info website I drew one of those sections in CAD. Took this drawing and a .dxf file to the laser cutters and the three sections where cut.
I used the same width and thickness for these sections as the kit part. If I had to do it exactly in 1/6 scale it should be a little wider and thicker. As I did not know if it would interfere with other components I thought I would play it safe. Another thing I wanted to add was to add the bevel on the outside of each section. I have been thinking about how to achieve this for some time. Grinding with a Dremel was always the obvious solution but doing it free hand was going to be ‘iffy’ at best. Then a couple of days ago I had one of those moments. Why not use my T & C grinder instead. It has a decent table and I can fix it at the desired angle. So I ground the bevel on one of the sections and happy to say it turned out well.
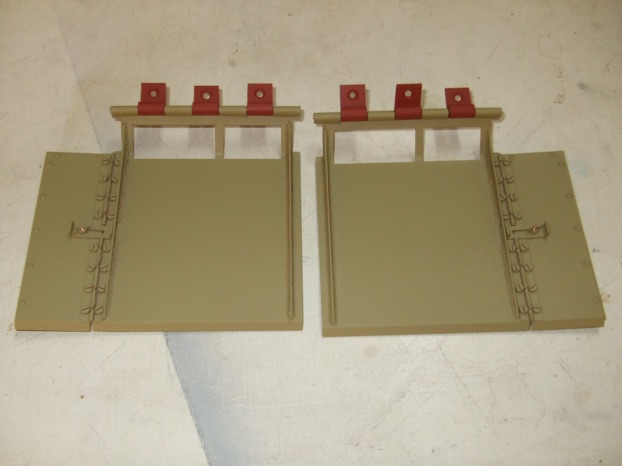
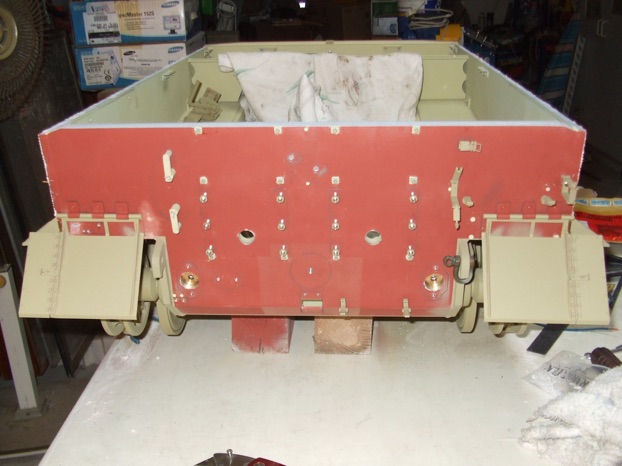
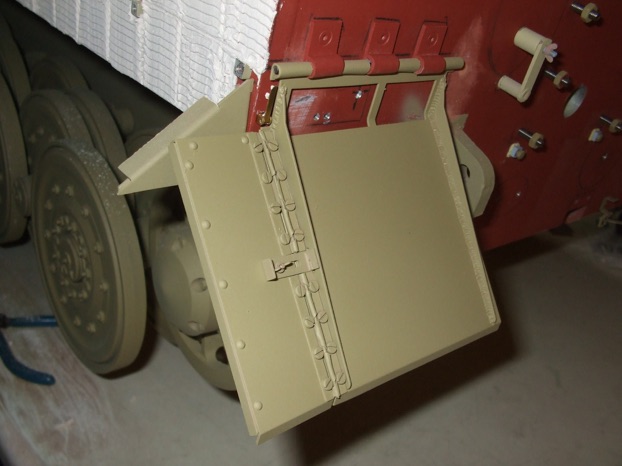
Finished painting the rear mudguards in preparation to applying zimmerit to the rear plate.
Painted also the home-made track rope clamps.
Slowly progressed with the application of the zimmerit. The left and right sides were finished followed by the front of the tank.
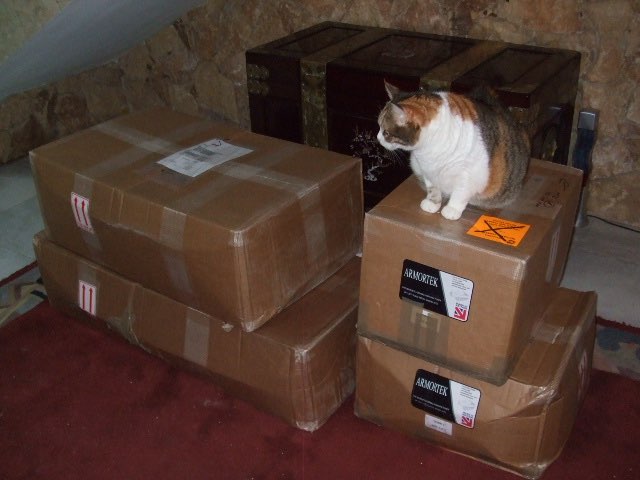
Happy birthday to my Tiger 1. Exactly a year after I received the four boxes from Armortek.

Part 14 here Part 16 here

 
https://www.sarikhobbies.com/model-engineer-builder/

Modelengineeringwebsite.com

the only free and the only weekly magazine for model engineers. 

Editor: David Carpenter