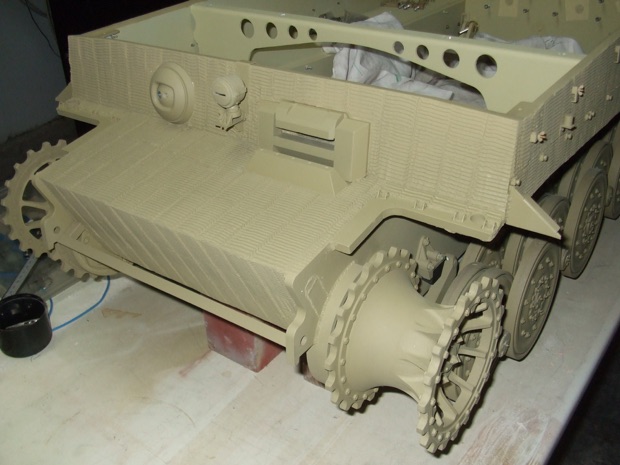
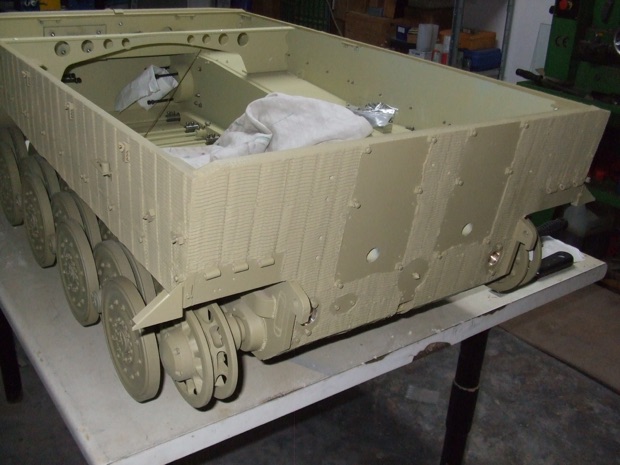
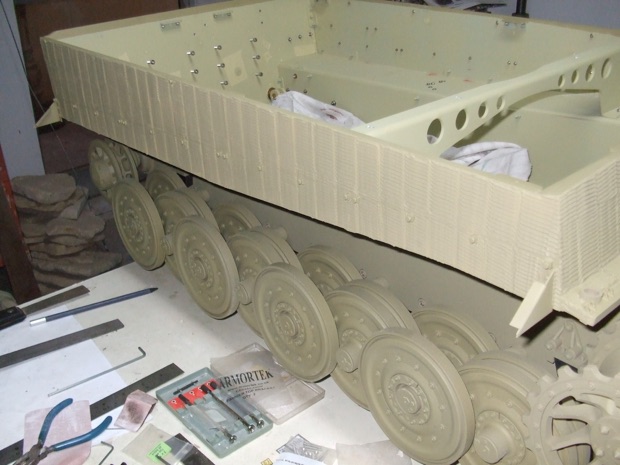
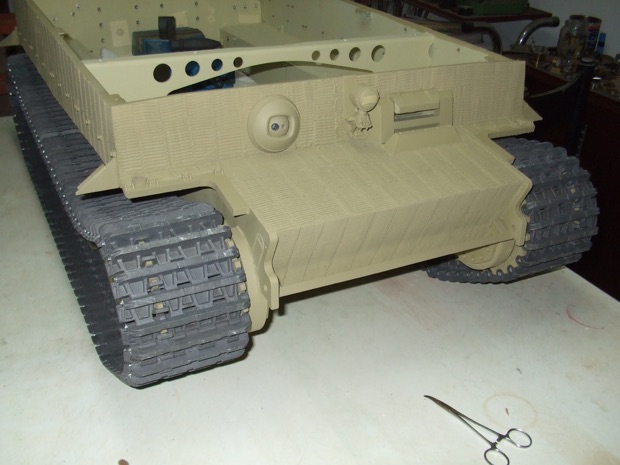
Finished painting the zimmerit.
I have not invested in a hydraulic lift table. So I had to plan how to proceed with the build. The hull is finished with all its bits and pieces so the plan is to put the hull on the floor and clear the table so that I can do the bench test of the electronics and start work on the hull roof. But before I remove the tank from the table I thought that it would be a good idea to install the tracks and remove the excess track links.
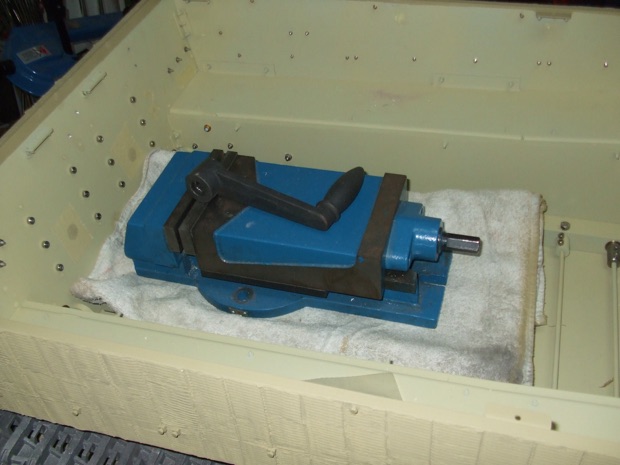
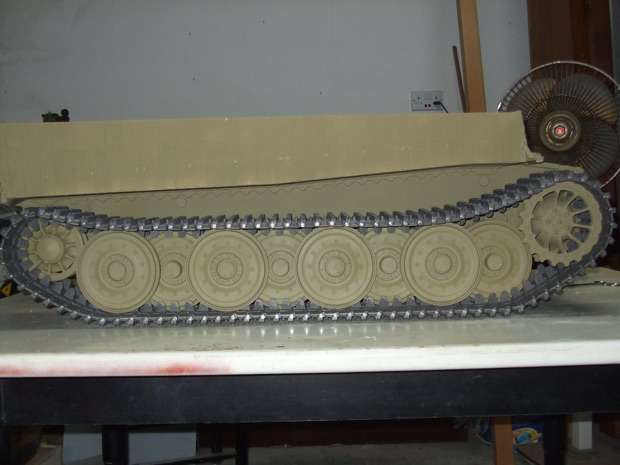
So I put on the tracks and to simulate the weight of the batteries I put my 5" milling vice on the tray table.
I adjusted the idler tension to it's minimum and removed the extra track links. I now have 93 track links on each side.
With the help of my wife, I removed the hull from the table to the floor with the tracks installed. I cleared and cleaned the table and with some trepidation made a start of assembling the electronics on the table.
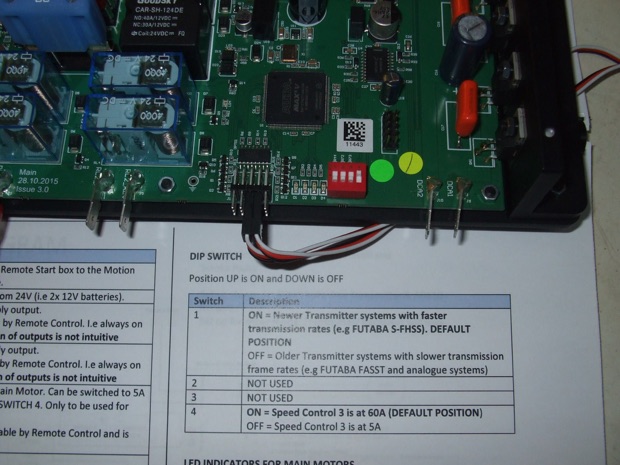
Initially, I wanted to hook up the motion control module and the audio module enough to run the two drive motors. I first removed the cover of the motion control module as I wanted to check the position of the DIP switches.
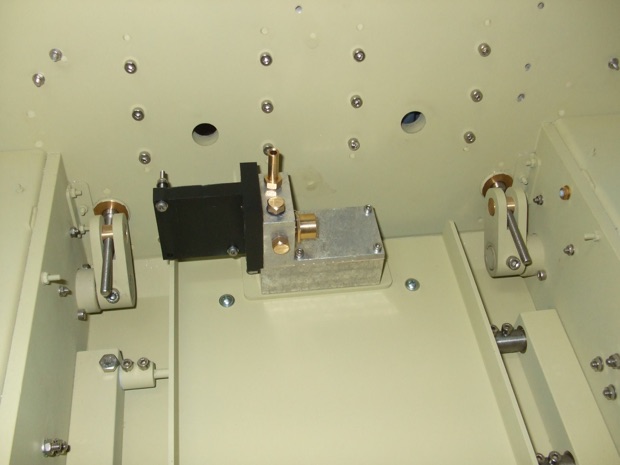
It took some time to sort out the electronics and wiring and I cleared a small area of the table and put together the mechanical part of the smoke module.
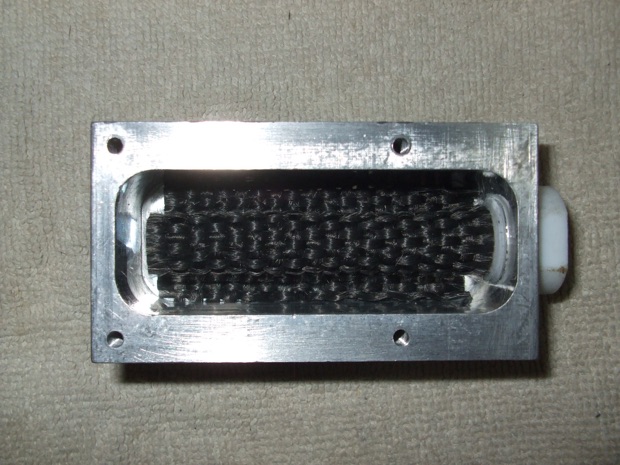
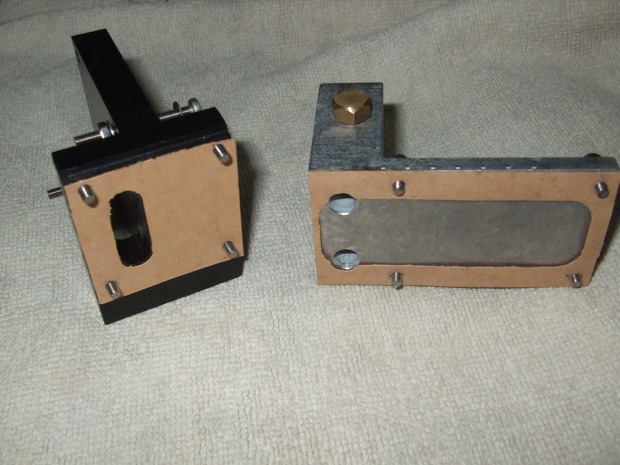
Not really required, but I made two gaskets.
Started experimenting with how to hold the heating element in place.
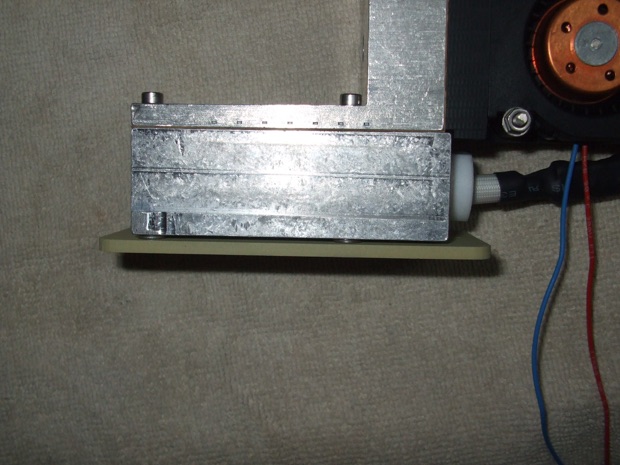
With the help of some washers, the bottom of the reservoir is not in contact with the steel plate below it so that it does not act as a heatsink.
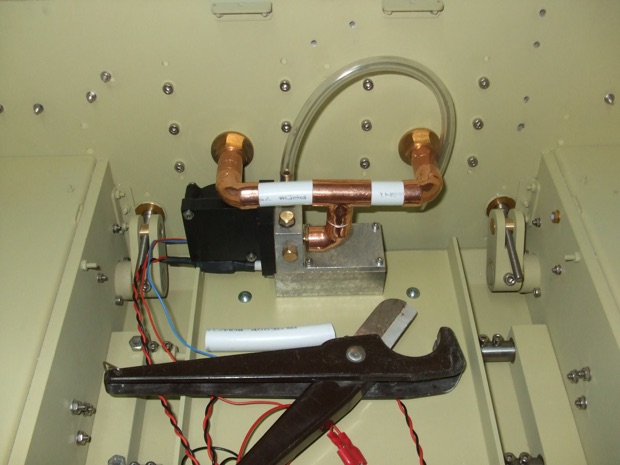
Plumbing for the smoke module hit a snag. The piping from the right exhaust stack was fouling with the body of the smoke module fan housing. This meant that the smoke module was sitting too high on the battery tray. I thought I would solve the problem by removing the spacers (1mm) I added under the reservoir but it did not help. So I removed the smoke unit base (CP0125) which is 3mm thick to see if this would help.
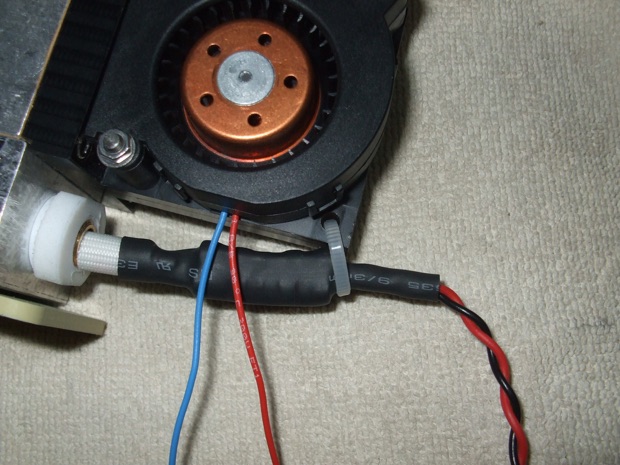
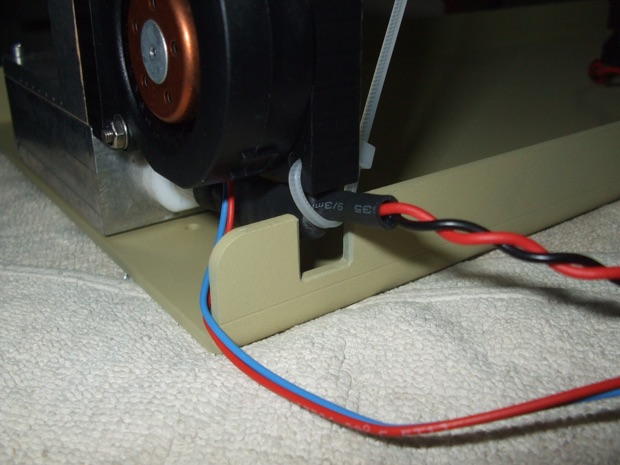
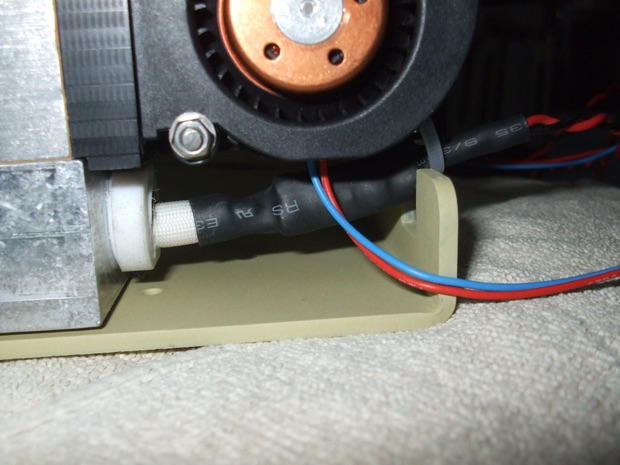
This solved the problem. So using this same smoke unit base as a template I drilled the four holes required to bolt the smoke unit directly to the battery tray. Unfortunately this created a new problem for me. As the smoke unit is sitting lower on the battery tray, I noticed that the wiring of the heater was snagging badly with the edge of the battery tray which could in the future be a source of a short circuit. So I milled a slot to make sure that the wiring does not touch the metal.
The actual plumbing went together very quickly. I was fortunate to have a water pipe cutter which produces clean cuts in the plastic pipe.
Part 15 here