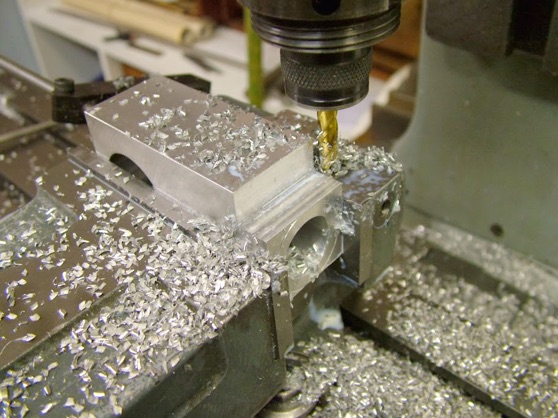
Apart from the two faces that the front housing and back-plate screw into, as well the top and exhaust faces of course nothing on this case ends up flat. I had no real preconceived plan as to how this is all going to proceed apart from the usual approach of taking metal off cautiously bearing in mind to leave it where it needs to be, but leaving sufficient in places for suitable work holding.
I visualised that the upright part of the case would be turned in part, the remainder being milled - the whole then being fettled with files and rotary burrs. Initially, leaving plenty on - 1mm all round i.e. 2mm on diameter gradually reduced as it goes.
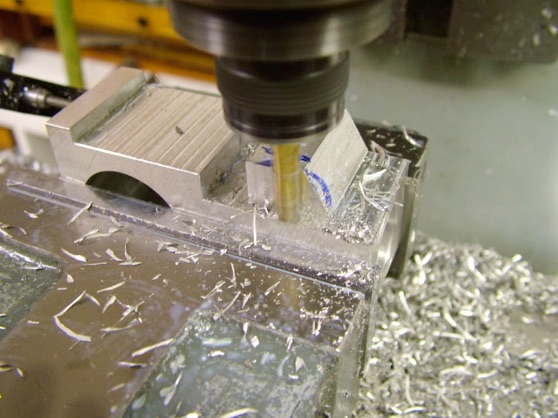
First up had to be establishing the angle exhaust stubs. The top was dealt with first - that groove in the top face is 28mm diameter to act as a guide finished diameter is 26mm.
The 30 degree angle was milled, the actual position (again leaving plenty to come off) was scaled from the drawing.
The side waste was milled away to 2 mm up on the major diameter around the case.
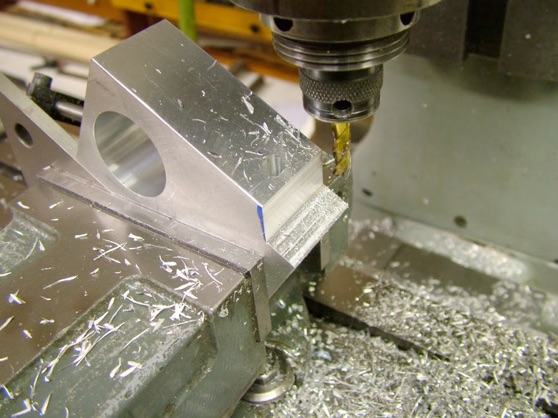
Then the top portion below the stubs taken down to 28mm.
Finally for this stage was to remove the waste from the front of the stubs....
...Incidentally all the milling was done by 'climb milling' By using a small cutter (6mm) and high speed the feed can be applied quite high without 'crabbing'. (2mm cut 11mm deep here) A dab of coolant was applied by brush to help prevent build up on the tool. Providing the mill is up to it I find this is a much easier way to remove metal without undue stress on the machine or cutter - I'm not recommending it - it just works for me.
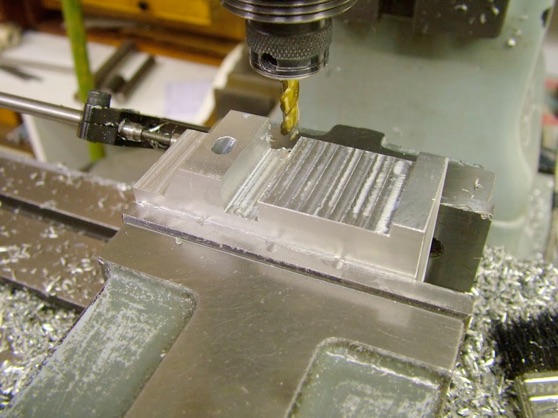
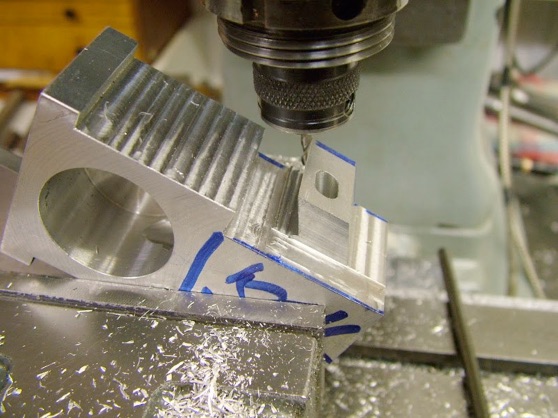
Milling the relief under the stubs.
Then bring the top section down to 28mm 'square'.
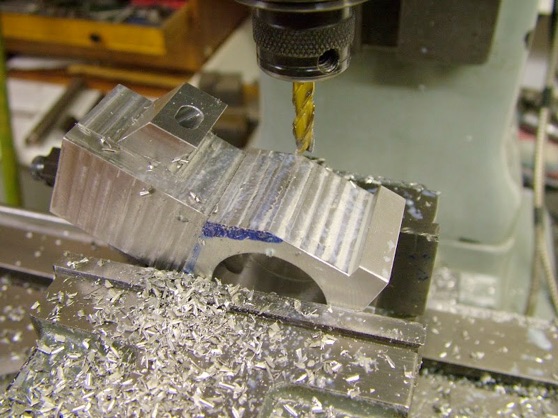
A bit more of the lower half was got rid of - nothing 'scientific' just milling to an eyeballed scribed line.
And at last they are ready to start bringing to section.
The 'feet' haven't been left on for a specific purpose - just being left at this stage in case they should 'come in handy'. Next up is to make an expanding mandrel.
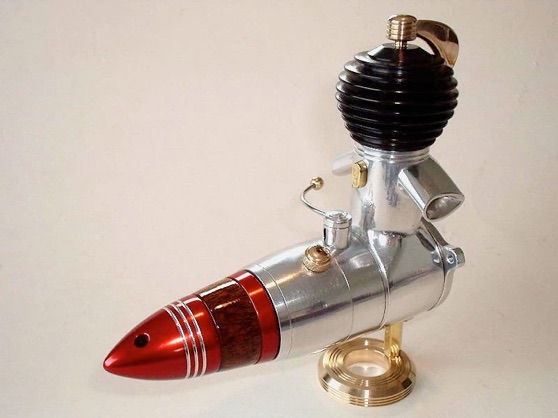
part one part two part three part four part five part six part seven part eight
part nine part ten part eleven part twelve