The cranks were made using my favoured method of conserving what En24T I have by using an inner shaft turned from a high tensile cap head bolt. Once that's fitted they are no different from a crank made from solid.
First up was to rough the blanks to 16mm diameter (to fit a collet).
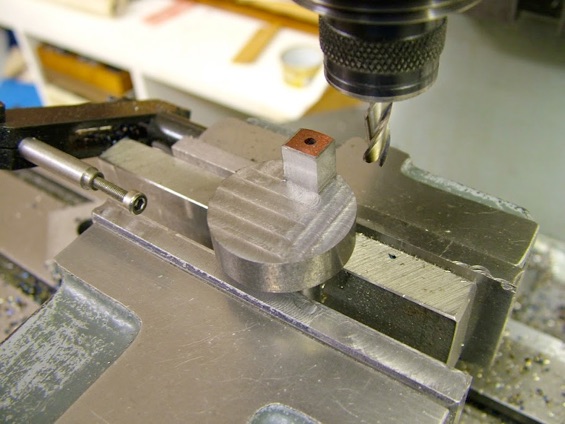
The rotor is in front of the web on this engine and driven by an inserted pin. It was easier to spot and drill right through (2.5mm) and reverse to open for 3mm reaming than doing it all from the other side.
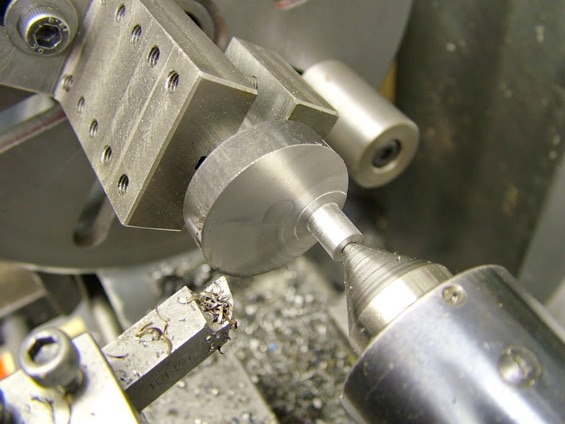
There is no 'easy' way to remove the waste around the pin but I find milling it is better than all those interrupted cuts if doing it on the lathe.
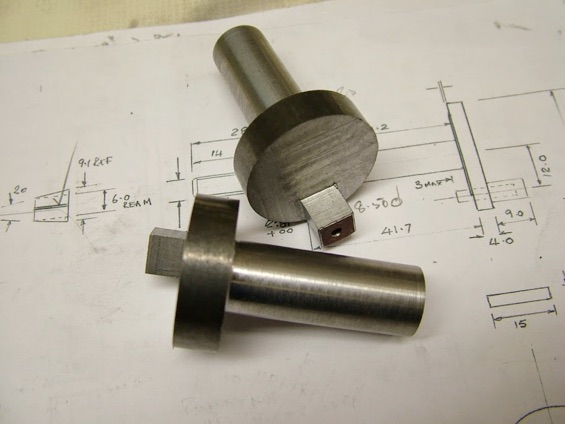
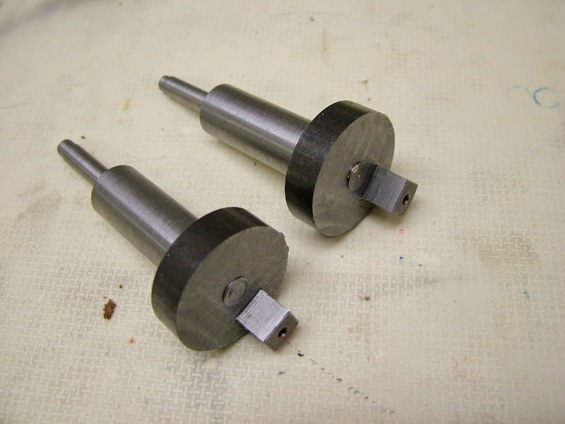
The first 'roughing' stage completed.
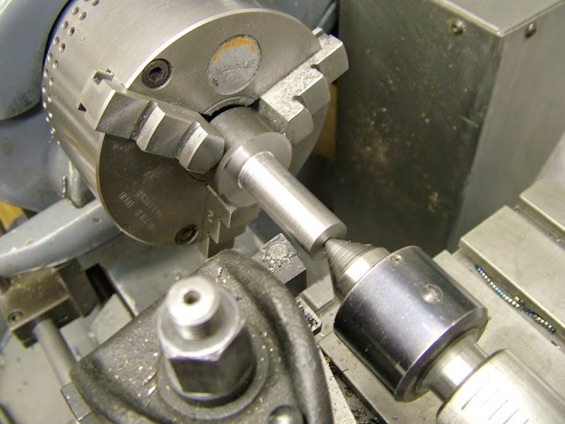
Held in the collet the blank is drilled and reamed 6.35mm and the central shaft parts turned from the (8mm) cap heads previously mentioned to a good shake free slide fit. The heads and the threaded portion of the bolt are discarded, the shaft made from the shank. Some may question why go to this bother but as said this method began as a means to extend the En24T steel available at the time. It's proved successful - none have 'let go' as yet and I'm quite happy to continue.
The end of the 6.35 hole is taper turned at 5 degrees for about 4-5mm depth and the central part turned at 7 degrees. Cleaned thoroughly they are assembled with Loctite 601 and the central part given a good clout to bed the taper in.
Using this fixture the crank pins were then brought to a round section but left a mil over size.
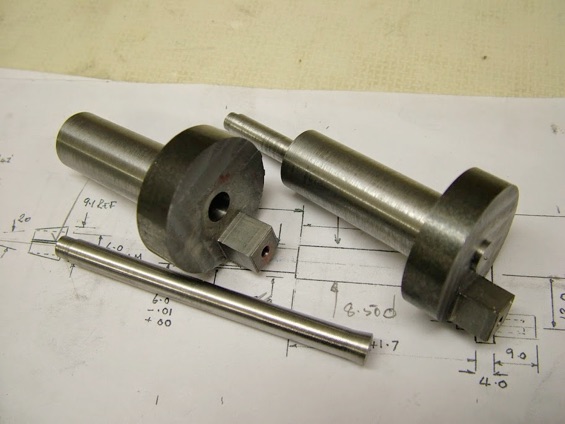
The shafts were put back in the collet and a small centre put in to allow turning between centres. With the crankpins now able to be used as a driver the shaft is first roughed to within .5mm on diameter ...
...then finish turned using HSS tooling and the 6mm thread screw cut - it's much too tough to ruin a die on. The tool doesn't look much but the form is precision ground - it's the top face that gets attacked by hand.
Finally it's returned to the fixture to have the pin finish turned and the web faced to thickness. The shafts and pins are turned to within .03-4mm and reduced by filing with a very fine file then emery and 800 grit wet and dry used with paraffin as lubricant.
There's just the web scalloping to do to finish them off. No nothing's been cleaned at this stage - that way there's no temptation to keep screwing things together.
The actual method of process has varied a bit since first starting to make these cranks. At first the shafts were counter-bored and a 'head' left on the centre part but this taper method not only ensures nothing will ever pull out but also gives a very neat join line. Though it may seem a bit pointless to do the crank-pins in two set ups rather than the one (as originally done) it's actually better with two as the pin does not have to be protected in the drive slot for a start and more importantly the pin is also finished in alignment to the finished shaft itself rather than the roughed out section if done in a 'one-r'.
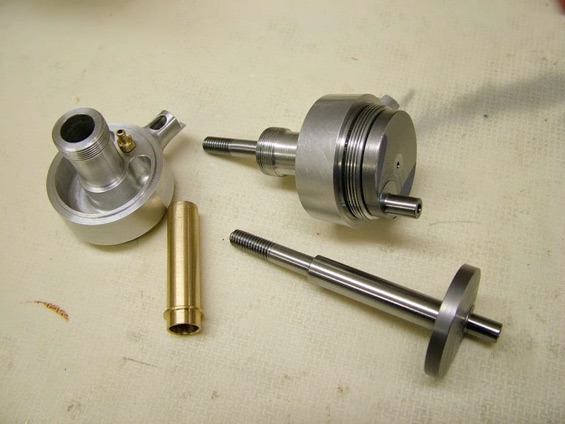
Shafts were finished by milling the side relief in the webs and, after a thorough cleaning of the bore, Loctiting the bearing sleeves in place.
part one part two part three part four part five part six part seven part eight
part nine part ten part eleven part twelve