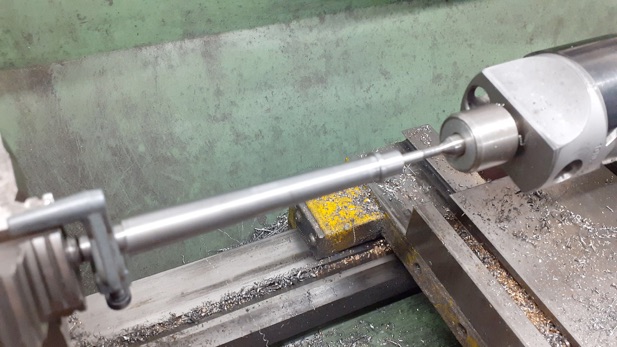
The columns seemed the next logical item to make. Starting with four pieces of 12mm steel bar The ends were centre drilled, quite deeply at the bottom, so that a centre would still engage once it was drilled and tapped M5 for the CSK screws that will attach them to the bed and I also turned a short 8mm spigot to locate the columns in the bed. The tops were turned down to 4mm and threaded.
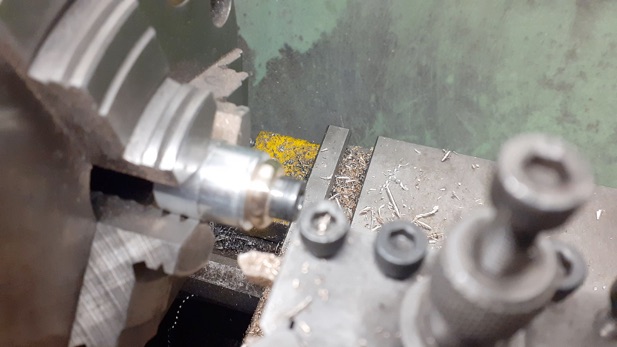
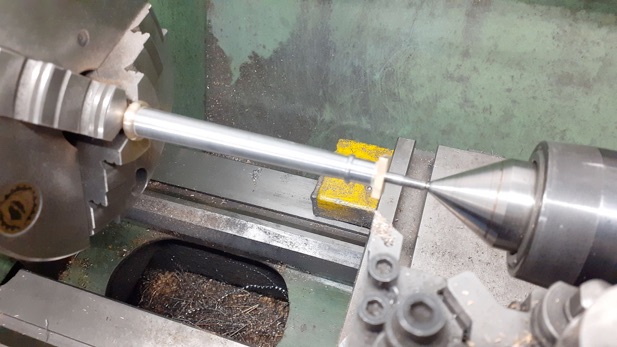
After that the embryo columns were mounted between centres with the tailstock one being held in my boring head so it could be set over for taper turning. The next couple of photos are a bit blurred but it's a similar method to that used on the Real.
Some round ‘washers’ were parted off and then held on a simple arbor to round over each corner to give them a half round edge. Some plain edges, square ones, were also made to go at the tops of the columns.
After gluing the ‘washers’ on with Araldite and allowing to cure they were held in the 3-jaw using the jaws as a stop and all faced down with the cross slide locked which ensures that they will all be the same height.
On the
Victoria and
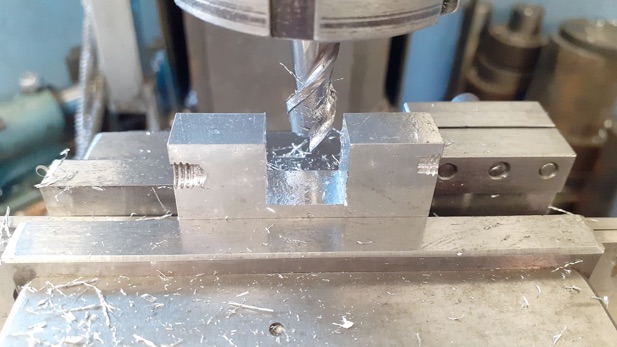
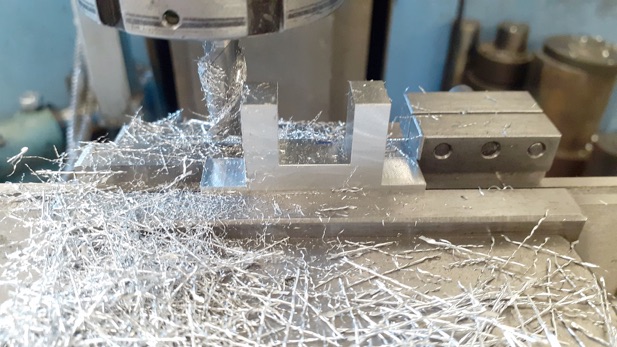
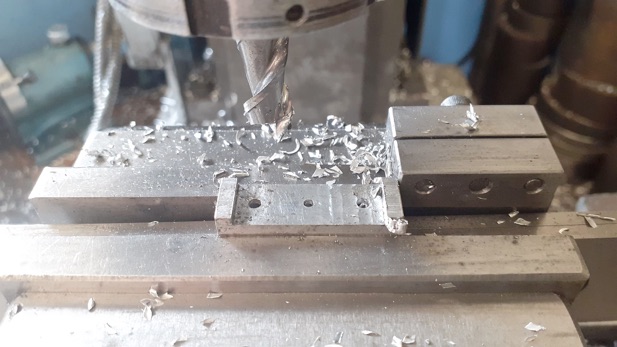
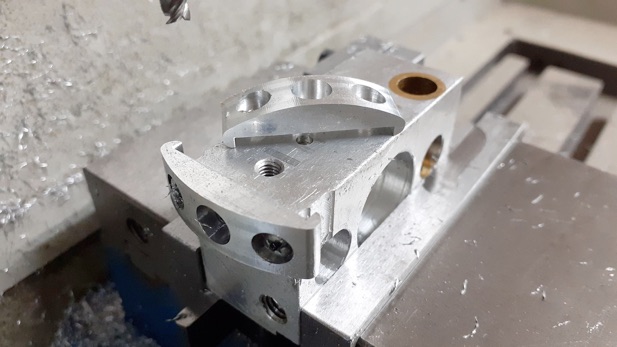
Real I more or less copied the Stuart design for the bearing pedestals but a third pair was going to be a bit boring so I decided to make these with square brasses and curved caps. Starting with the main pedestals two pieces of 10mm aluminium ware machined to overall size and then a pocket for the bearing milled centrally.
Followed by machining the sides to leave the feet, these were done in 17.9mm high x 2mm stepover passes using a 2-flute cutter designed for non-ferrous cutting. The last cut having the cutter lowered to the full 18mm depth to avoid any stepover marks on the foot.
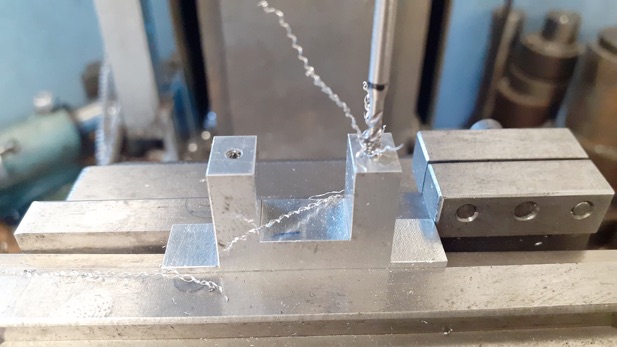
The last couple of jobs were to drill and tap for the caps using an M3 spiral flute tap which lifts the swarf out of the blind hole and then two 4mm holes in the feet.
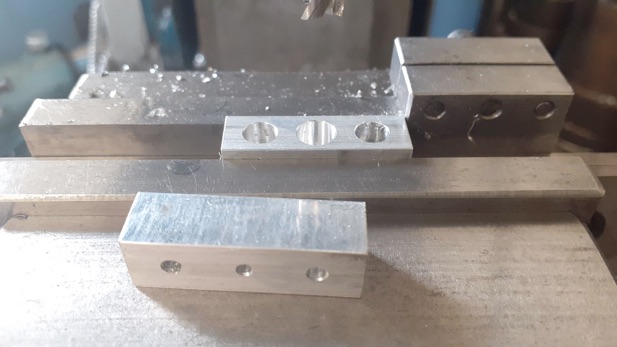
Two more bits of 10mm material were sized up for the caps, drilled and counterbored for some bosses to be bonded in; the central hole is for the oiler also counterbored for a threaded boss.
The underside was milled out 2mm deep (1mm overlap and 1mm gap) so that the cap would slip over the pedestal.
A couple of holes were quickly drilled and tapped into a well used holding block and the CNC made quick work of roughing and then profiling the cap seamlessly blending the three arcs into one. It can also be done on a rotary table without too much effort.
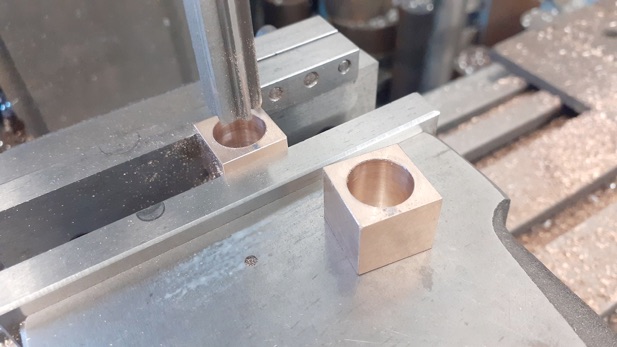
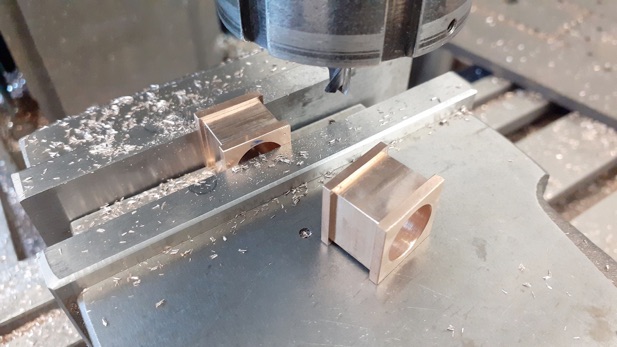
The bearings where soldered together, milled to size then drilled and reamed 12mm in the mill.
Last job on these was to mill a 1mm deep groove all round just over 10mm wide to allow for the paint on the pedestals.
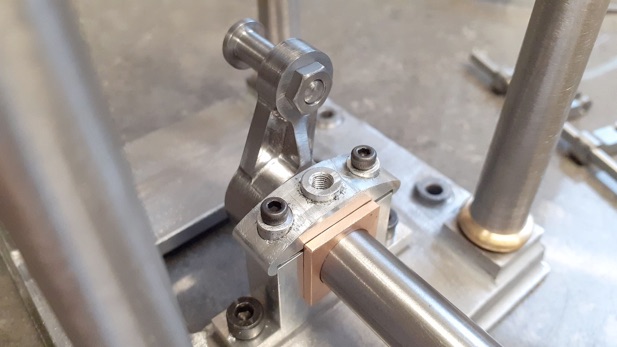
Here is a shot of the assembled pedestal and the bosses have been bonded into the cap, I just need to add some fillets around them with body filler (bondo) and knock the corners off so they look like castings.
Part one here. Part three.