1909 MERCEDES

AERO ENGINE BUILD

Part 20 by Steve Gosling

...continued


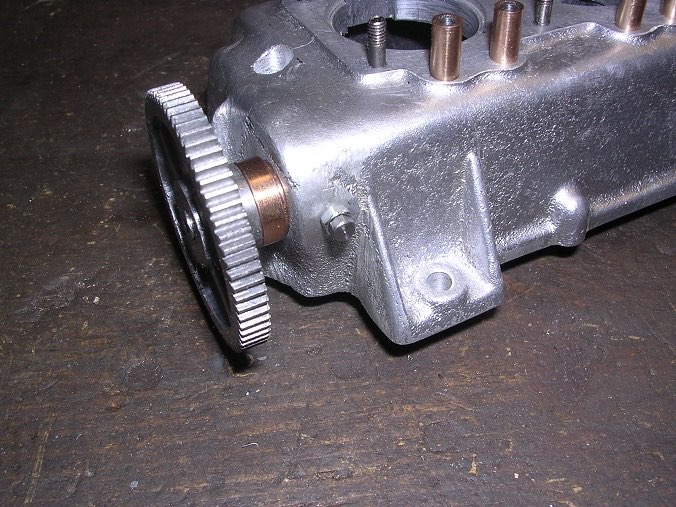
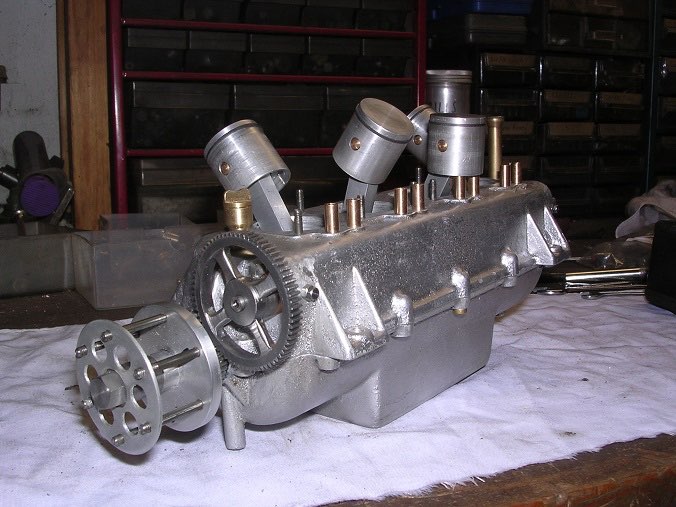
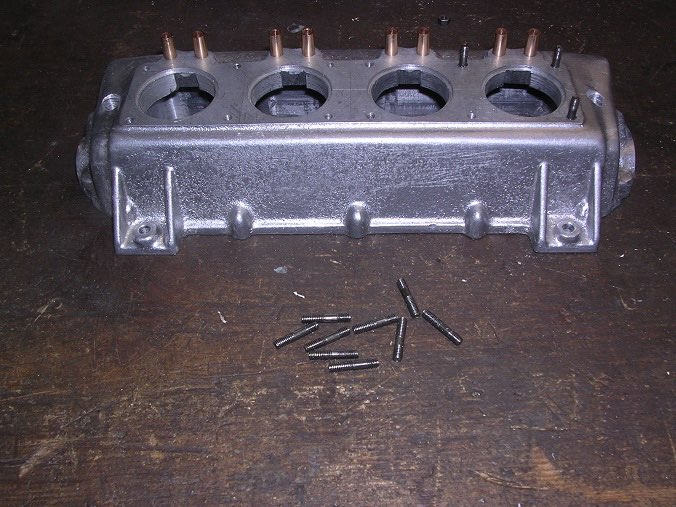
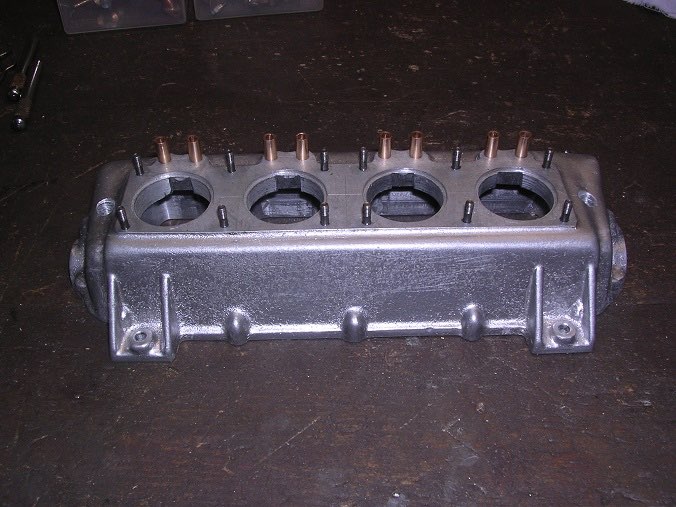
My experience of old engines suggests that the blocks should be held down with studs rather than bolts so I made some up. A tedious job but it worked out OK.
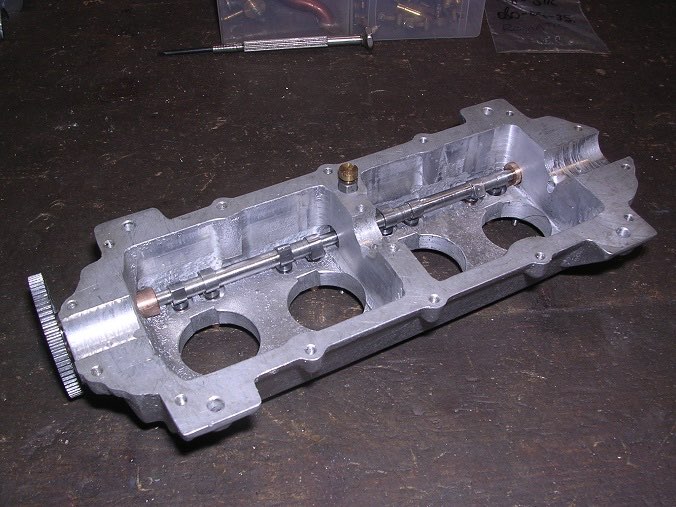
Time for the camshaft. Tappets in first and then wangle the camshaft. It took some fiddling but went in the end. The end bearings were a bit of a puzzle though. If I pressed them in, then I wouldn't be able to get the camshaft out again. However, if they were loose then they would move in service. I decided to put some locking screws into the side of the crank case to secure them.
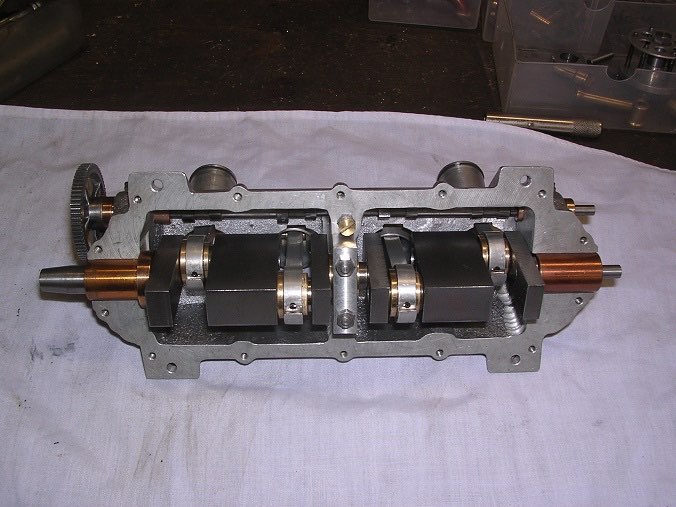
Time to drop the crank in. Each bearing has an anti-rotation peg to locate it and keep the oil holes pointing the right way. Then all was secured with the centre bearing cap.
File up a square key for the propellor boss.

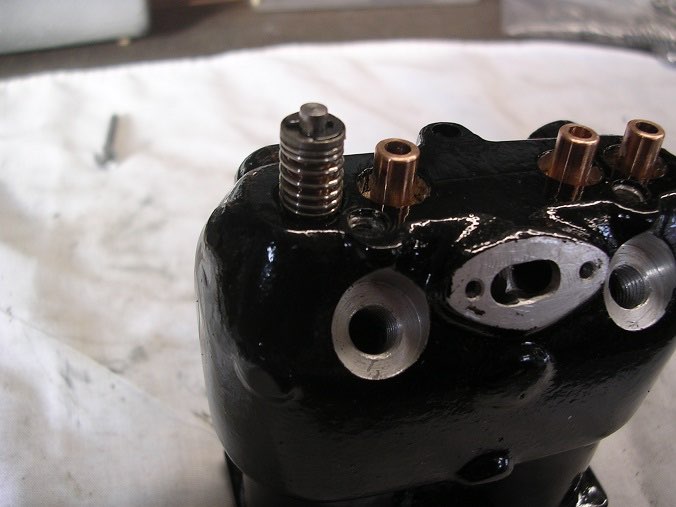
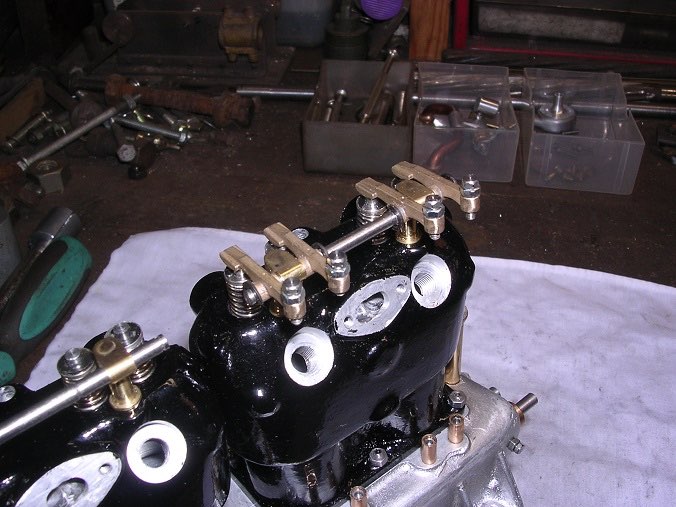
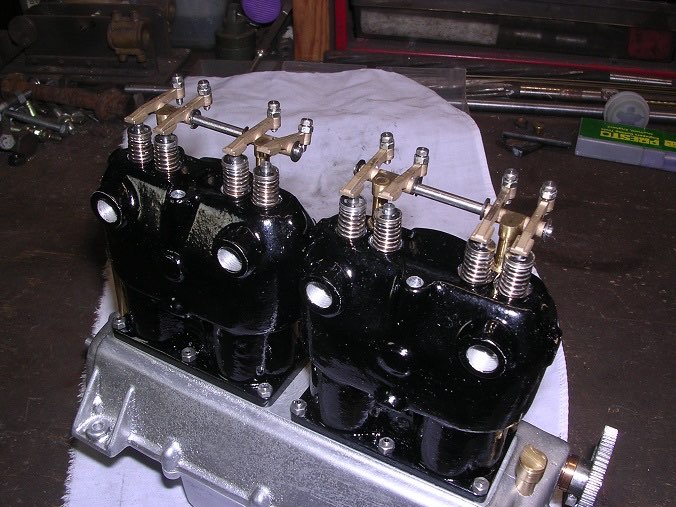
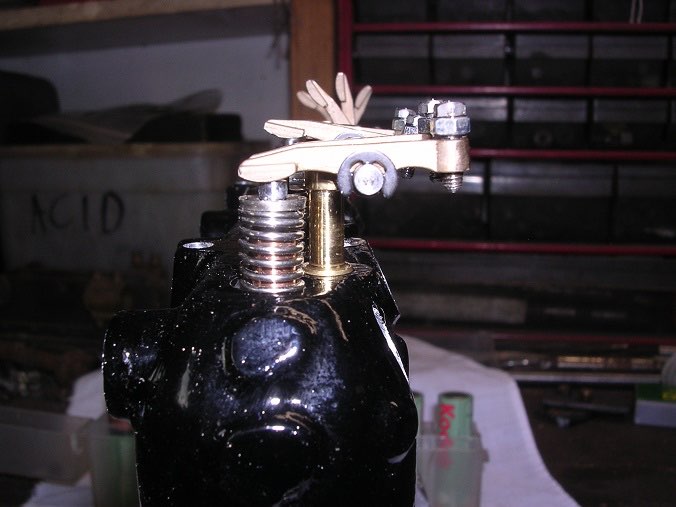
Fitting the rockers just needed a little dressing with a file to clear the slots so that the E-clips could be fitted.
Those clips are tricky things. I bought a packet of 20 and need 16 for the engine. I had been warned that they are inclined to ping off into the wilderness, never to be seen again, but managed to fit them without losing any although I did spend quite a lot of time on my knees!
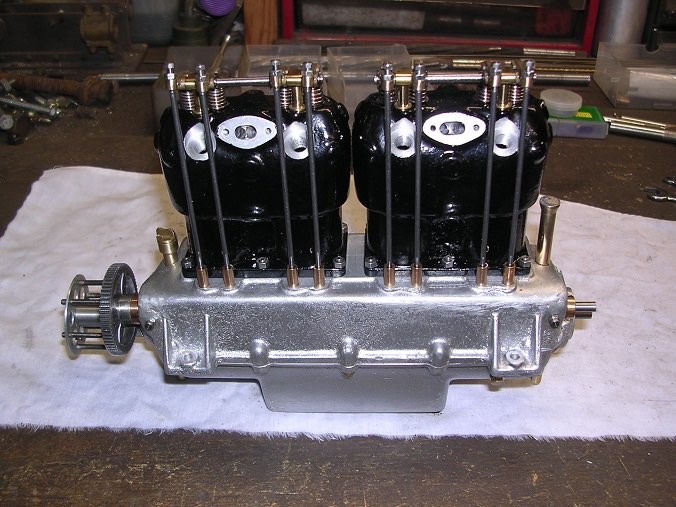
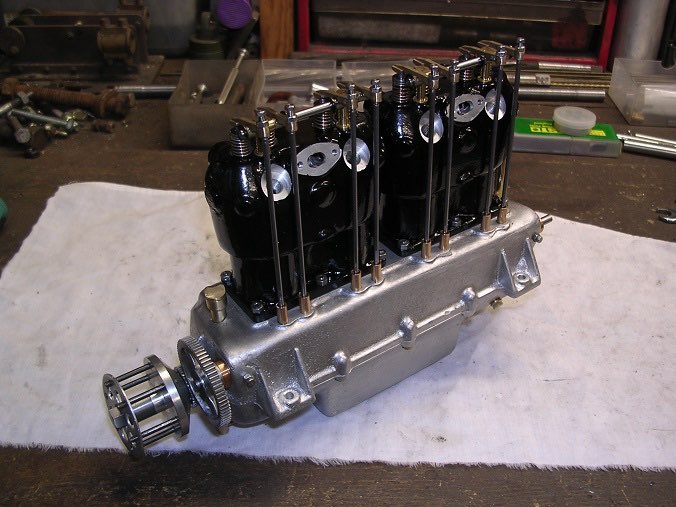
Then time for the push rods. they were quite straightforward and just needed adjusting to length to fit each position.
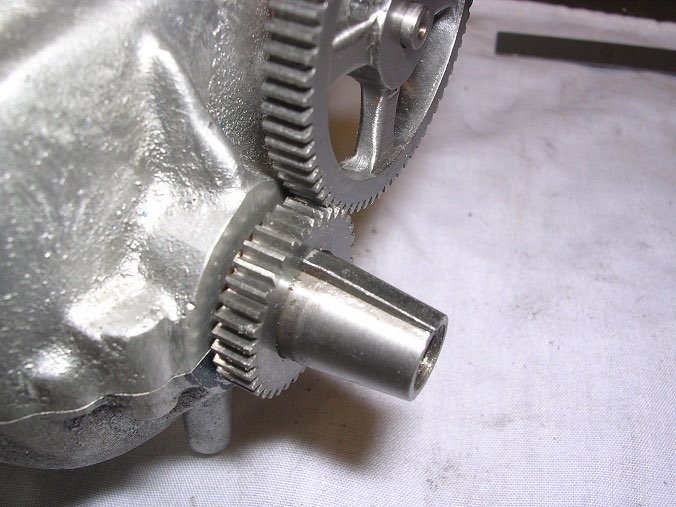
Now I could turn the engine and watch the valves go up and down which is most satisfying. It seems that I made the locking bolt in the timing gear a touch short as I can't quite get it tight enough and the gear slides around the camshaft. I will have to make a longer one and dimple the shaft.

Part 21 here

 
https://www.sarikhobbies.com/model-engineer-builder/

Modelengineeringwebsite.com

the only free and the only weekly magazine for model engineers. 

Editor: David Carpenter