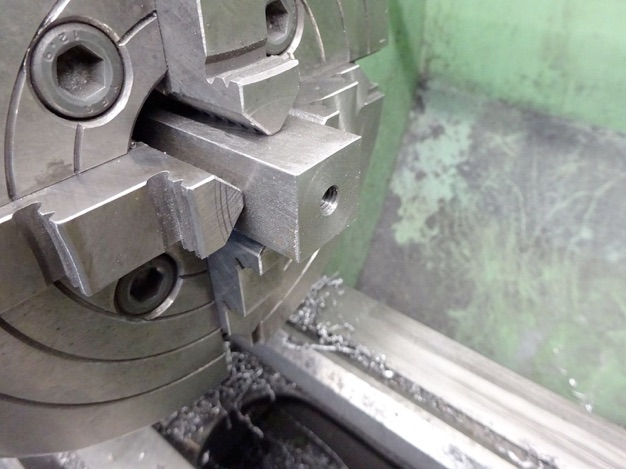
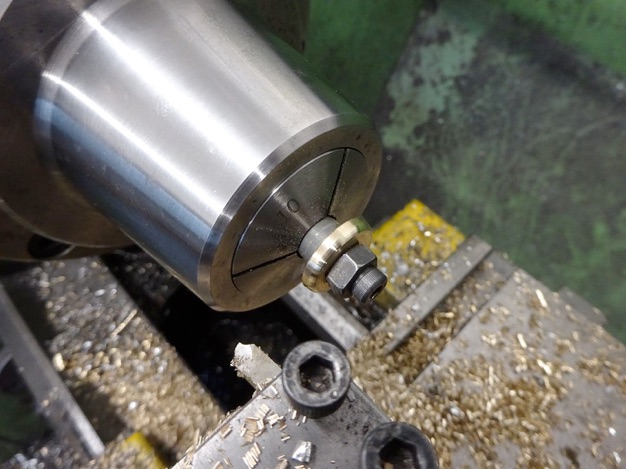
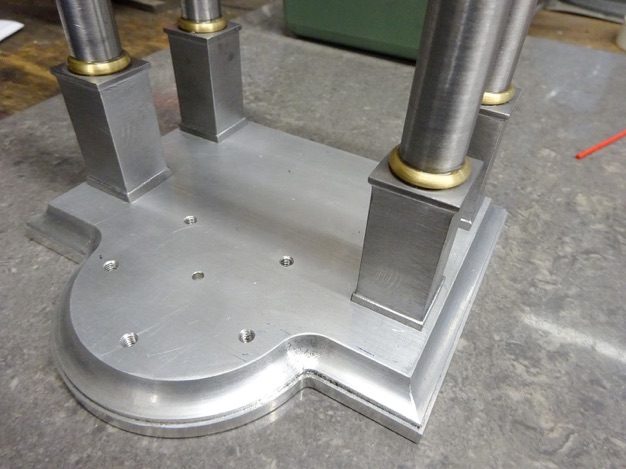
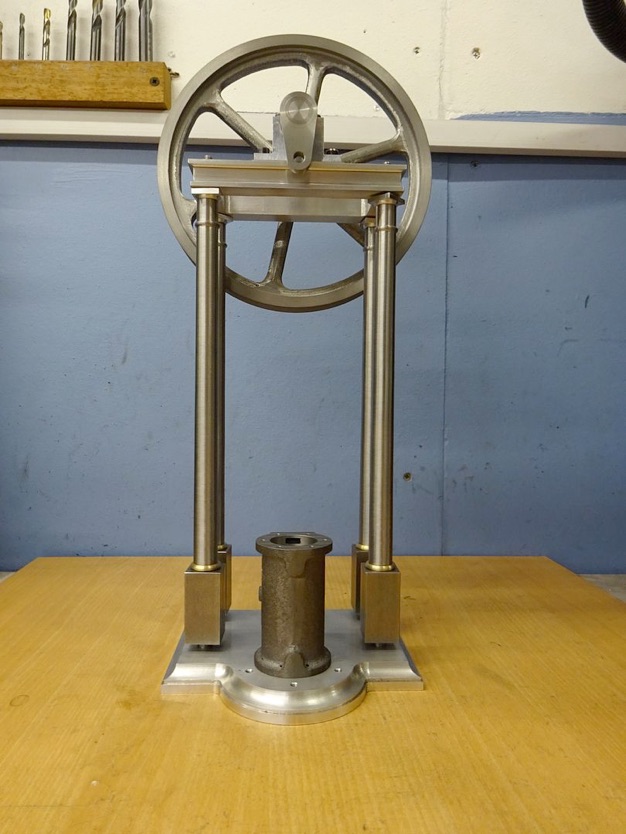
I cut off four pieces of 20mm square steel, faced one end and tapped it to suit the turned part of the column; the other end had a spigot turned to closely fit the counterbores in the base before drilling and tapping M5. After this I milled 1mm off each side leaving 3mm at the bottom and 2mm at the top the full 20mm size. This was done with an insert end mill with 0.8mm corner radius tips which once again left an internal fillet for that cast look.
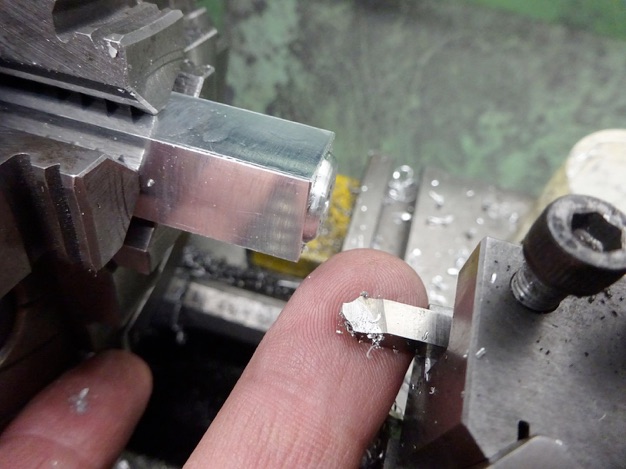
The piece of aluminium that I stitch drilled out of the entablature was milled down to 15mm square and the capitals machined from that using a form tool before parting one off and then repeating for all four.
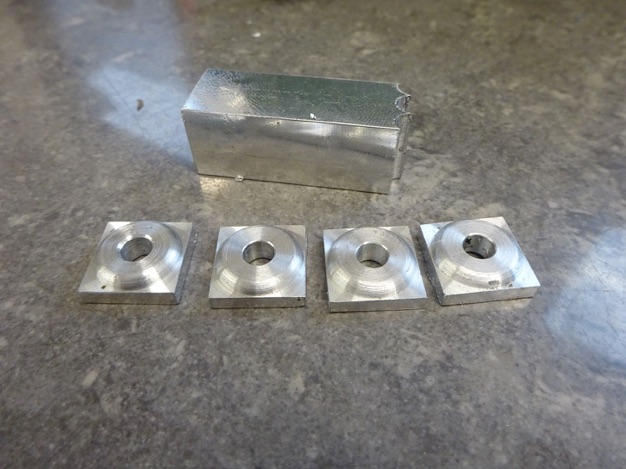
Most columns of this style also have a half round section between the square base and tapered column so some thick ‘washers’ were parted off and then screwed onto a mandrel for profiling.
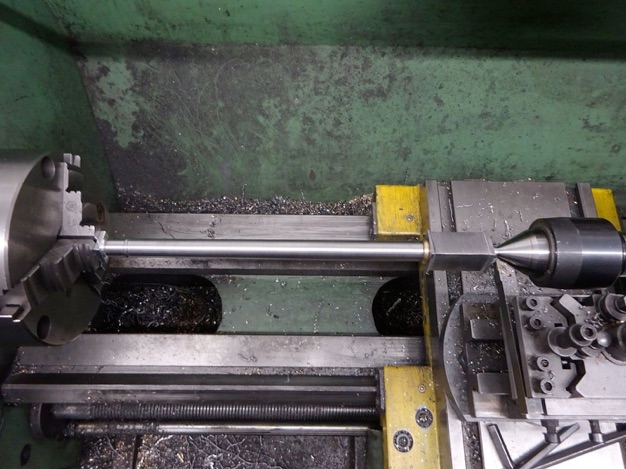
It was now just a case of assembling the various parts with some Araldite epoxy adhesive and setting aside for 24hrs to cure. After the top spigot was held in the 3-jaw with the capitol hard up against the jaws which acted as a stop. It was then just a case of locking the carriage and facing each end to final size, which ensured all would be the same length.
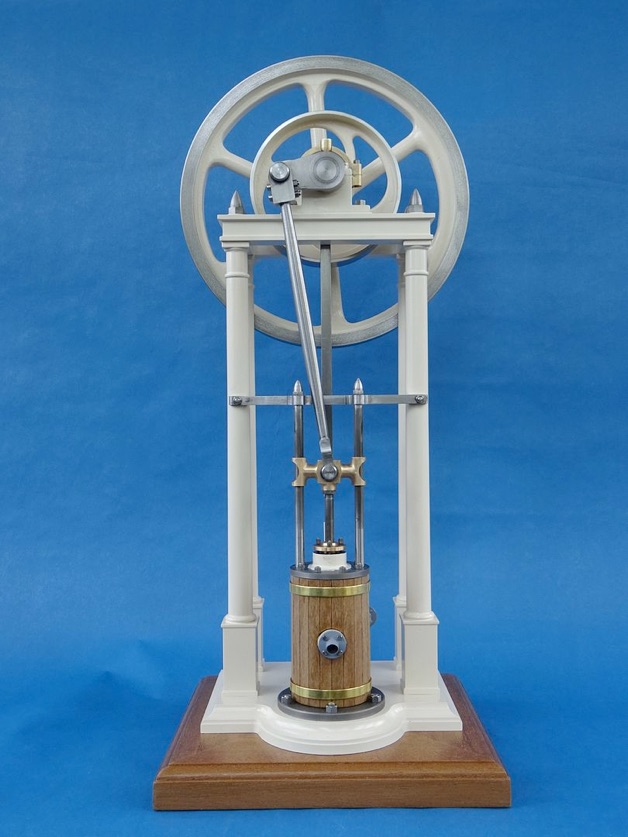
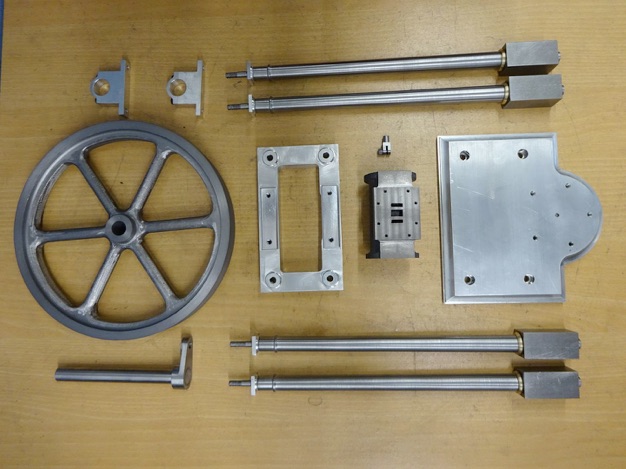
Progress so far at which point I started to think that it could possibly take a larger diameter flywheel!
Part four here Part six here