BUILDING A TIGER TANK
Part 3 by Vince Cutajar



BUILDING A TIGER TANK
Part 3 by Vince Cutajar


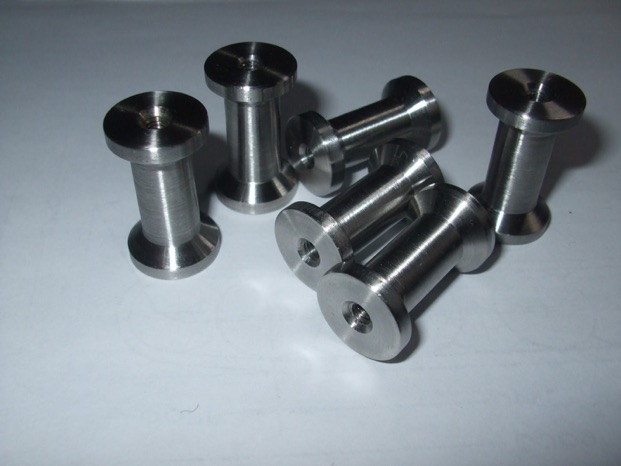
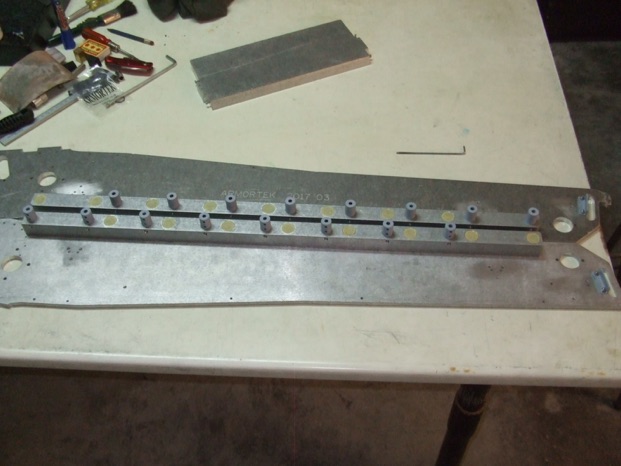
As I needed the pillars for the battery tray to be tapped as opposed to having a through hole I made a new set from stainless.
At first I noticed a 4mm bolt would not fit in the threaded portion of all the mudguard hinge blocks (CE0327).
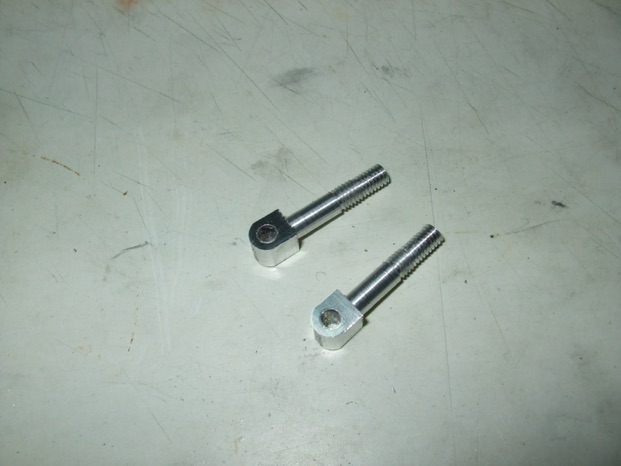
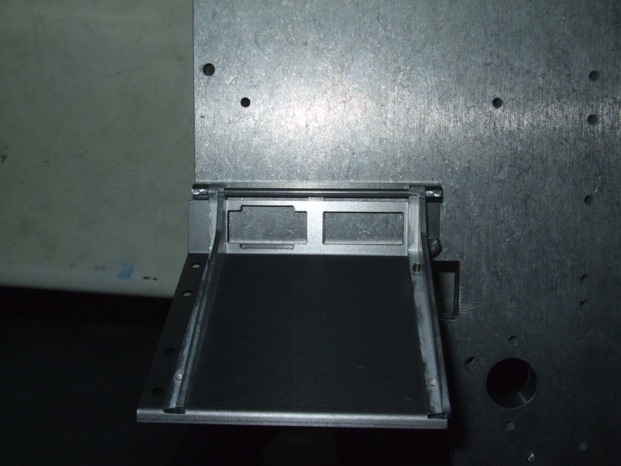
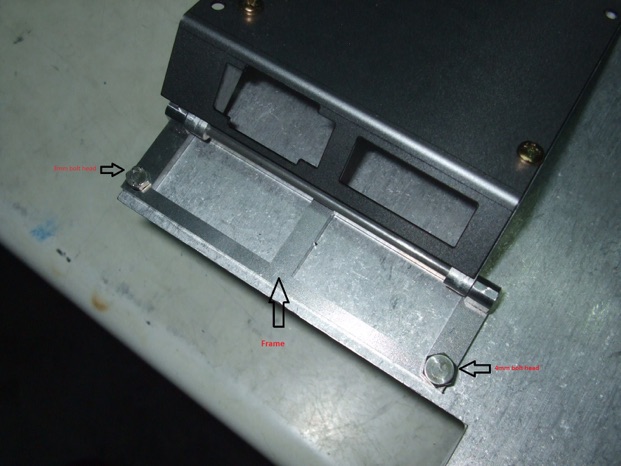
I finally started the final assembly of the lower hull but ran into a problem.
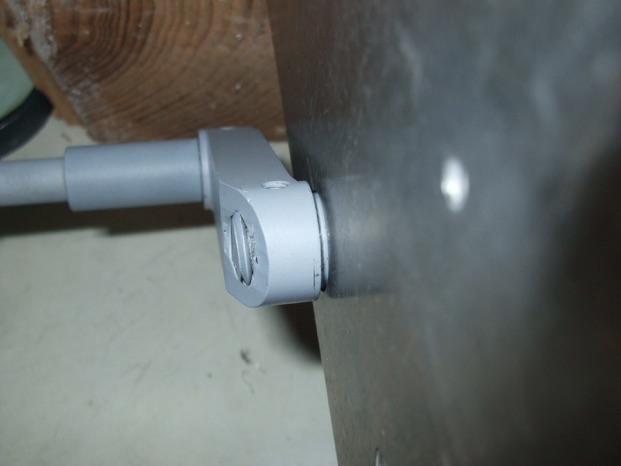
I decided to fit the O-rings also when bolting the suspension bar to the side of the hull. Just by chance I thought I would try one of the assembled swing arms in the various holes to see how they fit. One side of the hull was not a problem but on the other side, the swing arm would not go in as much as the other side.
Had a look inside the holes with the problems and saw this:
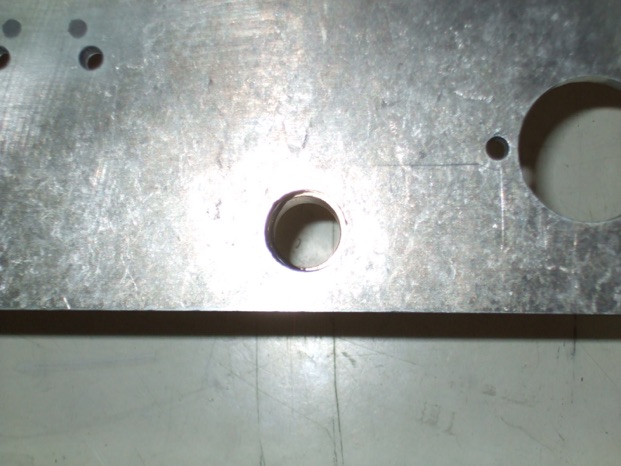
- Leave the O-ring out.
- Counterbore the holes and use a different thickness of ring.
Prior to considering any of those two options I was going to try centring the counterbore with a boring head. Took the boring head out but was not looking forward to setting it up. I had a look in my box of milling cutters and there it was at the bottom of the box. A 19mm end mill. The diameter of the counterbore was measured to be around 19.5mm. No harm in trying 19mm with the cutter first and see how it goes.
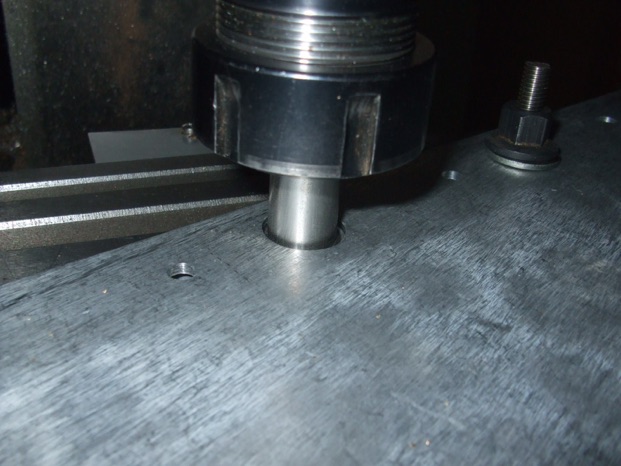
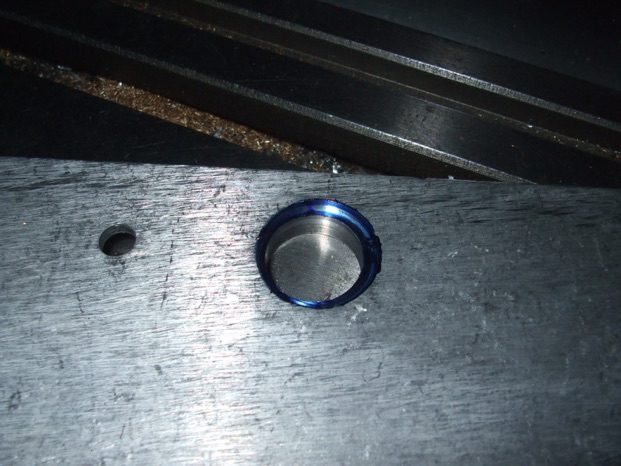
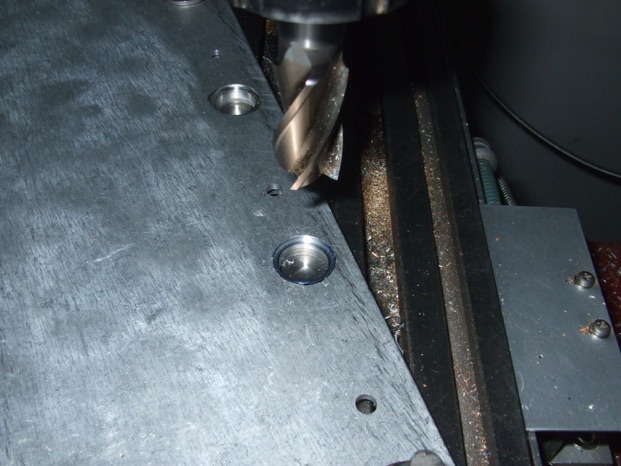
Another trial fit with the swing arm. Perfect. The other seven holes took less than 30 minutes to correct.
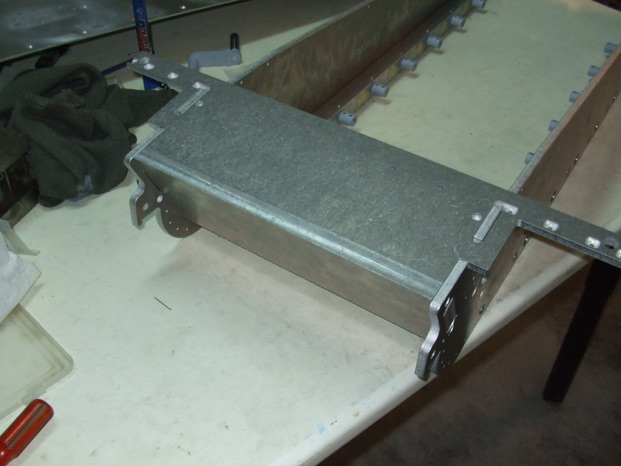
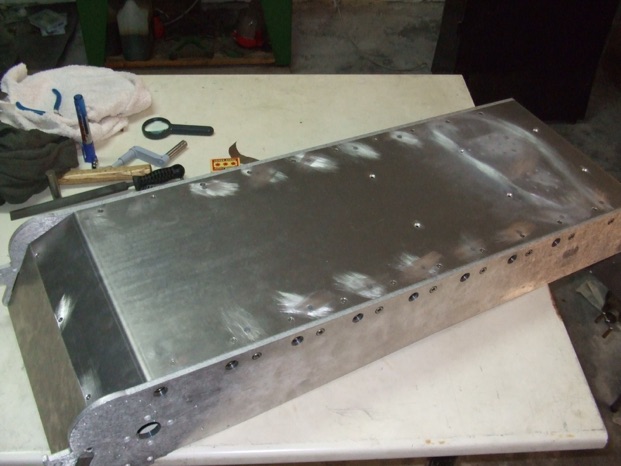
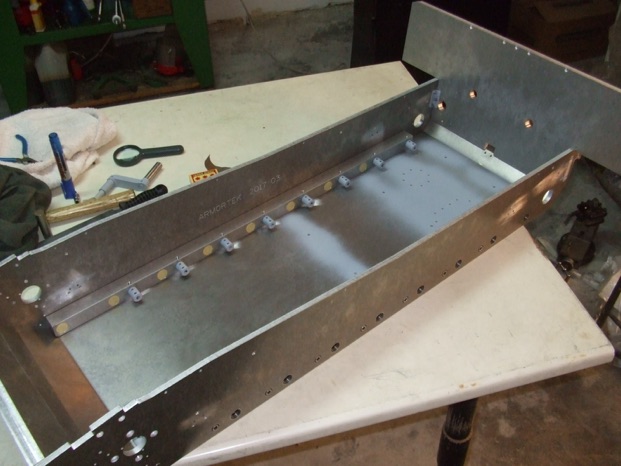
Next was the assembly of the lower hull. Assembled the suspension bars to the side plates. Tested again all the holes for the swing arms and then masked the brass bushes. Also loosely fitted the two brackets which will hold the rear plate.







Modelengineeringwebsite.com
the only free and the only weekly magazine for model engineers.
Editor: David Carpenter