KIWI Mk2
I/C ENGINE BUILD
Part 6 By Vince Cutajar



KIWI Mk2
I/C ENGINE BUILD
Part 6 By Vince Cutajar
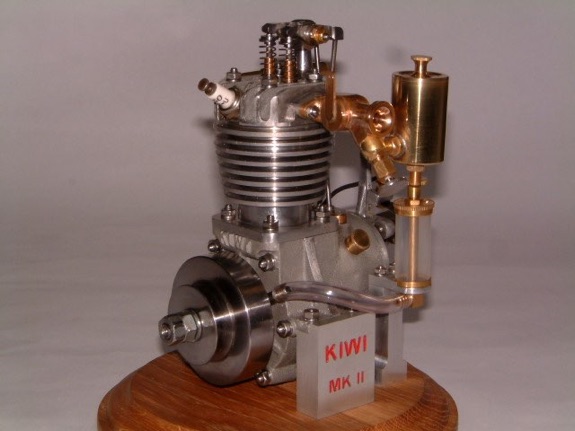
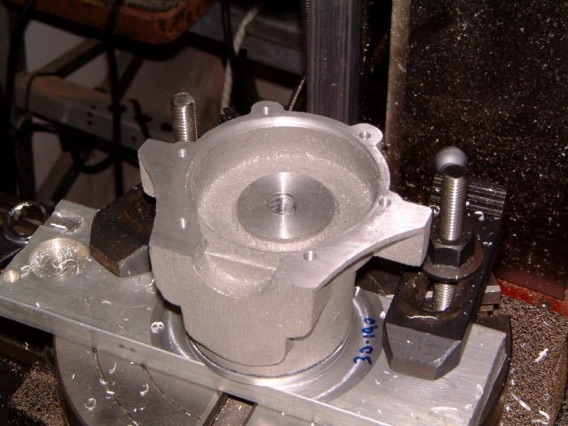
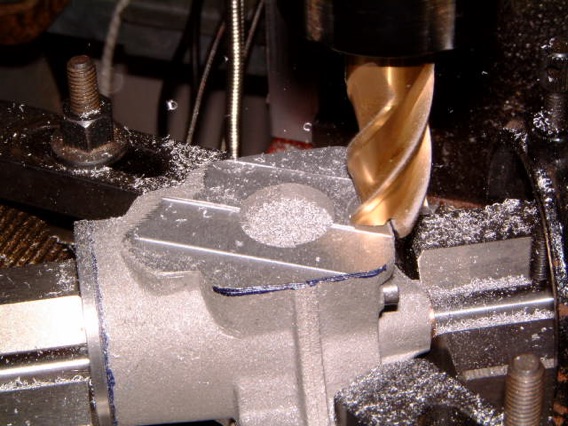
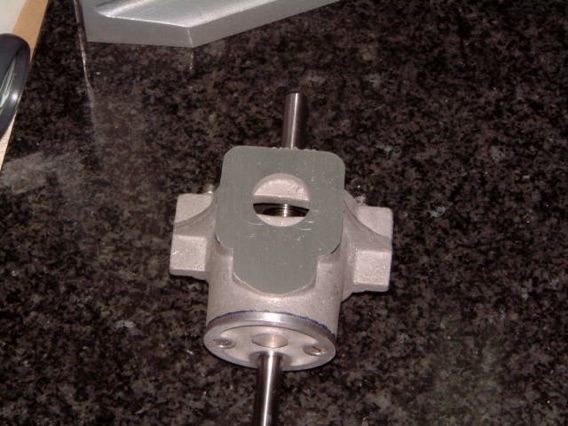
I located the aluminium I used to machine the timing cover and bolted it to the rear casting with the timing cover in place. I bolted on the front casting and did a trial setup on the rotary table to see if I have enough headroom under the mill chuck. Well there is enough headroom but I did not like the setup. I needed to simplify it by removing the 1-2-3 blocks.
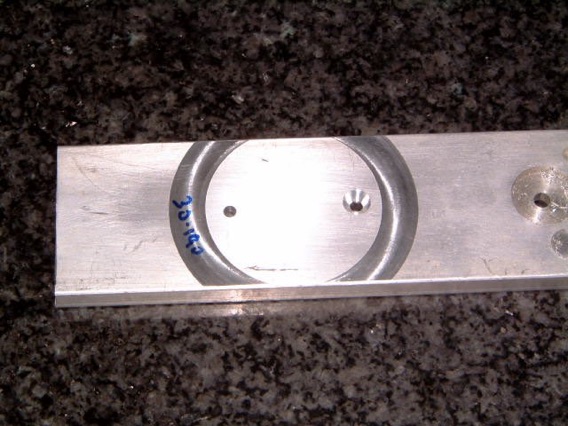
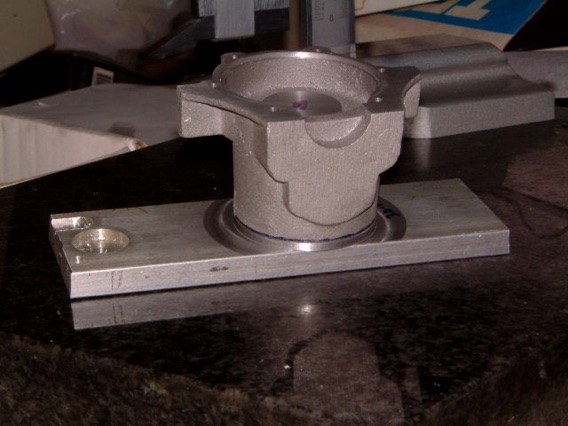
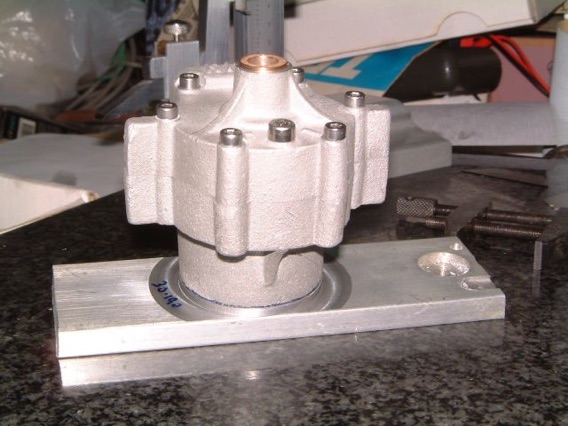
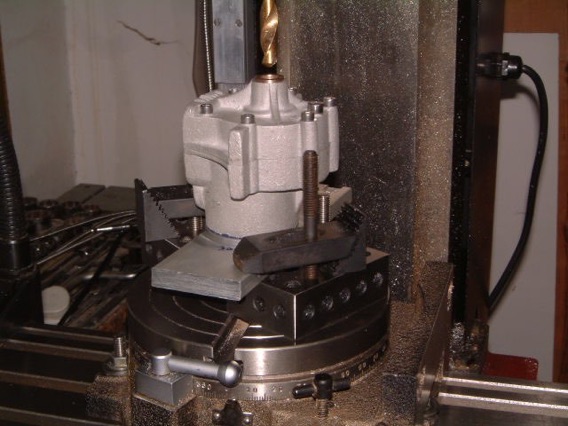
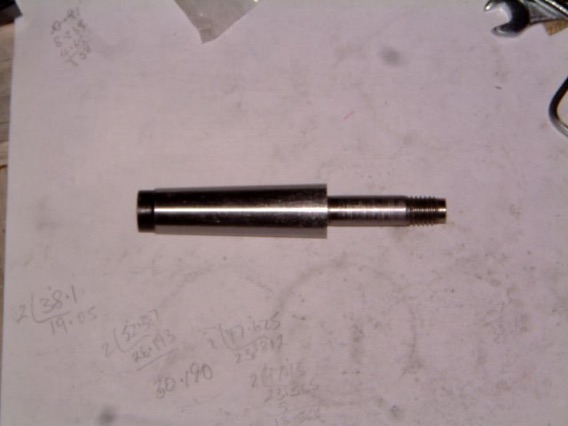
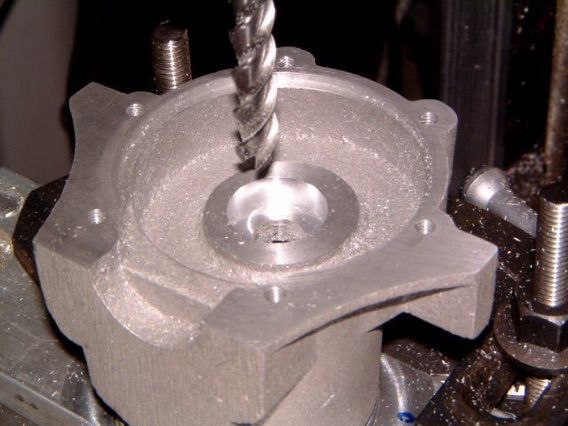
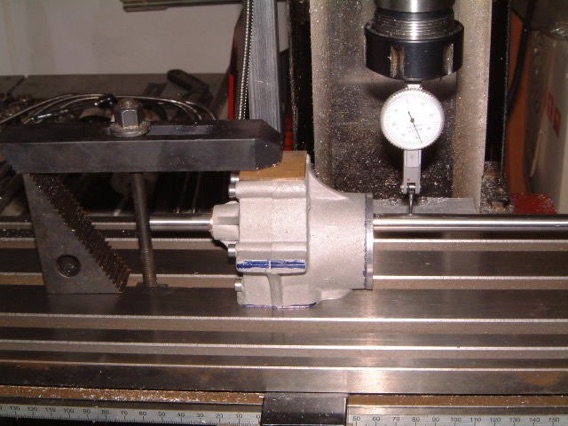
I usually setup the rotary table using a MT2 taper tool (it is also used to hold things on the rotary table) that I made some time ago (next photo). I never bothered to check how accurate this method was, but out of curiosity I checked it with a dial and it was spot-on. I put the crankcase (with the aluminium plate) on the rotary table, and using the previously used homemade punch in a 10mm collet, I centred the crankcase and clamped it to the rotary table. I took the quill down into the crankcase and spotted the bottom part of the crankcase (where the hole needs to be drilled). Unbolted the front part off the crankcase and took it off and checked again that I am still lined up with the mark I just made.
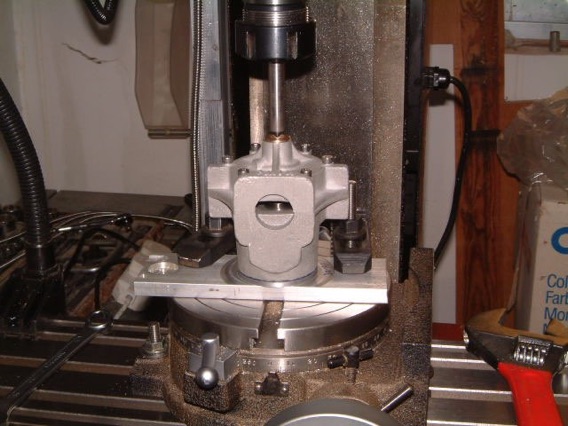
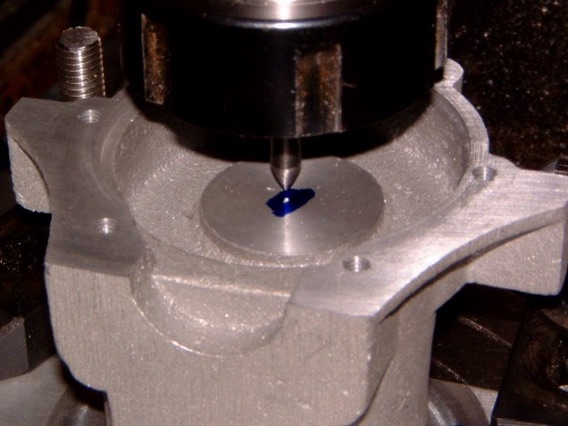
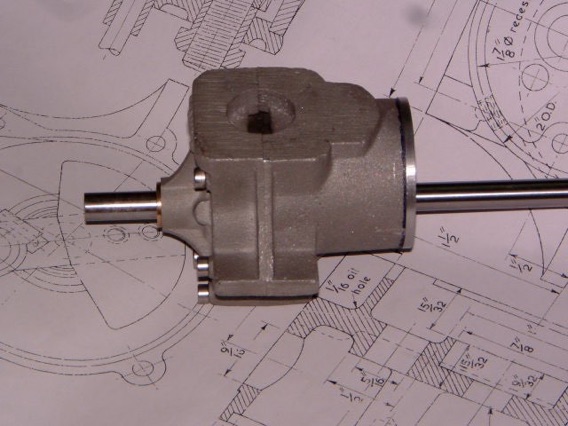
Now for the moment of truth. Took it off the rotary table, inserted the bearing, assembled the cranckcase and checked if a 10mm silver steel bar would pass from one side to the other. It passed and it turns.
What a relief! I think I have passed what in my opinion was the biggest hurdle in this build. Now to go back to Westbury's instructions.
“Low compression is recommended if the engine is to be used for driving a heavy boat such as a tug or cargo liner; the beginner may find it easier to deal with, as it promotes docility and easy starting, and all adjustments are less critical than when the compression is high."
Problem is that he does not say how much more metal to leave, so I left 1mm more. I can always bring it down to 38.1mm at a later stage.
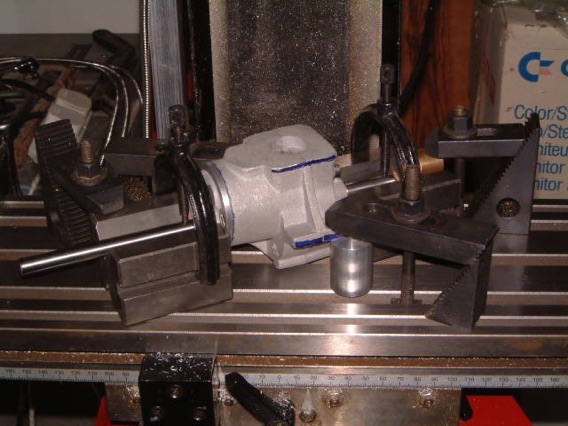
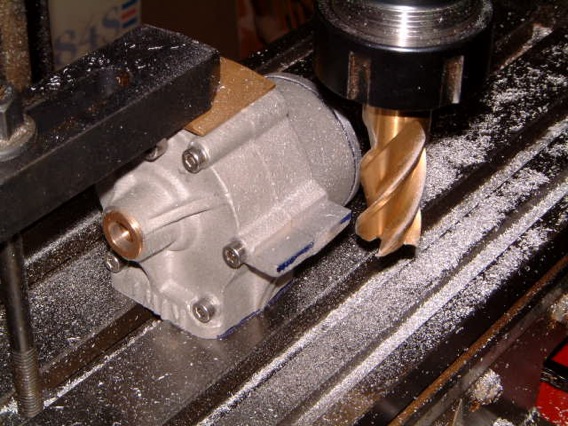
After that operation was finished, I inverted the crankcase and making sure it was parallel to the table, I milled the engine bearers (supports).
Part one part two part three part four part five part six part seven part eight part nine 10 11 12 13 14 15 16 17 18 19 20 21 22 23 24 25 26 27