KIWI Mk2
I/C ENGINE BUILD
Part 26 By Vince Cutajar

KIWI Mk2
I/C ENGINE BUILD
Part 26 By Vince Cutajar
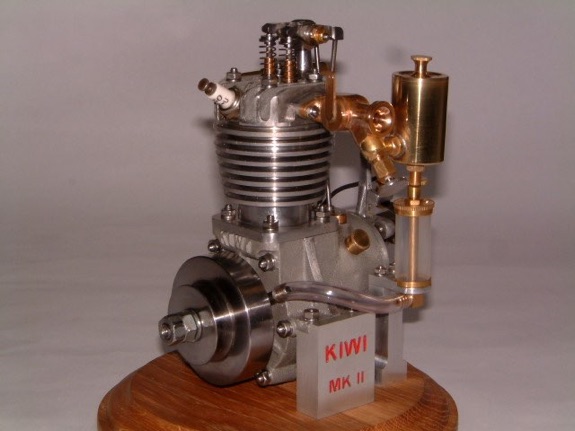
I decided to test the ignition system using the Kiwi contact points and the spark plug in the cylinder head. Hooked everything up temporarily using hook up wire (looks like spaghetti junction) and connected it to a car battery. Turning the contact point cam by hand, I managed to get a decent spark in the plug.
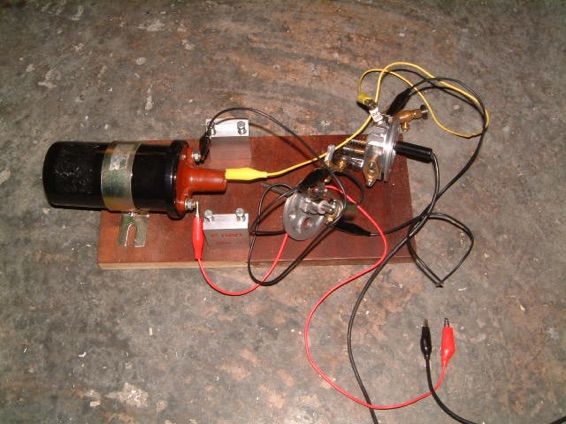
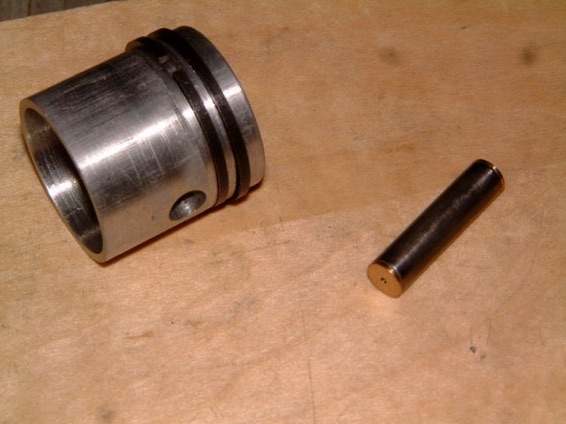
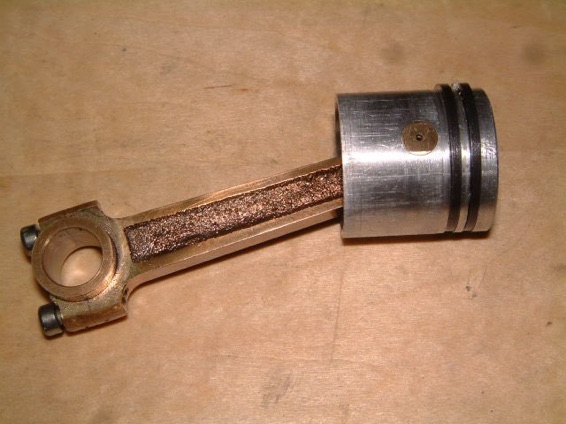

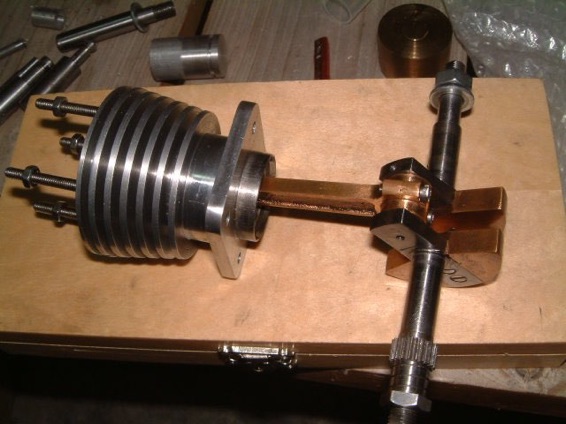
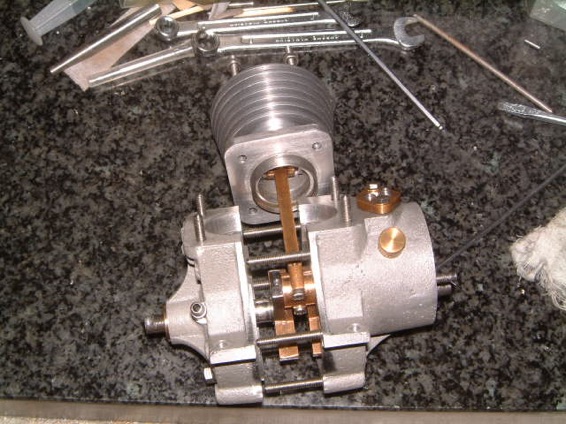
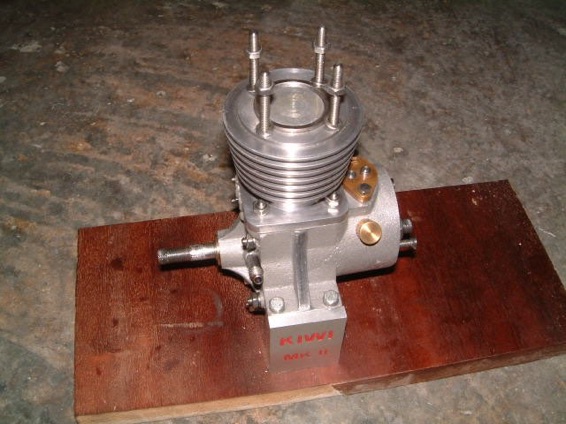
I also made up the H.T. lead using the NGK resistive spark plug cap.
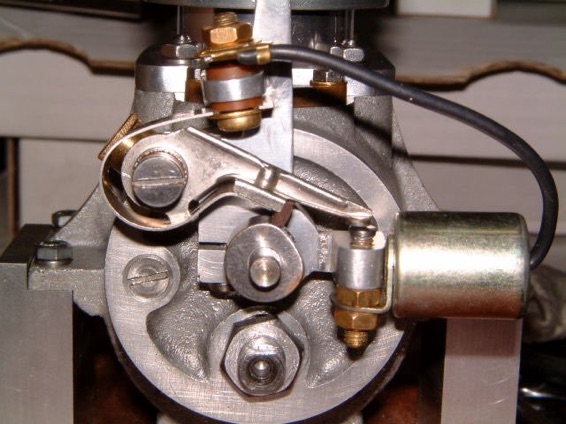
I fitted the valves into the head using 600 grit grinding paste and an MT3 drill chuck. Put the valve in the head and clamped the valve from the end of the valve stem with the drill chuck. The inlet valve did not need a lot of work but the exhaust valve needed a fair bit of work.


I decided to try and start the engine to see if at least it would make any encouraging noise. I connected a plastic tube to the carb and filled it with fuel (unleaded gasolene) and gave the engine a twirl with the electric drill. Bad news. Not even the slightest indication of combustion in the engine.
Decided that further work on the engine will stop until I troubleshoot what is the problem.
Started off to check if the spark plug is working. Took the spark plug out and ran the engine again. Yes there is a spark but the problem is I do not know how a good spark should look like. Replaced the ht lead (which had a resisitive cap) with common wire and tried again. Again same spark (I think). Checked the plug gap and it is set at 0.5mm. Should I change this gap?
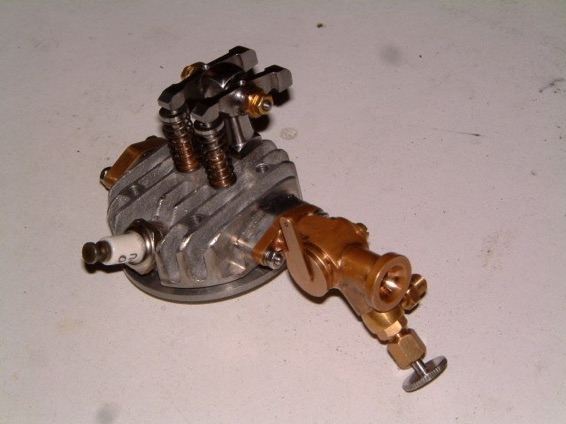

I removed the cylinder head and started lapping the valve seats with toothpaste to remove the small leak that they had.
Eventually the engine ran when trying to start with the electric drill but is not self-sustaining. My friend said that the spark and the timing are okay but just needs a bit more compression. When making the crankcase, I left the cylinder platform about 1mm higher to reduce the compression. Westbury suggested that a lower compression would make an easier starting engine.
While dismantling the engine to mill off that extra height on the crankcase I had another idea. Why not make a new longer piston and make it even tighter with no clearance at the top and make it 1 mm longer to cater for the extra material on the crankcase cylinder platform.
Made the new piston from bar stock, connected the fuel line to the carb and, believe it or not, my electric drill gave up the ghost.
Bought a new electric drill. Hooked it up to a plastic pipe. Filled the pipe with fuel (no tank yet) and gave it a twirl.
OMG it runs! Only for short periods, as it runs out of fuel quickly, but at least now I know that it works. Unbelievable.
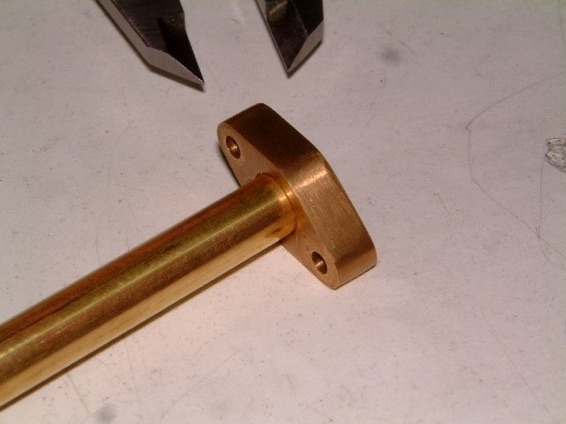
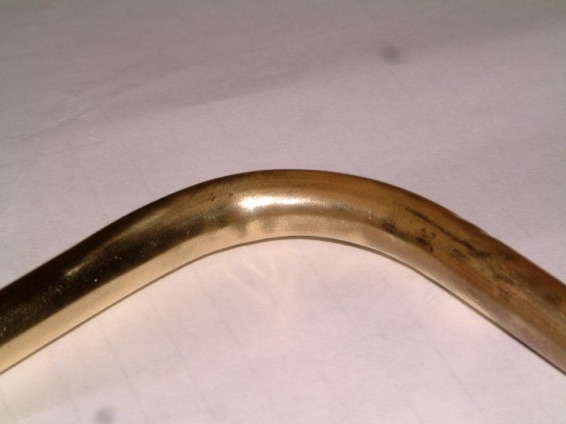
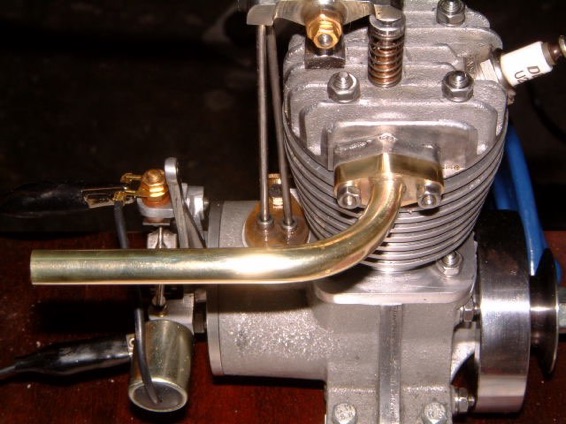
Now I can continue and finish it up. Still need to do the exhaust pipe, a base and some sort of fuel tank.
I visited an acquaintance with my engine, hopefully, to get a base done for it.
He is a retired wood-turner but still goes to his shop to tinker and do the odd job. He is an avid plane-spotter and sometimes I visit him and talk about his favorite subject.
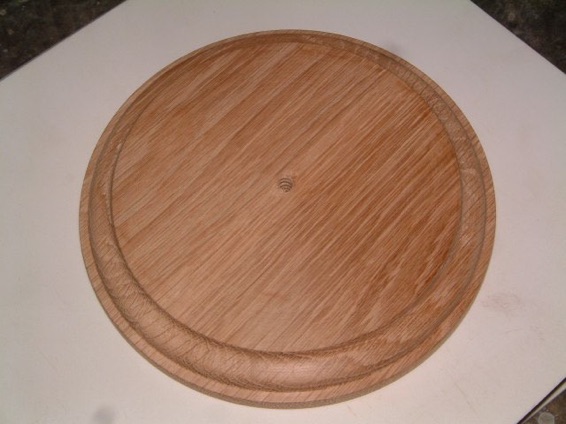
I entered his shop holding my Kiwi in my hand with the temporary MDF base I am using. After commenting favourably about the engine he then said that that base will not do and went scurrying to the back of his shop. Came back with a piece of oak and said that this should do for the base. Thirty minutes later I was going out of his shop with a nice base for the Kiwi and the best part is that he refused payment for the job. My lucky day.

Part one part two part three part four part five part six part seven part eight part nine 10 11 12 13 14 15 16 17 18 19 20 21 22 23 24 25 26 27