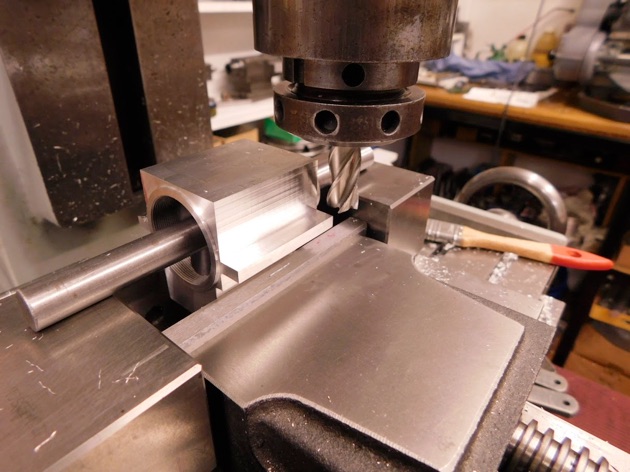
The top was brought to finish on outer dimensions and the lower side waste roughed away leaving .5mm to finish. The case was then set up on a close fitting mandrel to bring the width to size and finish the lower face of the bearers true and parallel to the bore centre line.
And slowly, they are beginning to lose more weight.
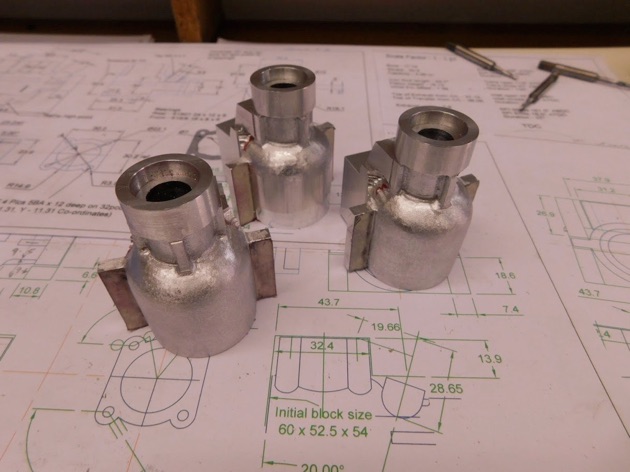
Final roughing op was to reduce the lower case ready for profiling.
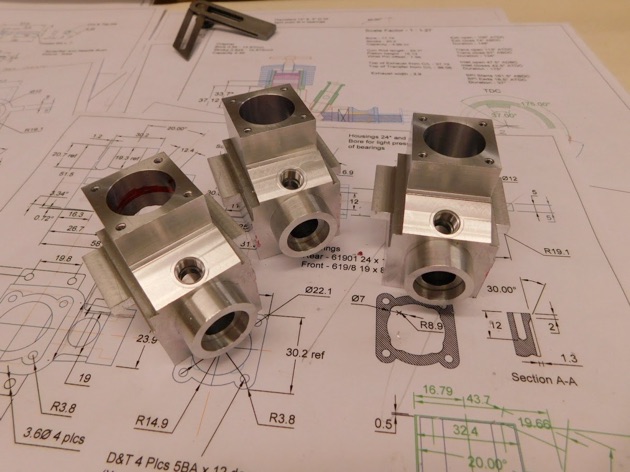
All of the major roughing completed.

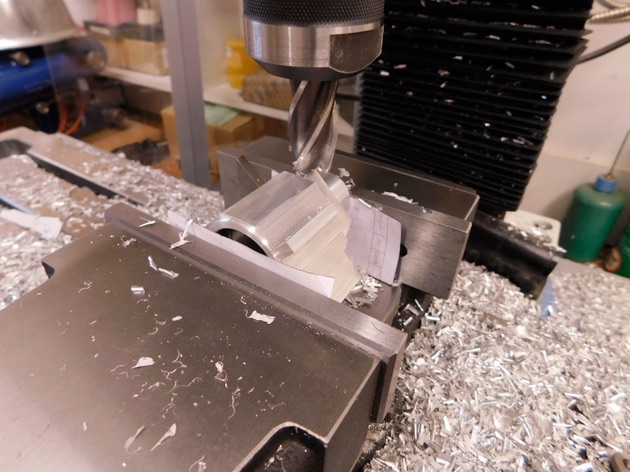
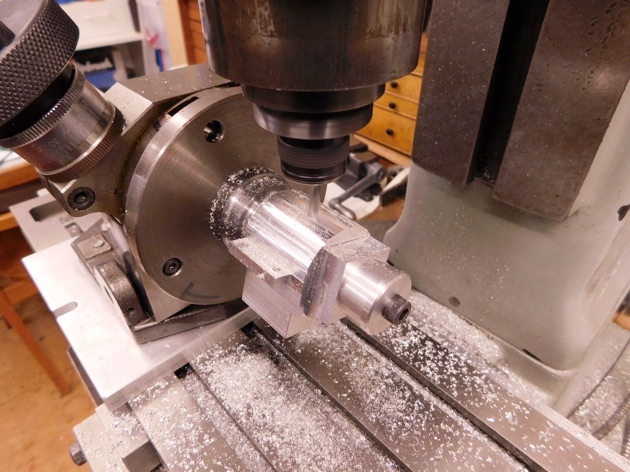
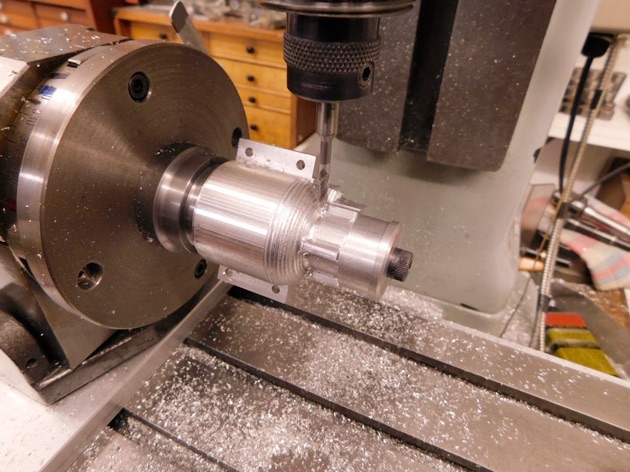
A couple of fixtures were required to be made and first off was to profile the lower part of the case. One of the fixtures was for this small 4" diameter tilting rotary table on which to mount each case.


A first cut was made leaving about .25 mm to clean up.

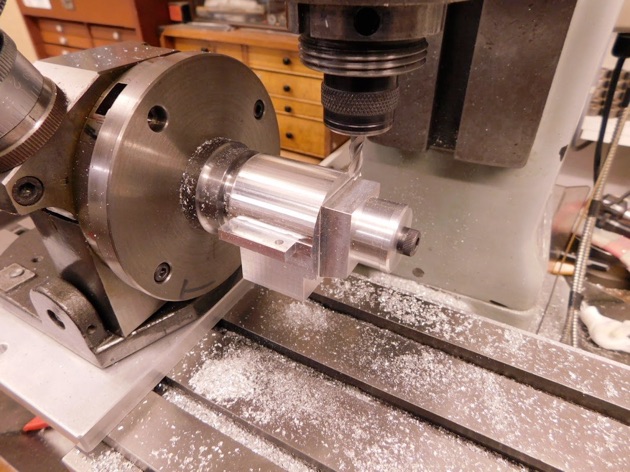
Then the finishing cut done in quite small increments to minimise the amount of filing that will come in due course.
The lower areas behind the bearing housing were treated in a similar manner and a start on the area above the mounting lugs on one of them.
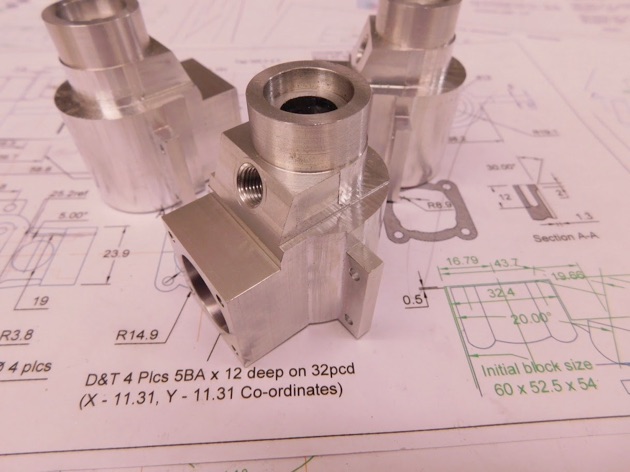
Following on I decided to break things down into three stages, the first to be the surfaces below the engine lugs, the second will be around the top and the last will be the difficult one around the venturi inlet.The lower 'pockets' were cut first, establishing the lower web width and the lower faces of the side webs
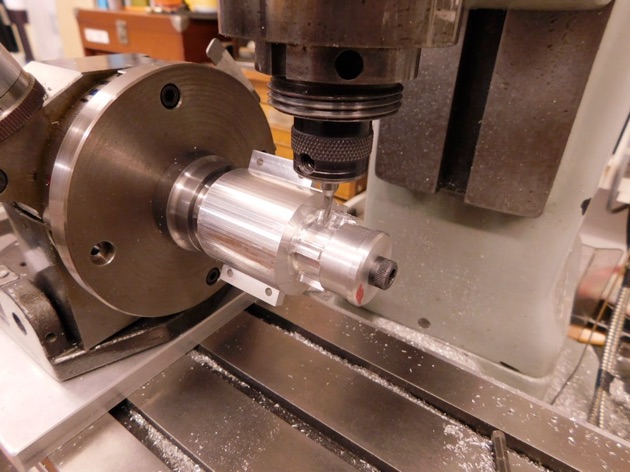
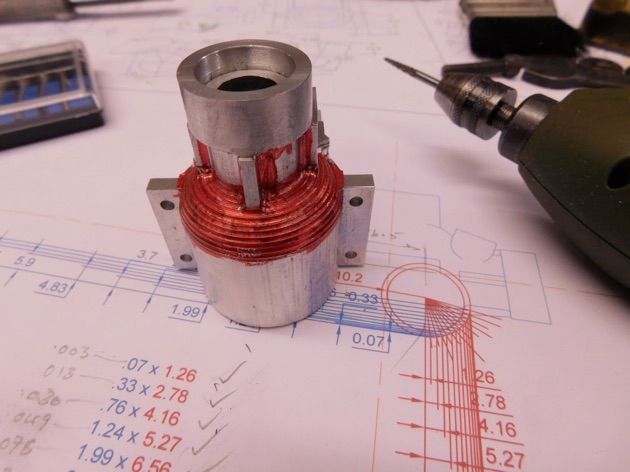
A step over chart was drawn and the profile milled with a 1/8th ball nose slot drill.
Inked up with a felt tip ready for the ops I enjoy doing most - the 'fettling'.
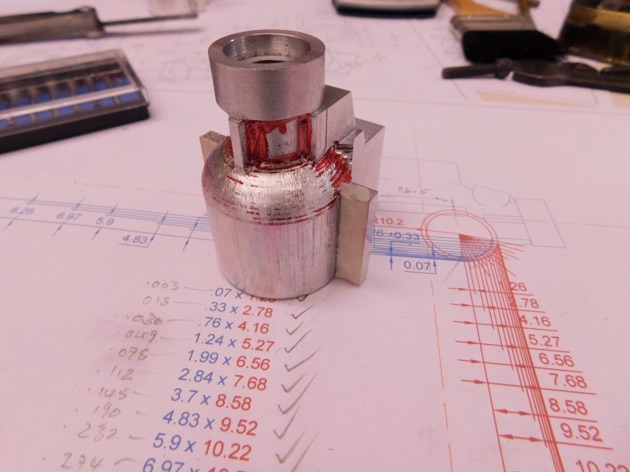
Initial stages using a tapered 3mm diameter carbide burr in a Dremel type power tool running at about 10,000rpm.
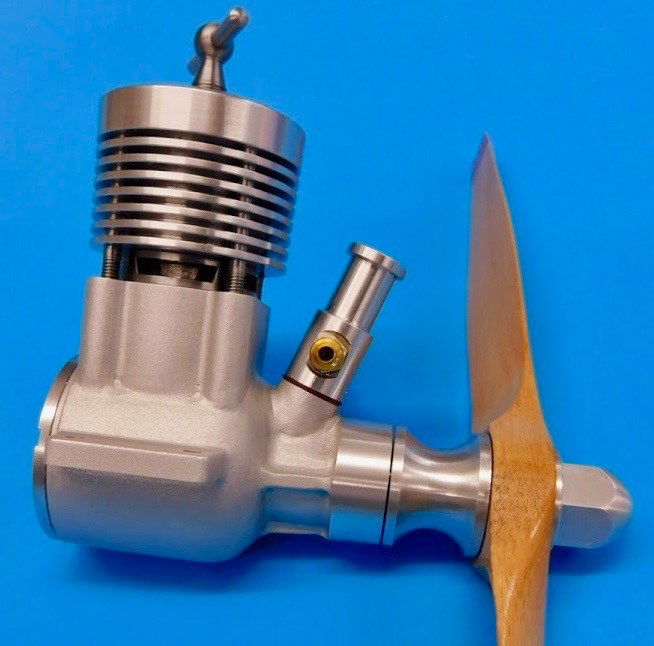
Front ends done ready for shaping the slight curvature in the rear portion.
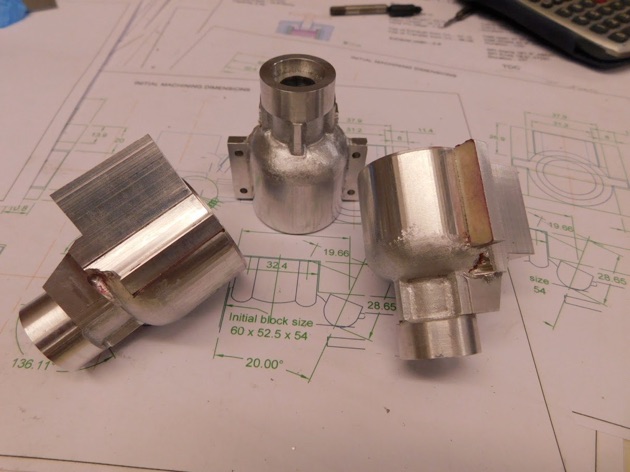
Lower faces all done.
Part one here. Part two. Part three. Part four. Part five. Part six. Part seven