
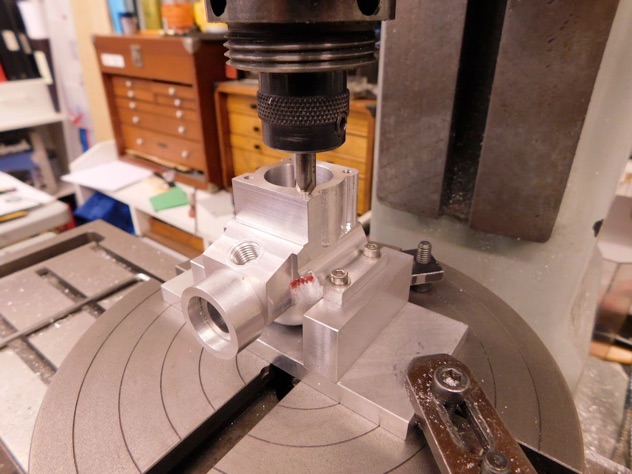
For the top end, the side profiles were done first before resetting to do the corner pillars.
All cutting was done using this 1/8 ball nose slot drill and plunge cutting. Tedious at a degree or two at a time but much better than the risk of that slender cutter plucking and pulling itself into the work. Depth was to the highest transition point then the fillets in the corners were gingerly milled out by eye.

Then the fun begins, trying to 'Dremel' out the profile by hand. This looks much worse than it is and is the initial approach. Constantly inking up helps see where you are.

This is the other side after the initial shaping - it still has some work to do on it before final 'sanding’ as mentioned before. Still not pretty but beginning to look like it should.

The rotary bits mentioned. The ones laying in the front are those used and include a discarded dental burr cadged from the dentist. Run at top speed on the power tool (an alleged 20,000rpm) they work very well to take minuscule amounts off.

The attempt to contour the lower case - not quite as pronounced as the original but enough to convey the impression.

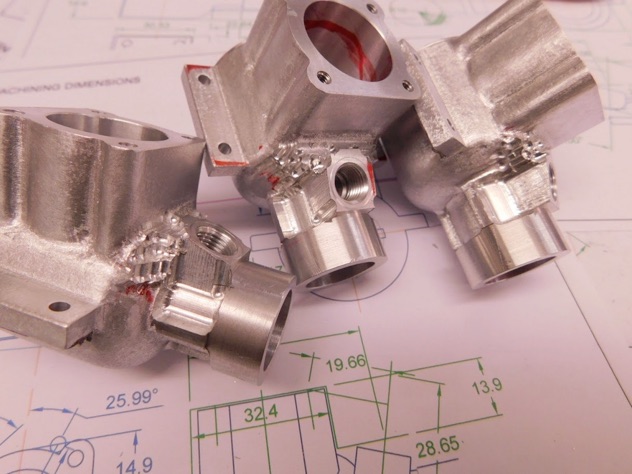
the final stage on the venturi area. First op was to reduce the width leaving sufficient on for final machining.

Some of the surplus was just done by eye and plunge milling. Looks really ugly at this stage - you just have to keep telling yourself it will get better.
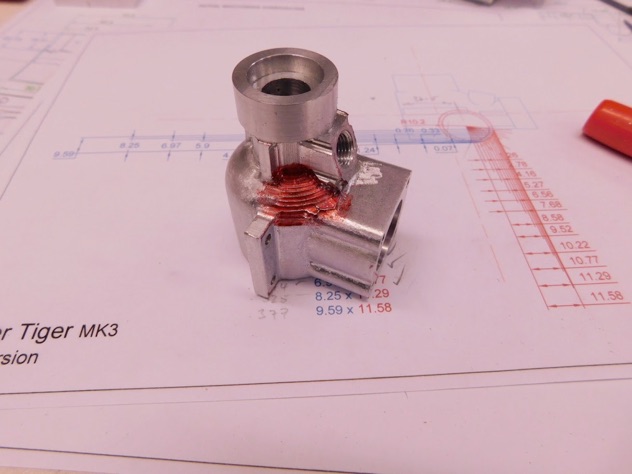
The top front area was done by stepping over again.

Ready for more fettling.
Part one here. Part two. Part three. Part four. Part five. Part six. Part seven