BUILDING A TIGER TANK

Part 20 by Vince Cutajar

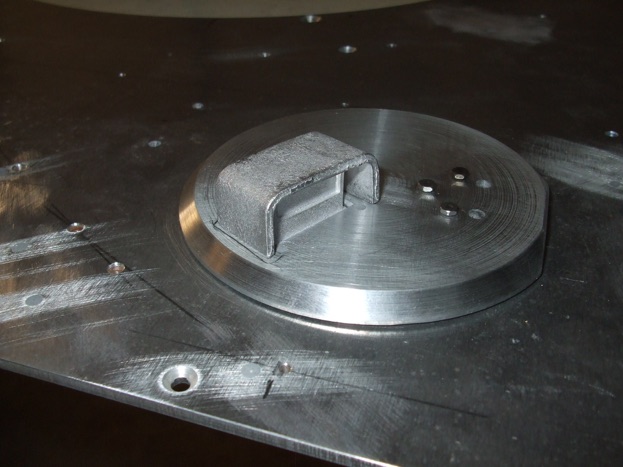
Next the hatches.
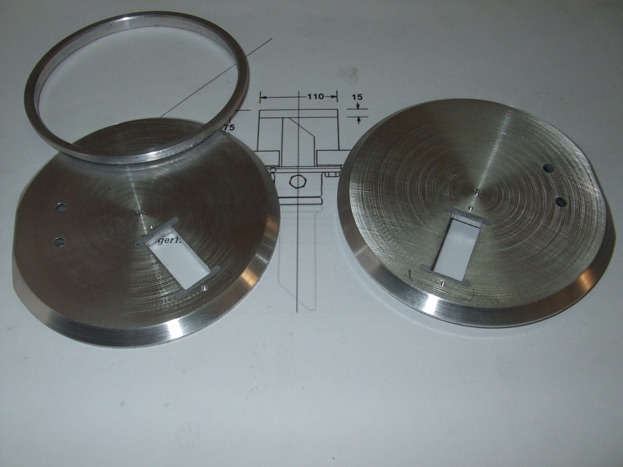
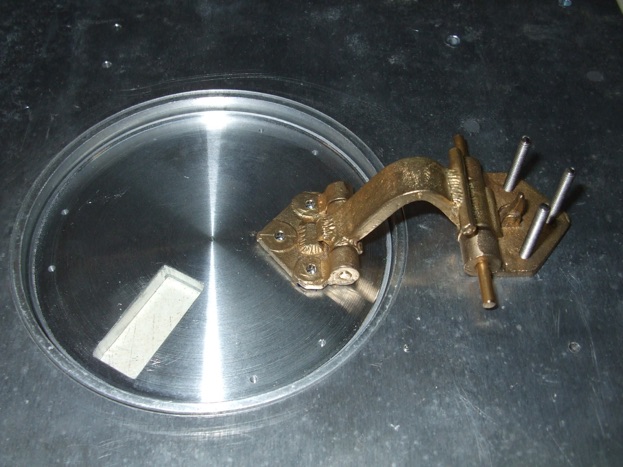
Followed by the cast brass hinges.
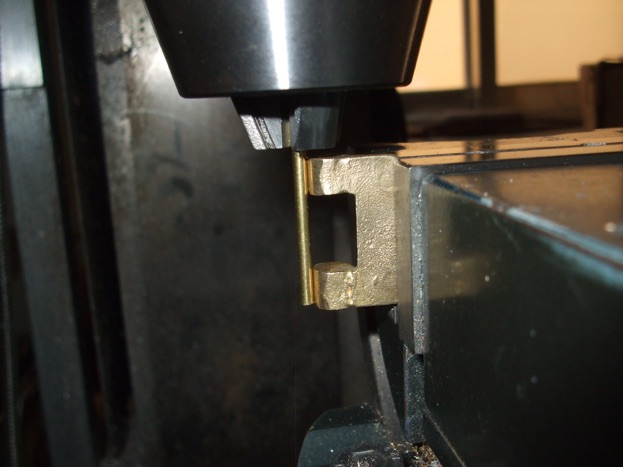
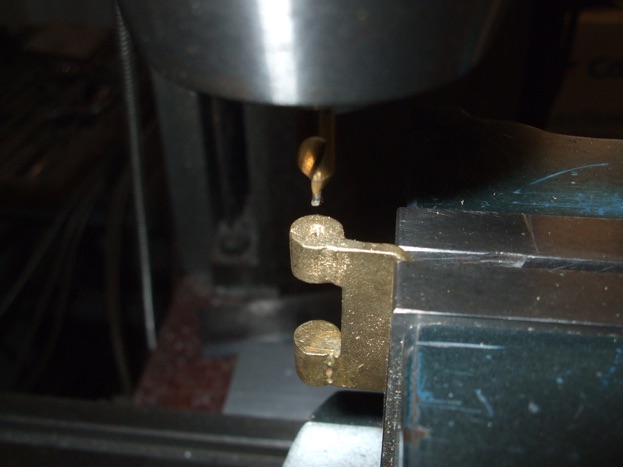
The places that need to be drilled have cast pilot holes, so I always chose the face with the best centred hole. Eyeballed with a drill the middle of the cast hole and then centre drilled it.
Next drilled and reamed 2.5mm the hole. There is actually no real need for reaming but as I had it I used it. It always gives me a nice sliding fit. Also, I won't be using the brass pins that came with the kit as they are imperial sized and I only have metric tooling.

The part I left for last was the hinge arm. I held it in the vice as shown below resting on a parallel. I was careful not to bend the arm in the vice.
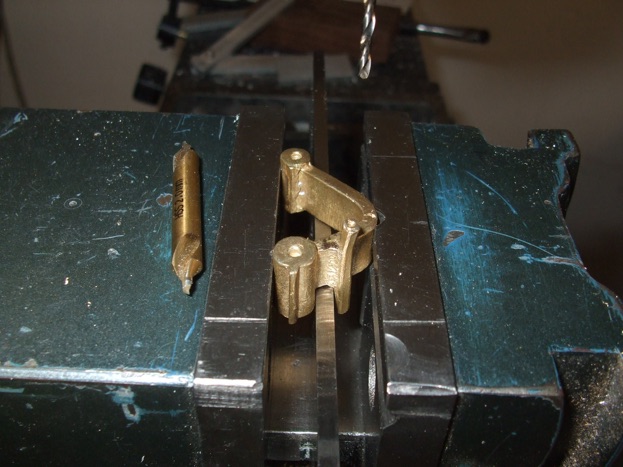
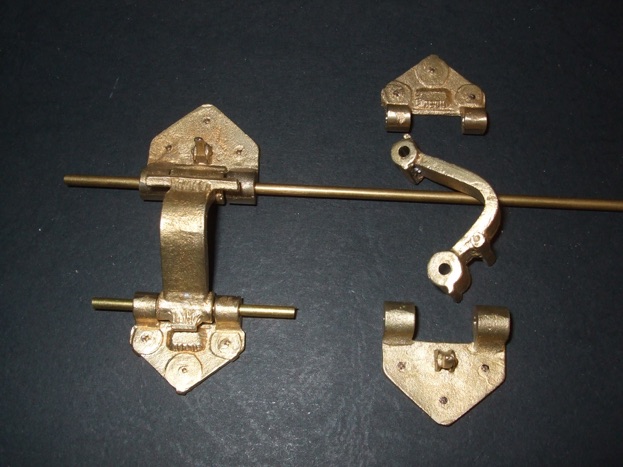
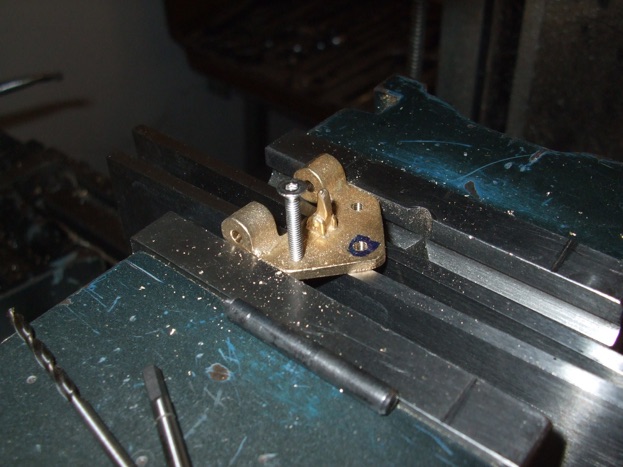
Drilled and tapped M2.5 the hinge plate that is fixed to the underside of the hull roof. I didn't use the cast pilot holes but measured the hole pattern in the hull roof and drilled and tapped accordingly the hinge plate. I found that on one of the hinge plates the pilot holes were spot on but on the other one were slightly offset.
Did roughly the same on the hinge plate that is bolted to the hatch. I drilled M2 through holes in these. The idea being that I will use M2 studs and M2 model nuts (with an AF of 3mm) to fix these hinge plates to the hatches. Also cut the M2.5 hinge pins to size.
Last operation was to drill and tap M2 the hatches so that the brass hinge plate could be fixed to the hatch. Used the hinge plate as a template to mark the position of the holes.
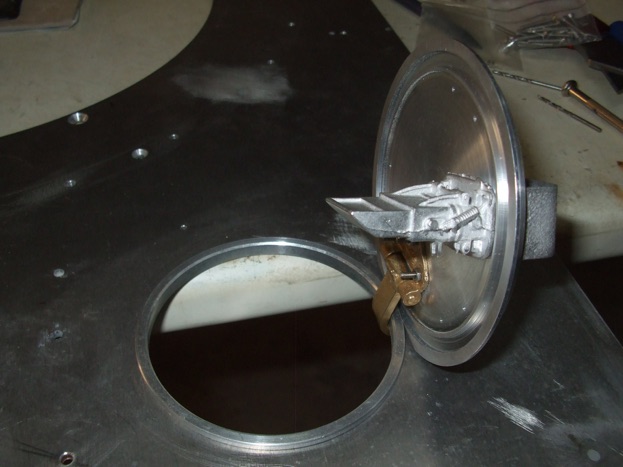
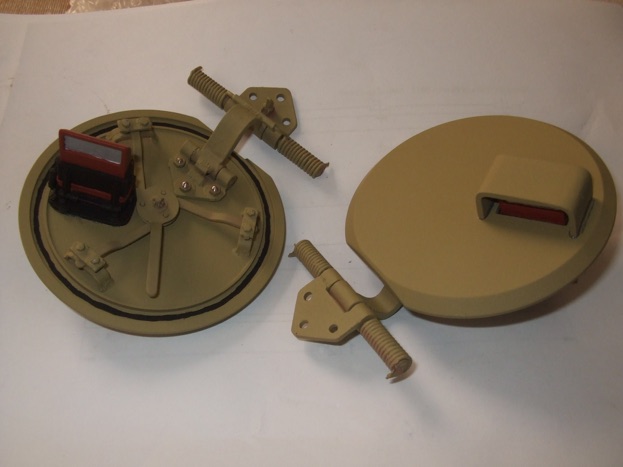
Some photos of both hatches fitted.
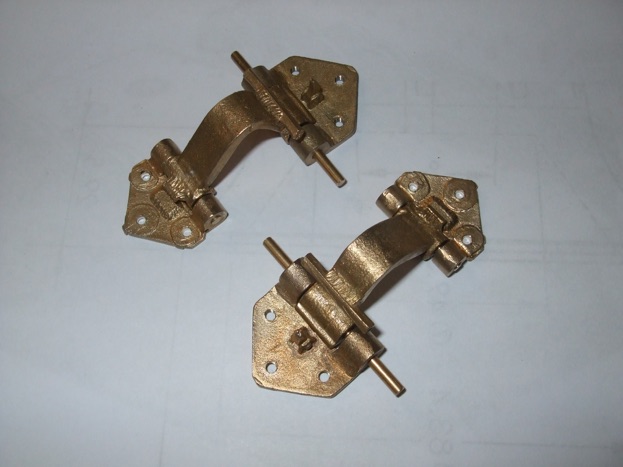
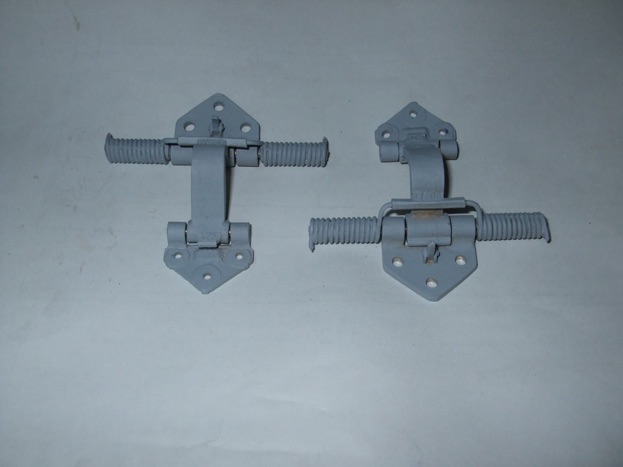
Finished work on the brass hinges and have etched primed them.
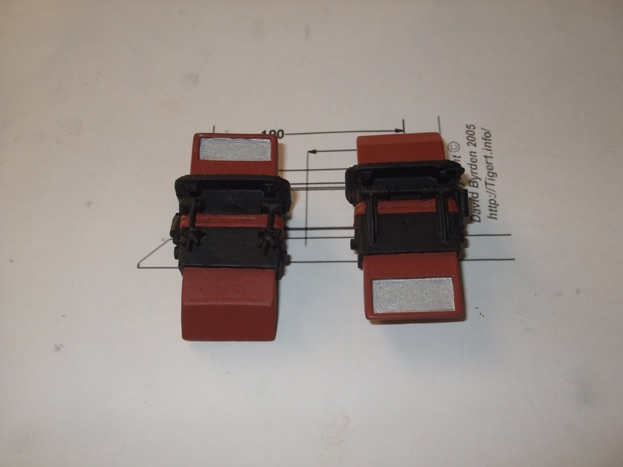
Painted the periscopes before gluing them to the hatches.
Finished the hatches. Well, nearly finished. I still needed to apply the weld seams to the periscope guards but I thought that I would do them when doing the hull roof weld seams.
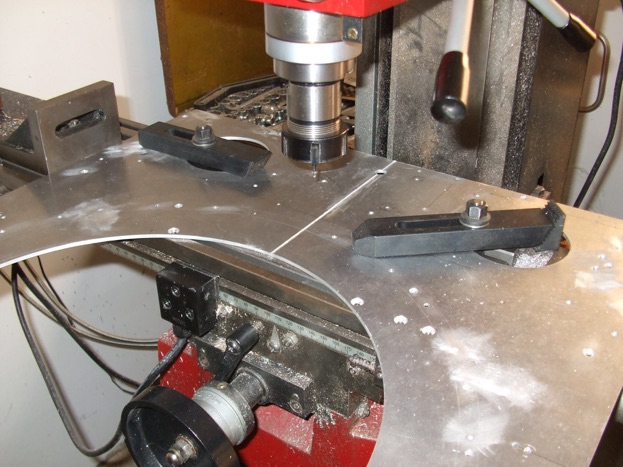
While waiting for the glue/paint to cure I started the final operation on the hull deck. I started milling grooves for the weld seems on the edges and middle of the hull roof.
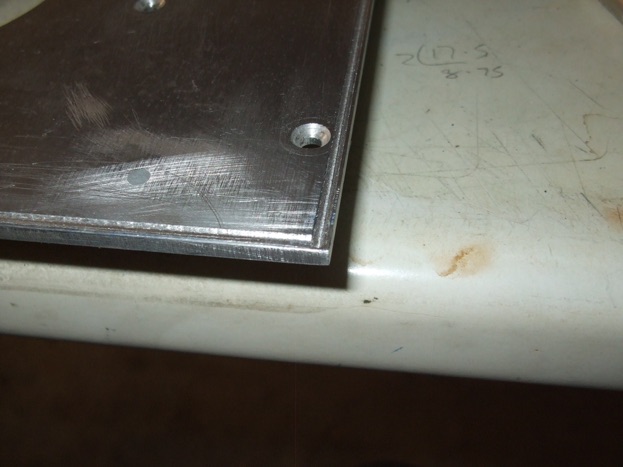
Finished the grooves in the hull roof for the milliput weld seams. I left a lip in the edge of the plate in the hope that it will provide some protection to the milliput seams when handling the plate.


PART 19 HERE  PART 21 HERE

 
https://www.sarikhobbies.com/model-engineer-builder/

Modelengineeringwebsite.com

the only free and the only weekly magazine for model engineers. 

Editor: David Carpenter