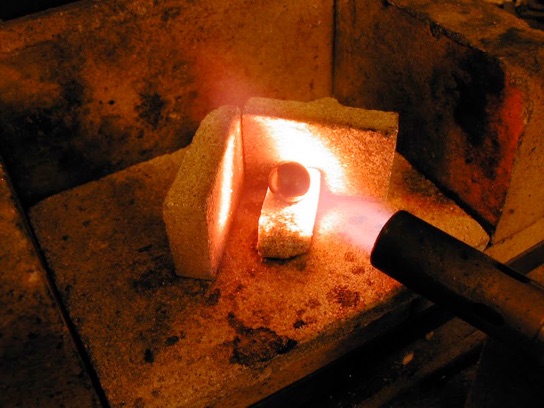
Next up was to prepare the ball bearings so that they could be drilled. They were heated to a good red/orange colour with no inner 'shadow' for about 3-4 mins, well beyond the temp in this pic which was taken just as the heat began to build.
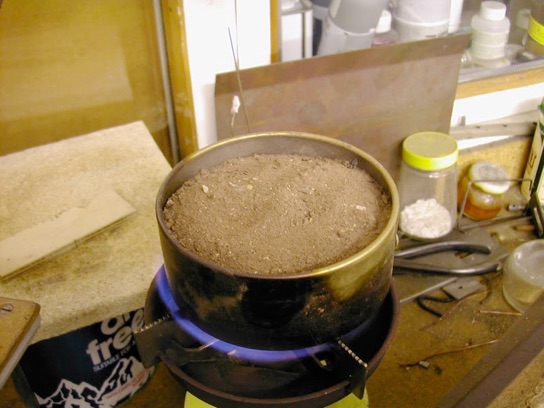
Then they were dropped into this pre heated coal fire ash to cool slowly. Fire ash appears to be the best thing for retaining the heat for annealing other than hot coals unless of course you have a small furnace.
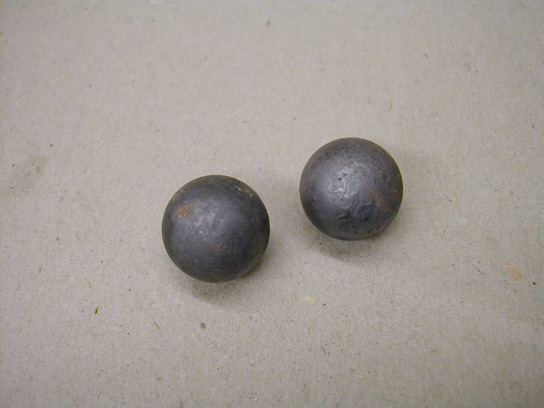
The balls oxidised to a fair degree which proved almost glass hard in parts but a short soak in some hydrochloric acid soon softened it.
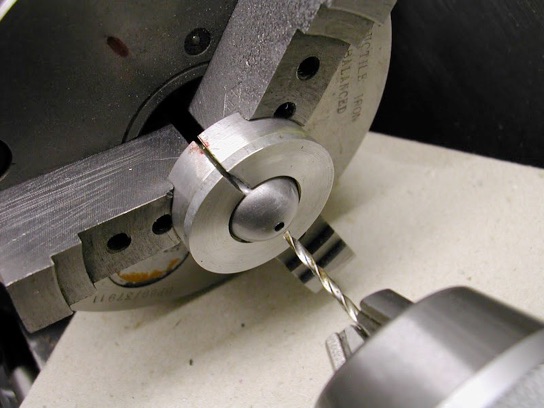
A quick collet was turned from a stub of ali and held the ball secure enough for rough emerying and then drilling. The material had softened suitably enough for this but was still rather tough, speed having to come right down to prevent work hardening.
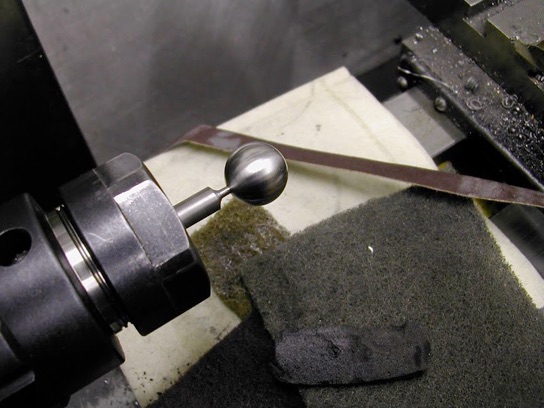
A short spigot was turned to hold the balls for final emerying and polishing. No attempt was made to bring them back to the original lustre but just enough for then to give the appearance of being turned.
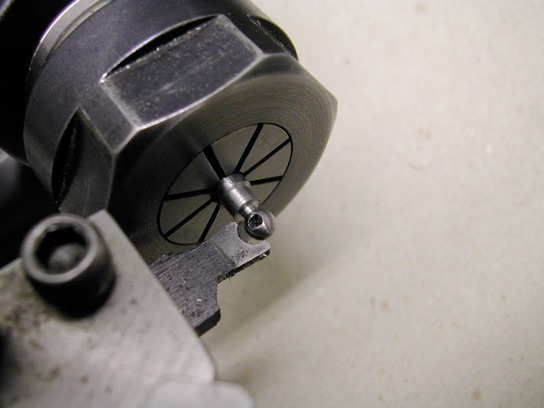
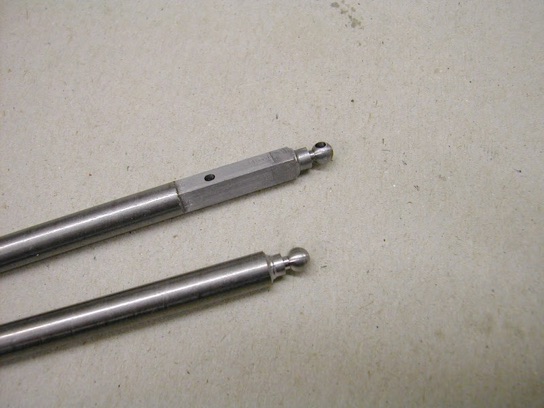
Next up were the ball arms and yet another two radius tools.
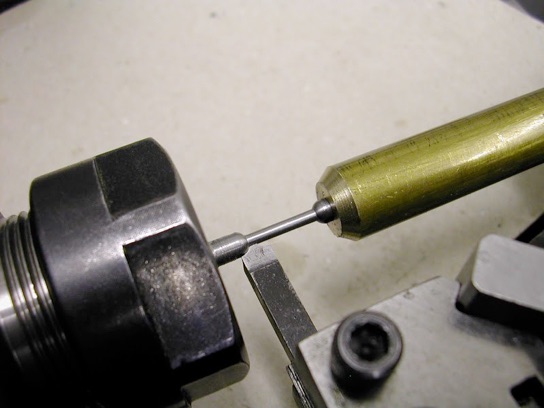
The first one lifted up on to the tool on the second ball and broke off so a steady was made by holding the piece of brass in the drill chuck in the tailstock and centre drilling it from the lathe chuck. That's the first time I've tried a steady like this and it works perfectly with a bit of lube. In order to keep the material as strong as possible the second ball was turned from both sides.
That block came into play again and two pins were set to locate the arm.
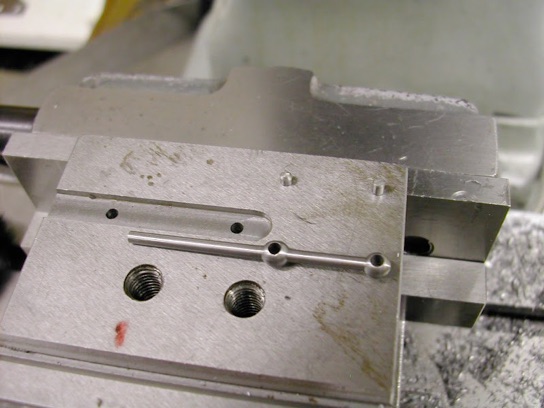
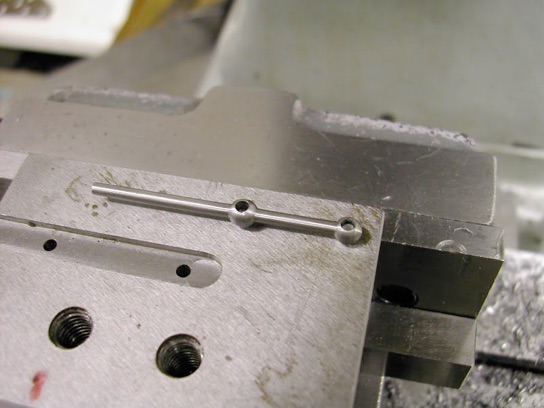
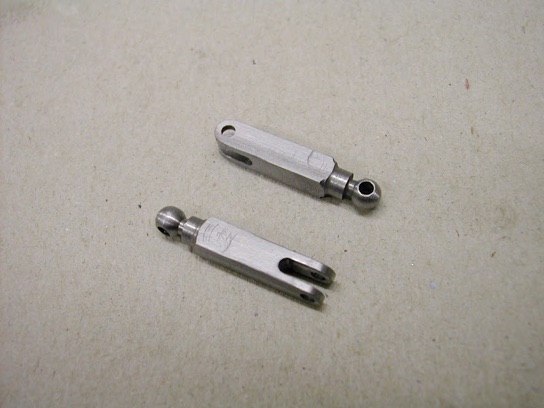
The last parts to be made other than the hinge pins were the lower link arms. It was felt these would prove a bit of a challenge to hold and form as the metal was gradually removed but as it transpired things worked out fine...
They began by forming the ball ends using the previous radius tool on the ends of two pieces of 5mm MS bar however this time the holes were drilled and reamed after the part was transferred to the dividing head on the mill to ensure squareness of the part relative to the holes. A tentative start on removing the machining marks was made in the area that would be left as stock.
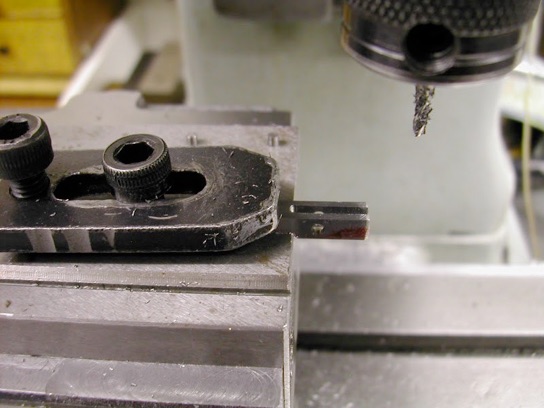
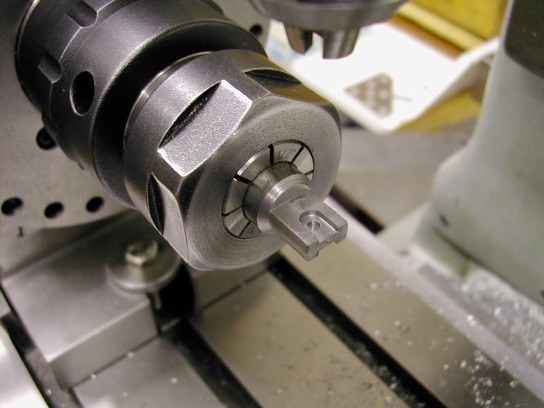
Another slot was milled in that block - that's certainly earned it's keep on this job - and the part clamped in for slotting this time using FC3 cutters roughing first with a 1/16 followed by a 2mm to size the slot.
A few minutes with some filing buttons and the parts are ready for the final op.
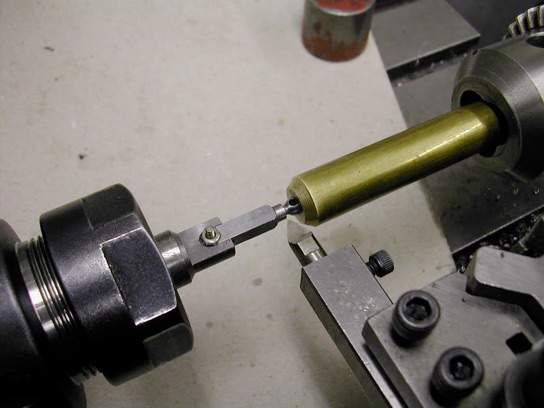
A quickly made drive fixture was milled up and transferred still in the collet chuck back to the lathe to drive the linkage parts.
The previously used brass 'female centre' was put into play again and provided very good support and concentricity.
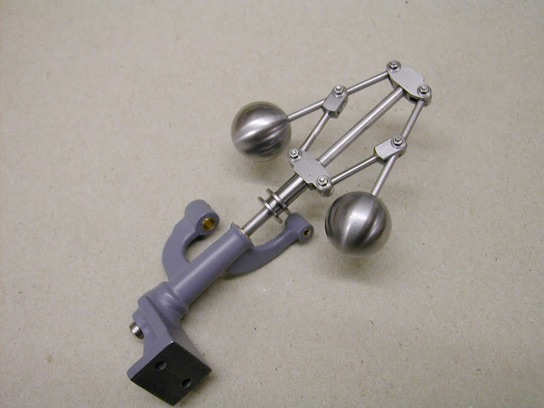
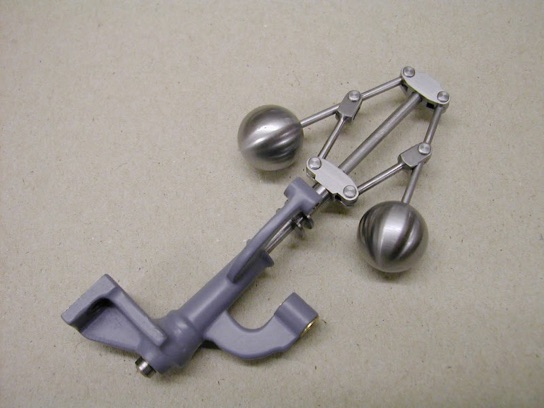
And, finally, after making the hinge pins and fitting them with short pieces of 12 BA studding it was time for a trial assembly.