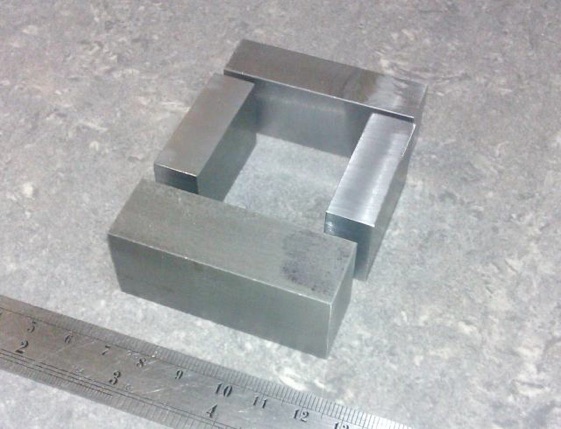
I decided to make the steam chest up from four pieces rather than cut a large hole in an even larger block of metal. So starting with four bits of scrap steel these were cleaned up leaving some metal to spare all round.
After silver soldering together the two faces were machined back to give the correct thickness. You can just make out a nice line of solder right through the joints where I punch marked the mating surfaces to leave a small gap for the solder to flow.
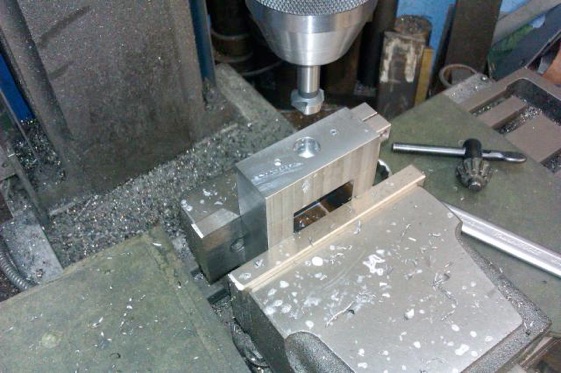
With the sides also cleaned up I drilled and reamed the valve rod hole and counterbored for the stuffing gland, also drilled and tapped the 4BA stud holes to retain the gland.
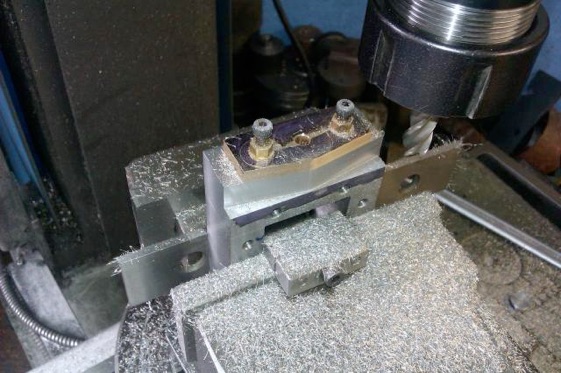
Rather than shape the area around the gland and then have to shape the gland at another setting I first turned the bronze gland.
Then holding it in place with temporary cap head screws was able to do all the shaping in one go, first one side.
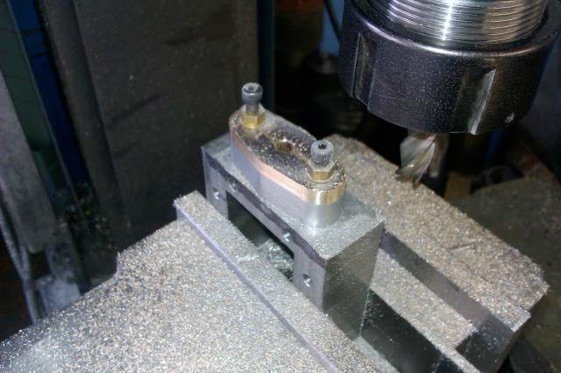
Then the other and the waste at the ends.
Followed by rounding the ends, the vice was mounted on the rotary table to do all this work.
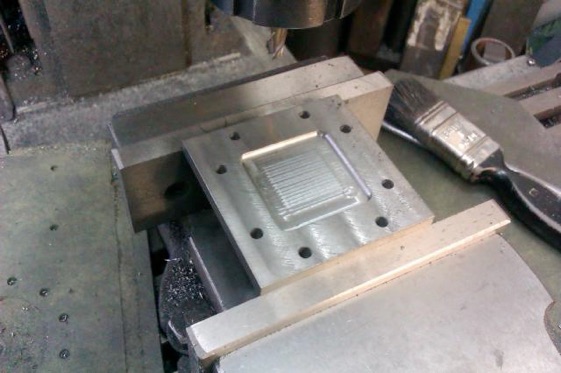
The sub-base casting that I did not use on my Galloway engine donated a piece of thin flat cast iron that was cleaned up, had a recess milled in the outer face and the mounting holes drilled and thats the valve chest cover done.
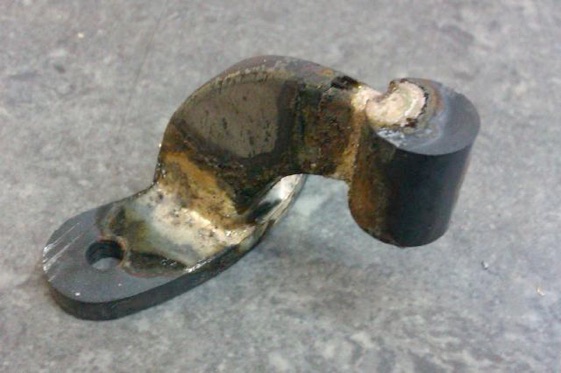
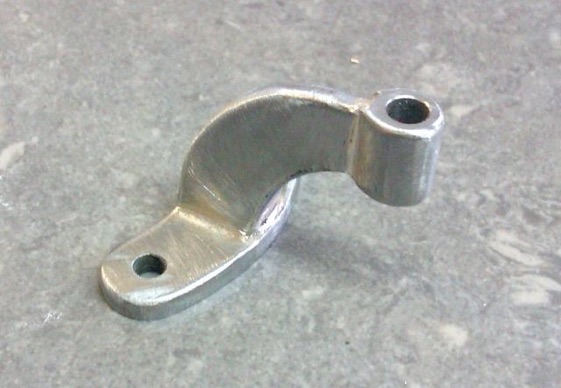
Although not shown on the smaller scale drawings I had noticed on most photos and etchings of full size engines that there was a valve rod guide that shared the bottom cylinder cover fixings. So a few offcuts of steel were shaped up and silver soldered together.
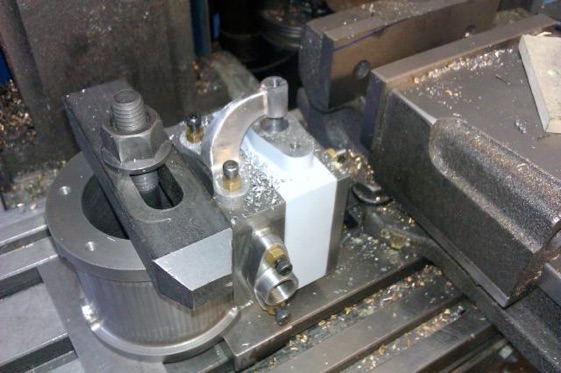
To ensure the hole in the guide lined up with the valve rod I located the valve chest under the mill, bolted the guide in place and then drilled and reamed the hole thus ensuring all was in line.
And the finished item just needed a bit of filler and primer to tidy it up.
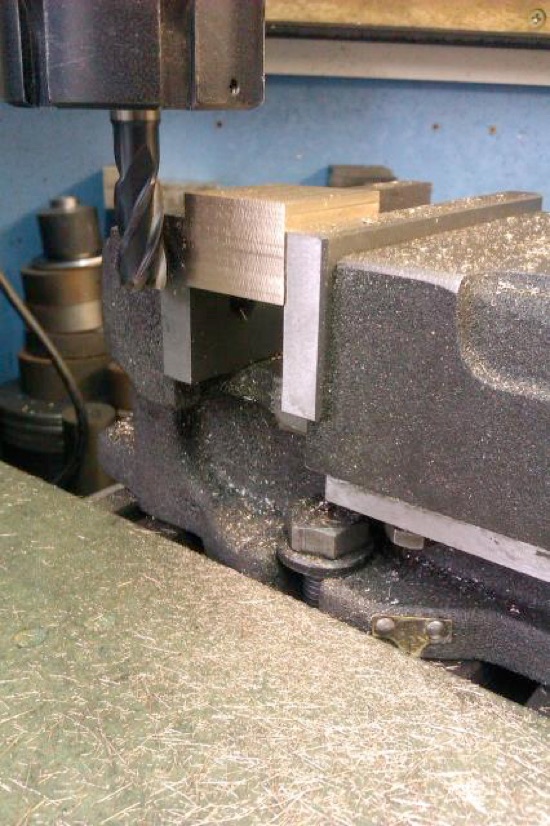
The slide valve started off as an odd shaped off-cut of bronze, I used a piece of aluminium rod between it and the moving vice jaw to take up any unevenness.
A 12mm cutter soon had the top looking a bit better.
I then used the same cutter at full depth to square up the sides.
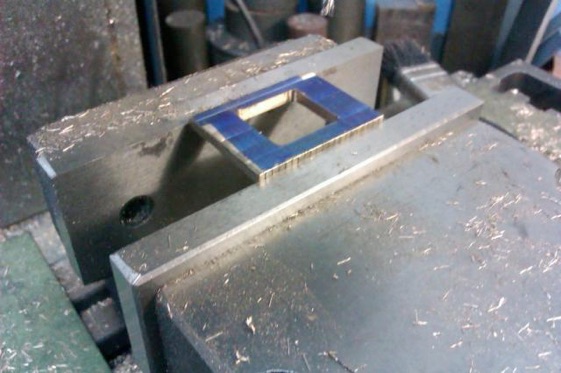
As the block was a bit smaller than needed rather than being able to cut out a recess in the bottom I opted to use a separate piece to be soldered on so milled a hole right through.
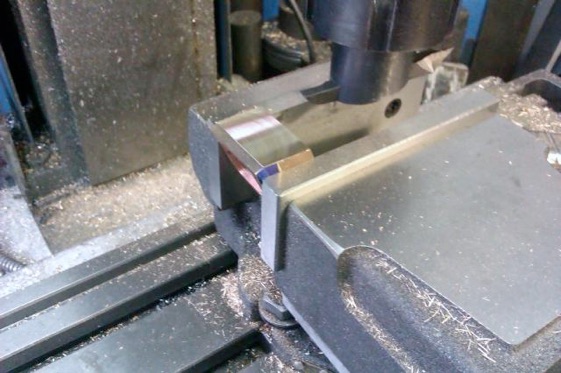
To allow the steam or air free passage around the valve it is tapered on 4 sides, one angle for the top and bottom and another for the sides. I used a precision protractor to set the angles.
Then used a small flycutter to take off the waste, repeated for the other 3 sides.
I then milled a flat bottomed slot for the ‘nut’ which is actually a bit of 3/16 x 3/8 brass, and a bull nose cutter to produce the slot for the 3/16" valve rod.


