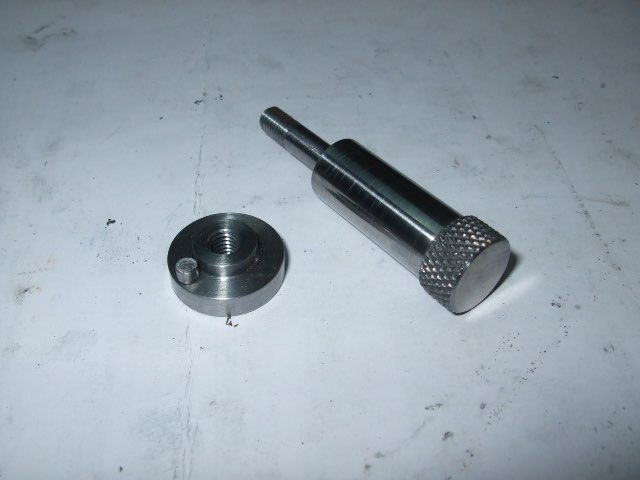
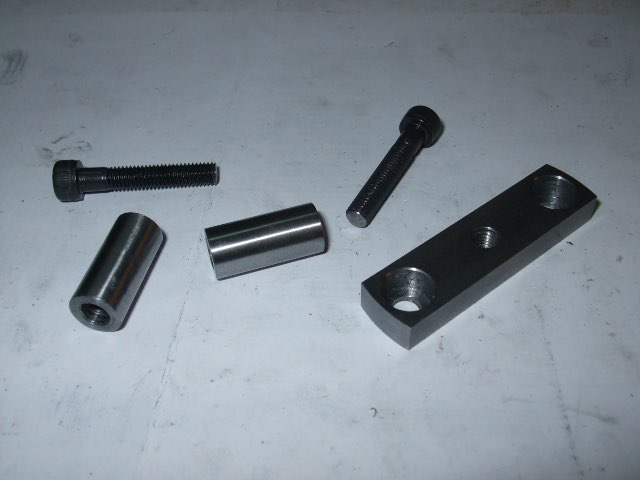
Next a couple of simple things. The screw and special nut that lock the toolholder at a particular angle on the table.
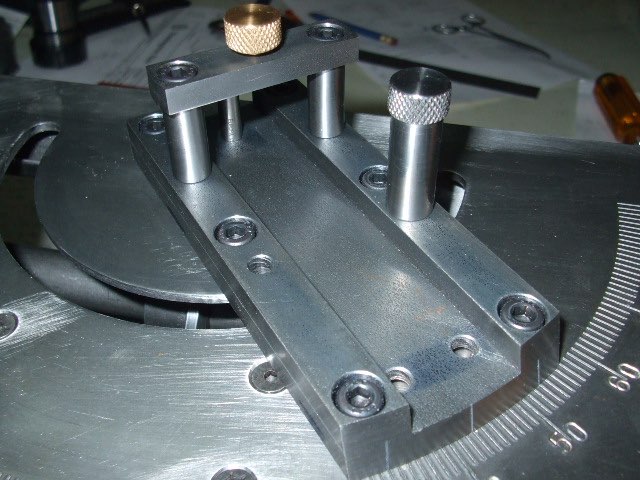
Nothing special here except maybe the dowel. The kit comes with a length of 1/8" material to be used for various dowels. Trial fit on the table.
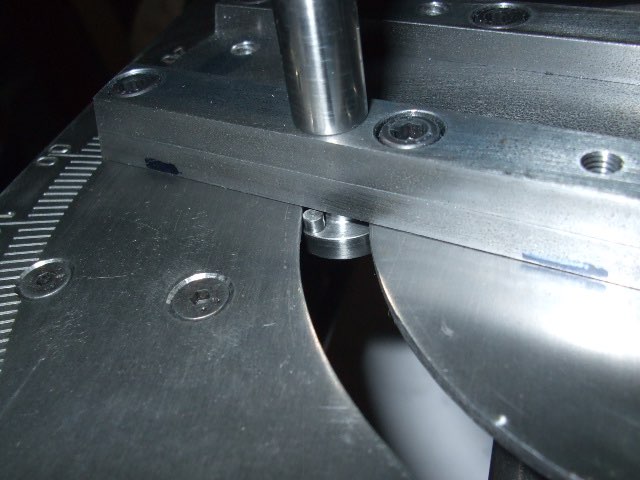
Close up of the special nut in position.
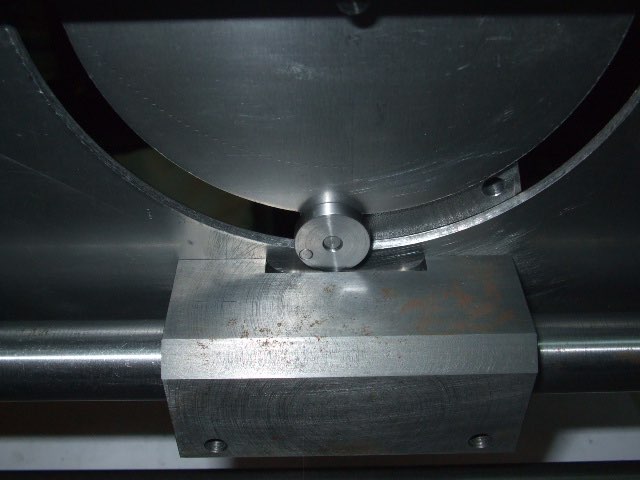
The reason why there is that rebate in the sliding cast iron block.
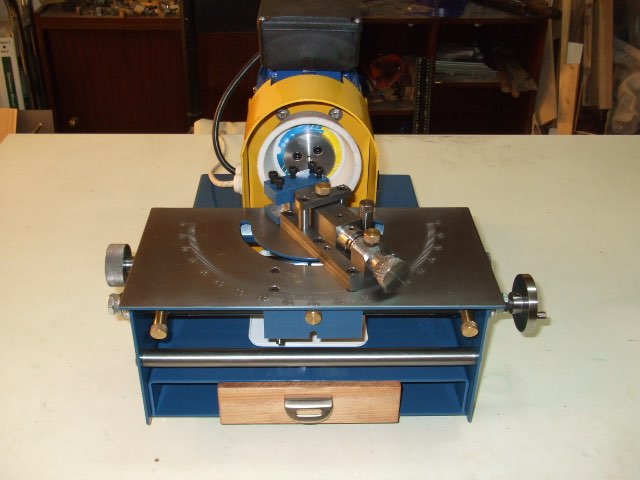
Another couple of simple items before I start on the difficult ones (at least in my eyes). This will lock the toolholder to the sliding base.
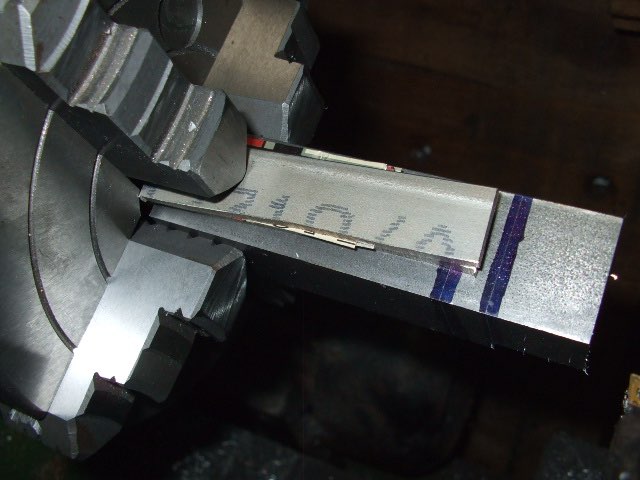
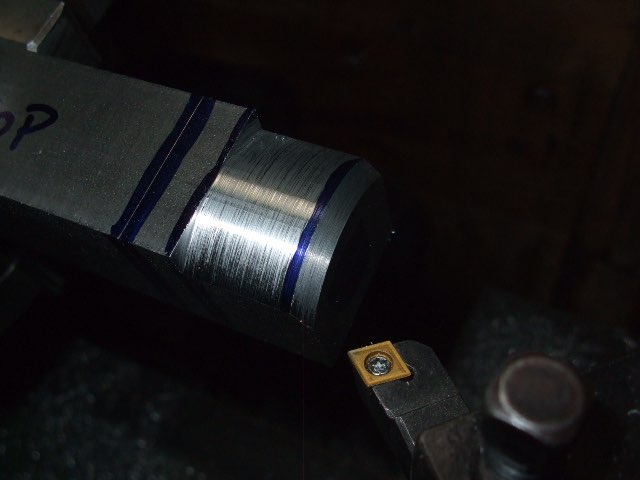
More work on the toolholder. I am working on two parts which use the same 1" square bar stock. I basically followed the instructions here. Trued the end faces of the bar stock on the mill and marked the centre point of the faces. Put in the lathe using a 4 jaw chuck and centred. Then using a 1/4" shim, displaced it to one side.
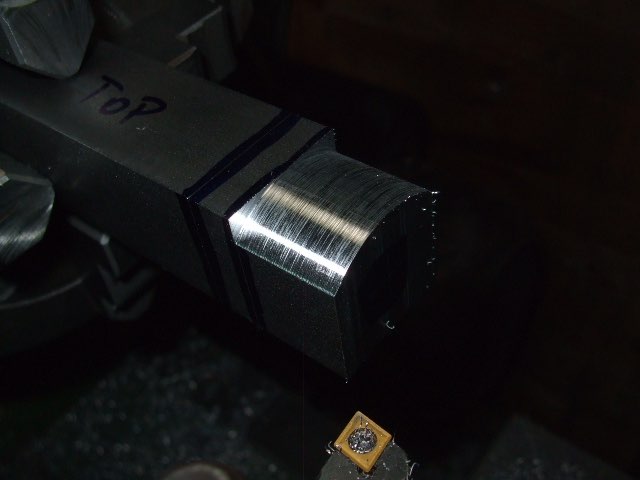
This was done to cut the round profile on one side.
After that was done, and with the same setup, cut the 45deg. chamfer also.
Still using the same setting, a fiducial line was engraved in the centre of the chamfer. I used the same method as I did previously.
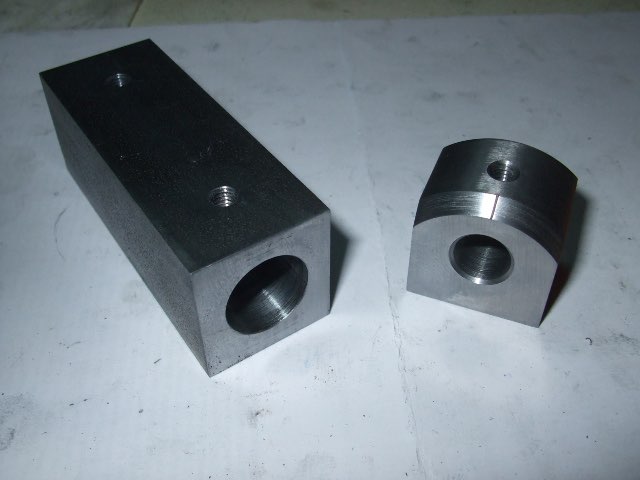
Next, the bar stock was centred again and a 10mm hole was drilled and reamed. I used 10mm instead of the 3/8" as specified in the plans. This part can now be parted off. I started the procedure but was getting horrible visions of a dig in and loosing the location of the centre. So, I patiently used a hacksaw instead whilst it was still in the 4 jaw chuck. First part finished but still needs clean up on the mill.
Faced off the excess material and continued drilling the hole through the rest of the material. The plans say it should be bored to 5/8" but I thought that for me 16mm makes more sense. Used an end mill which had a shank of 16mm as a plug gauge.
I managed to finish off those two parts. I think that was the worst part (at least for me) of the build.
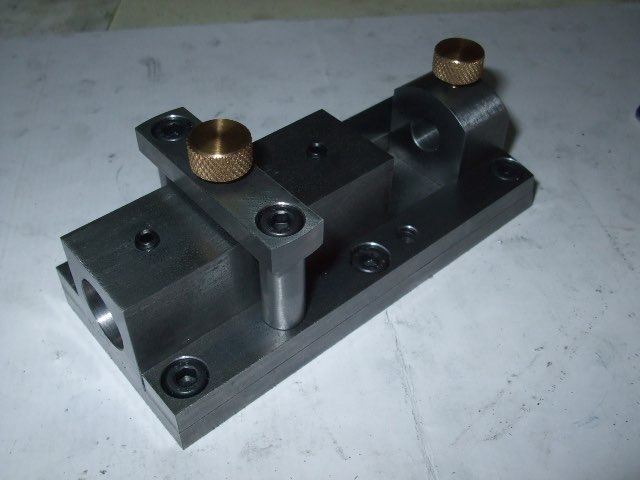
And a trial fit on the sliding base.